The handstand press is a perfect demonstration of strength, control, and body awareness. It exemplifies a kind of elegant ease that is seen only in handstand masters. Or so they would have you believe.
It’s true, the handstand press is a difficult skill – but it is very achievable for anyone who already has a decent freestanding handstand. This is a prerequisite – as balancing through the handstand press adds another level of complexity. If you can’t do a handstand off the wall for at least 15 seconds, then you will need to work on your balance before proceeding with this tutorial.
It should be noted that there are many different types of handstand presses, and this tutorial will be focused on the easiest of these – the straddle handstand press. We will simplify this to just ‘handstand press’ moving forward.
What is the Handstand Press?
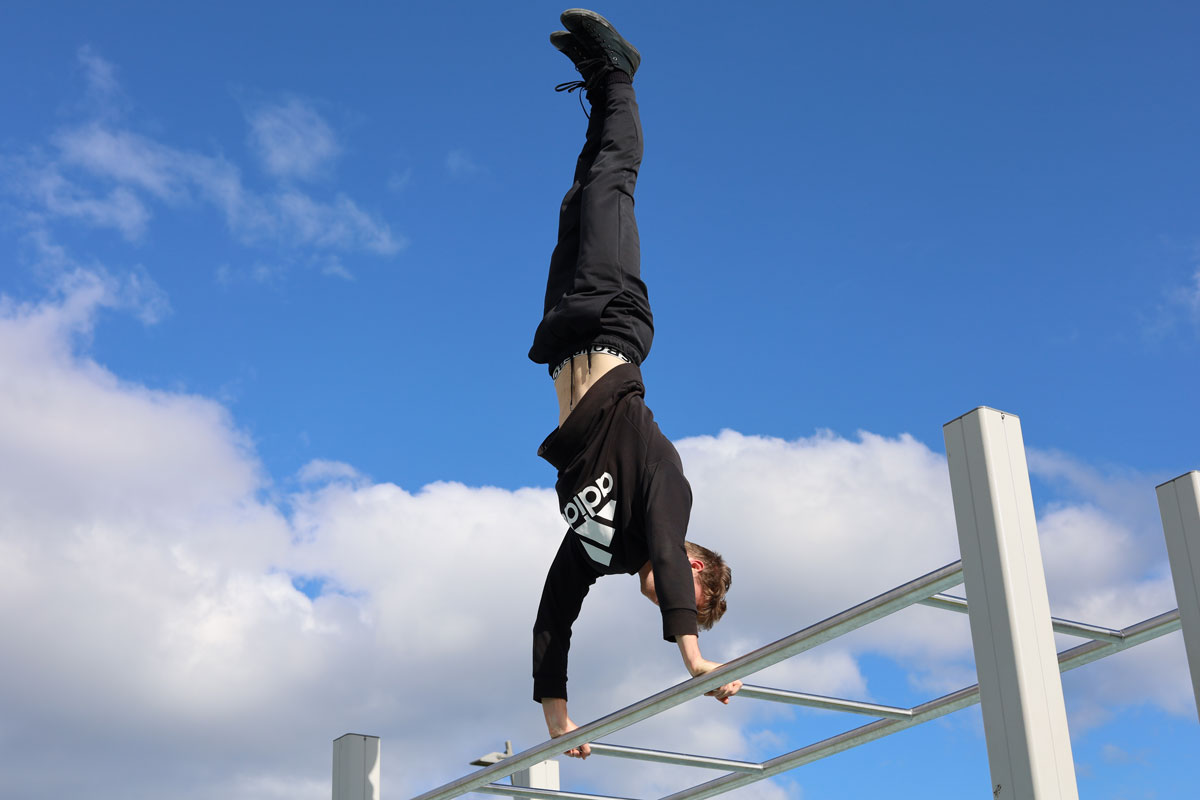
The handstand press, not to be confused with the handstand push up, is a controlled entry into handstand. The hands start on the ground slightly in front of the still grounded feet. The legs are straight and the hips are raised, creating an ‘A’ shape from hands, to hips, to feet.
The handstand is then achieved by leaning forward and allowing the feet to float up off the ground, and in a circular motion, move upward, and connect at the top. The movement is slow and controlled, with the aim to maintain straight arms and legs throughout.
Tackling the Handstand Press … Where To Start?
If you can already hold a freestanding handstand then you should already have the core strength to do the handstand press, or at least you should be very close. By simply working the handstand press, you will specifically engage the correct core muscles and so it shouldn’t be necessary to supplement with other exercises. Of course you’re welcome to throw in hollow body hold and toes to bar leg lifts if you want to speed up your progress even further!
The handstand press can be approached from 2 different angles.
The first is to start learning it while leaning against a wall – preferably against a padded wedge. By placing your hands close to the wall and leaning forward into the wall while your feet are still in contact with the ground, you are learning one of the most fundamental principles in the handstand press – raising the hips. Once the hips come up, the legs will follow. By doing this drill you will train your body to recognize the correct amount of tilt you need to bring your hips into the correct position.
The second drill is called hovering. In this drill, the idea is similar to the first, however the main focus is not so much raising the hips as it is balance. The goal when hovering is to lean forward and take the feet very briefly off the ground before coming back down again. Remember not to jump, the motion should come from leaning forward and changing the centre of gravity rather than from momentum. Hovers are done without the wall and better replicate the handstand press. The drawback is the imminent risk of faceplanting. Most surfaces don’t agree with the face so try to catch yourself!
Hovers should be done at ground level initially. This will allow you to get used to the feeling. Once you get a hang of this – and become proficient at preventing 3rd degree burns on your face – it’s time to make the hovers easier and increase the stakes.
To do this, start by elevating the feet. By elevating the feet, the hovers become easier as the hips have a higher starting position. This also means that you have further to fall if something goes wrong! If you need even more of a boost, consider using a resistance band to pull your hips forward or even have a partner do this.
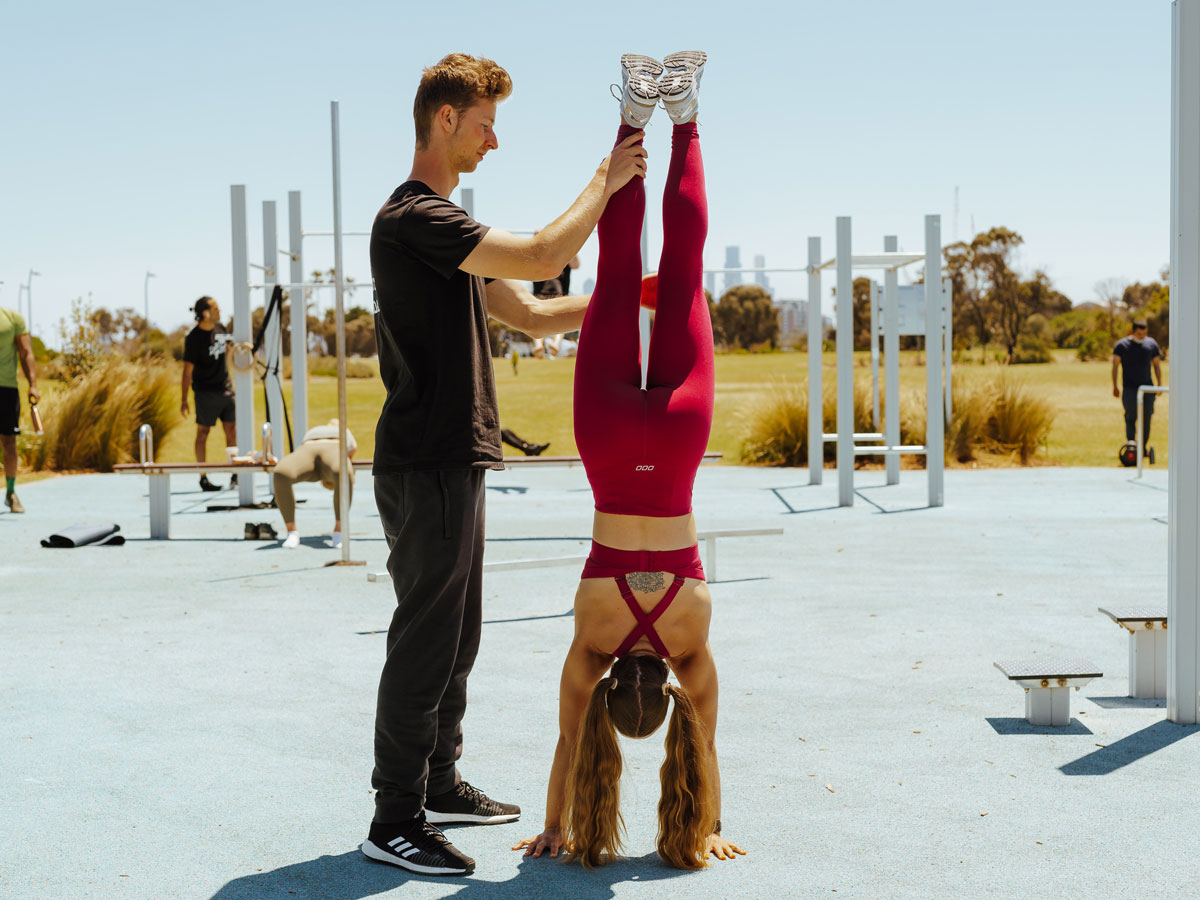
Advancing the Handstand Press
So you have mastered the handstand press and want some bonus challenges, or you still haven’t got it by you want to know what’s next? Well, there’s good news because the handstand press journey doesn’t stop there! As mentioned before, there are multiple variations of the handstand press. We will cover them in order of difficulty.
L-Sit to Press to Handstand (Parallel Bars)
This handstand press variation is done on parallettes or parallel bars. It’s a basic alternative that uses the same principles as the original handstand press. The starting position, however, is an L-sit. By pulling back through the L-sit you will hit the same starting position as you would on the ground – except now you are higher off the ground and you have more wrist control to manipulate the handstand with. This press is only slightly more difficult than the original, the main barrier being a psychological one.
Pike Press
The pike press is considerably more difficult than the original handstand press as it ditches the straddle for a pike. Instead of the legs going around, they come through the middle – and as such they feel heavier due to a longer lever length in relation to gravity. Most pros struggle with this one – it’s not for the faint of heart!
Wide-Arm Handstand Press
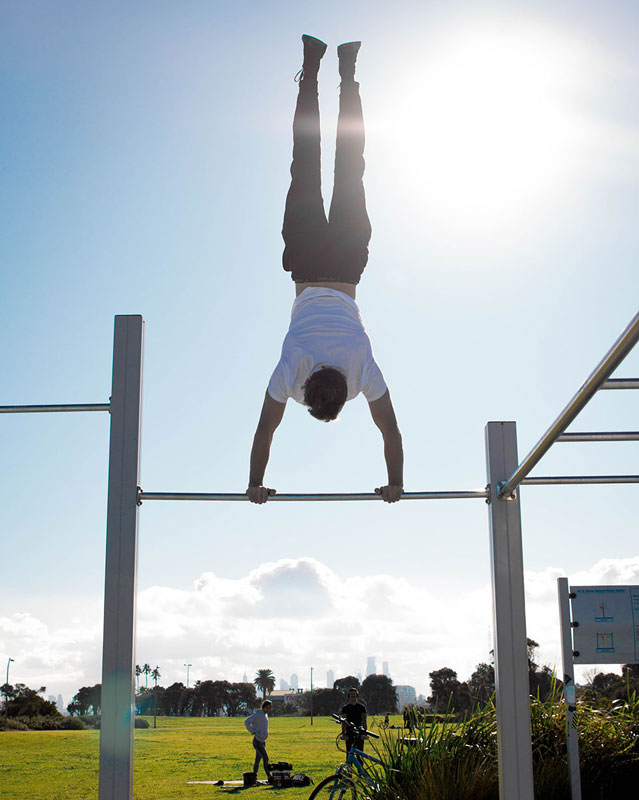
This is the ultimate press to handstand variation. The setup is similar to the original press to handstand, however the hands are placed much wider apart and the fingers are typically pointed outwards. This creates a much more difficult balancing position and forces the core to do a lot more work. Hard to do and even harder to balance the finished product, the wide arm handstand is one hell of a move!
***
Vic is a Melbourne-based Personal Trainer, Calisthenics Athlete and the Founder of Street Workout St Kilda. and Liquid Chalk Shop. He has a passion for bodyweight training and the art of movement. Follow him on Instagram: @streetworkoutstkilda, Facebook: facebook.com/streetworkoutstkilda, and YouTube: https://www.youtube.com/channel/UCJvI67d8yXvh9gHDVVc2wsA



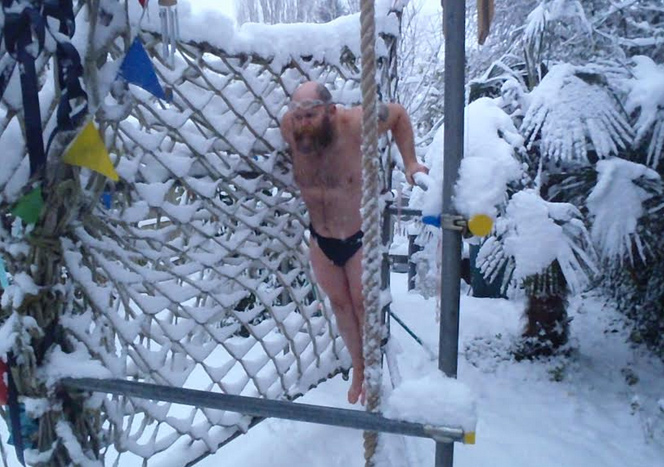
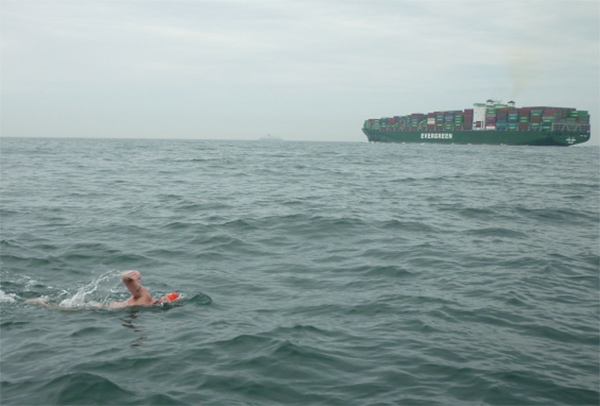
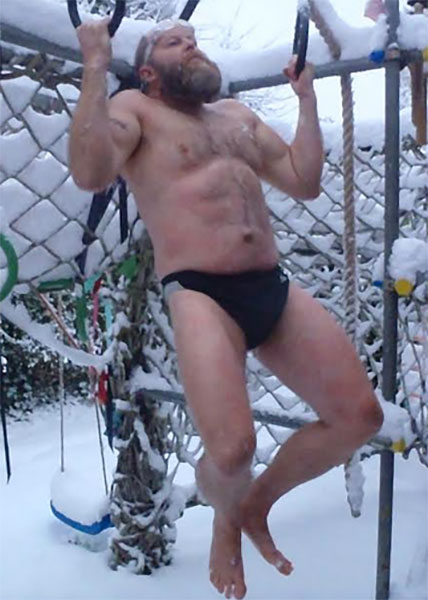
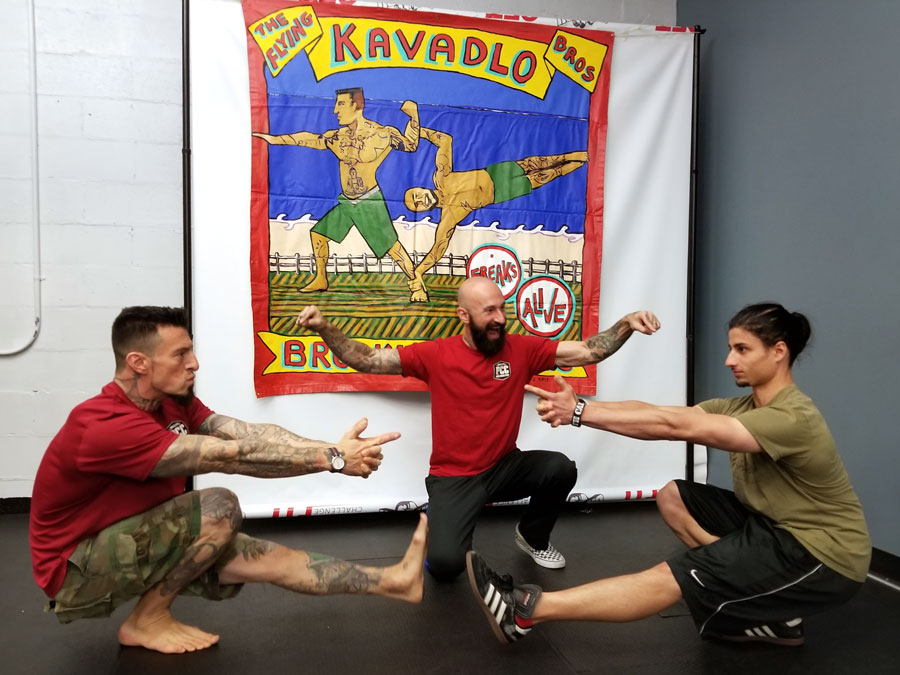
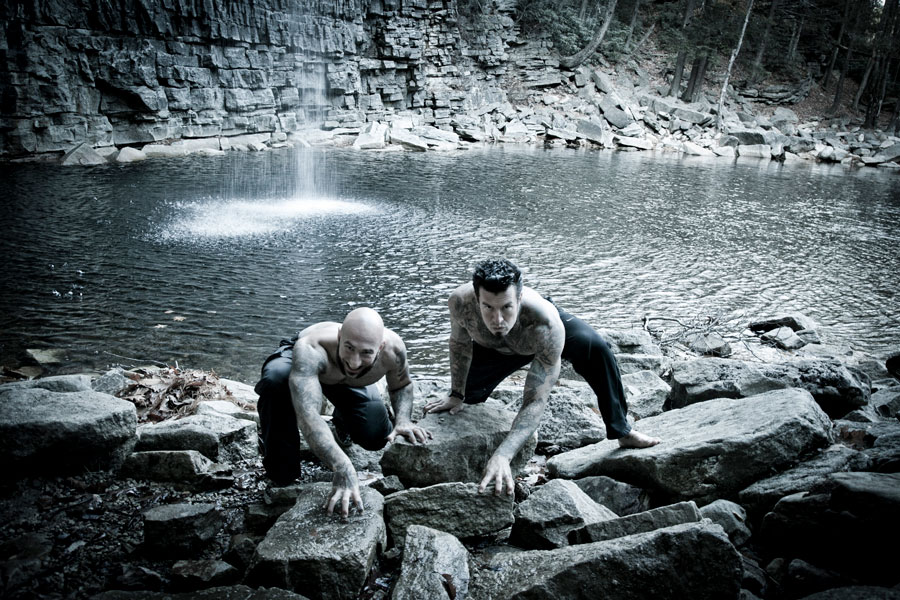 In my opinion, a true student of calisthenics needs to have exposure to all pillars of the system. In addition to putting in the sets and reps, it’s helpful for overall strength and wellness to develop real world skills and coordination from activities such as hiking, swimming, throwing and sprinting. Working in scenarios where all the muscles are employed together while navigate toward a goal is the epitome of the calisthenics movement.
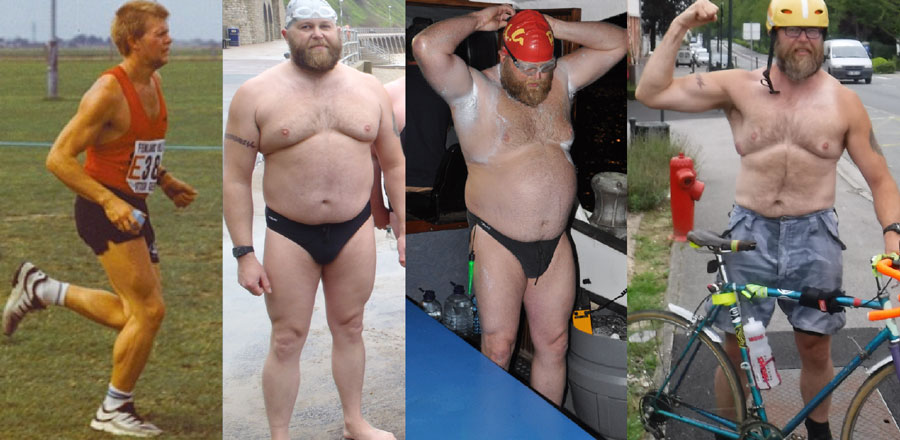
 At the Louvre in Paris the other week, I photographed a bearded statue with a big arm. “That’s me,” I declared to myself, that perfection visible to me beneath an imperfect form. “It’s what you are becoming,” said a voice from the future. I didn’t realize until relatively recently (the last decade or so) that I am a time traveler. I’ve often imagined my future self returning to give advice. Sometimes the advice felt unhelpful, but I took comfort that the future me cared enough to try and help. Sometimes sneering at the elder know-it-all version of myself, I resolved to do it my way. “Stick to the basics,” he said, but I clamored for the cheer of the crowd, the wow of friends and colleagues. Vanity lifting and trophy hunting were (and are) very seductive.