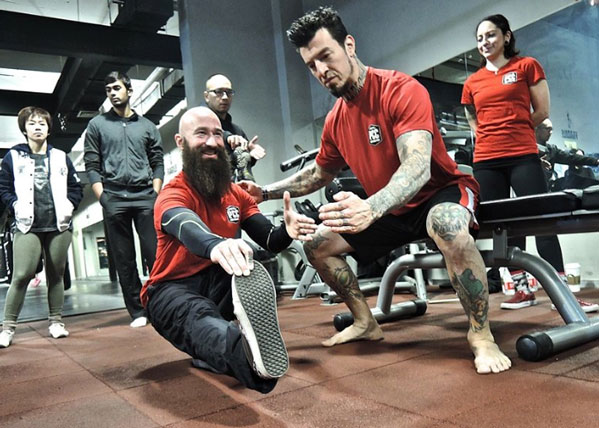
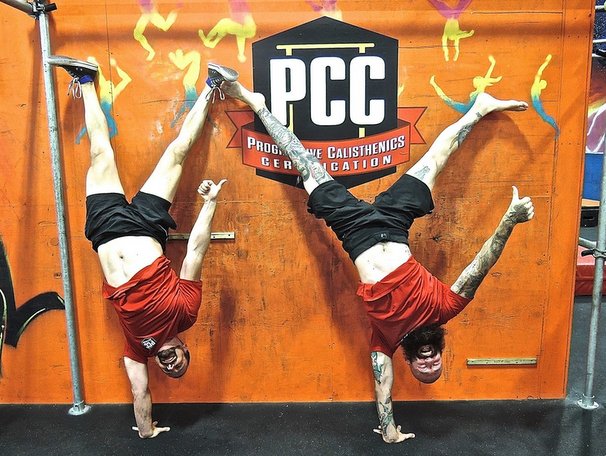
“We all came here for the pull-ups!”
I love to see faces light up when Al or Danny say these words at the start of the PCC pull-up module. But before even getting into full pull-ups, we begin by practicing some lead-up steps, including the bodyweight row, aka the Australian pull-up.
Often dismissed by advanced calisthenics practitioners who can already perform full pull-ups, the Aussie is a viable and underrated exercise in its own right. Aussie pull-ups strengthen your arms, abs and even your grip. They can also help improve your posture, specifically countering the forward-head position that is prevalent in our texting, typing, and sedentary society, by strengthening the muscles of the upper and mid-back, including your rhomboids, lats, and traps.
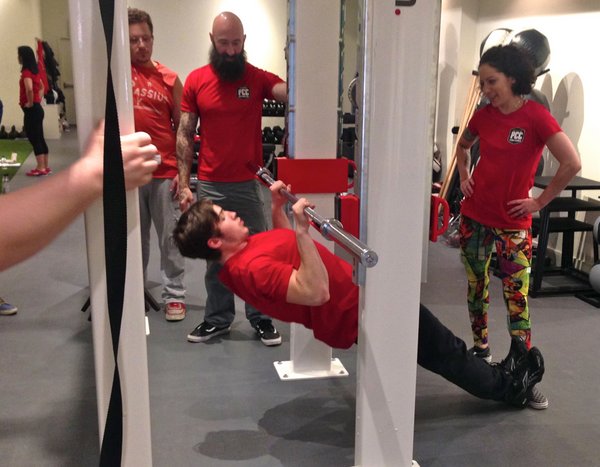
While it may not be the sexiest or most eye-catching exercise, as a trainer, the Aussie pull-up is money! If you work at a gym, you will most likely be working with the general population, not a bunch of calisthenics ninjas. Unfortunately many folks cannot even do one full pull-up – guys or gals. For these clients, the Aussie is a fabulous option for increasing upper body pulling strength. This exercise is also of particular significance due to the fact that women are required to perform 10 consecutive repetitions in order to complete the PCC Century Test.
The Reverse Push-Up
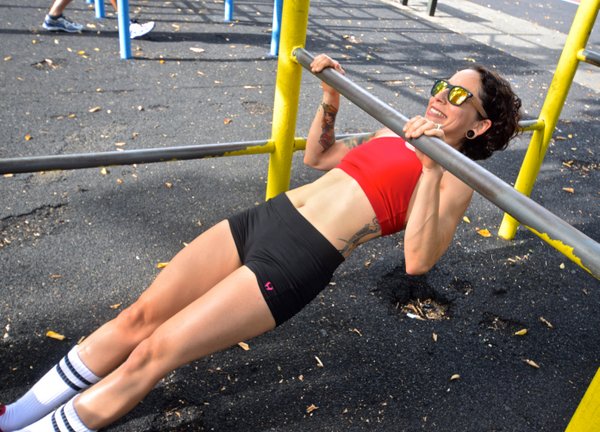
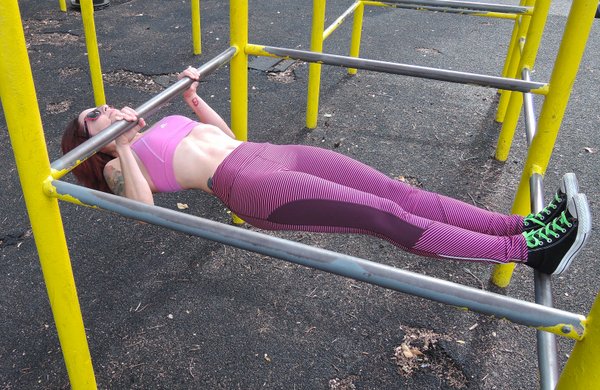
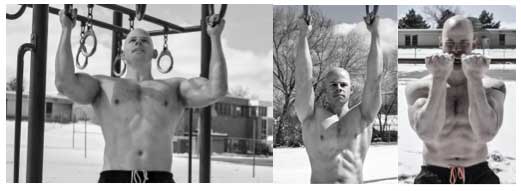
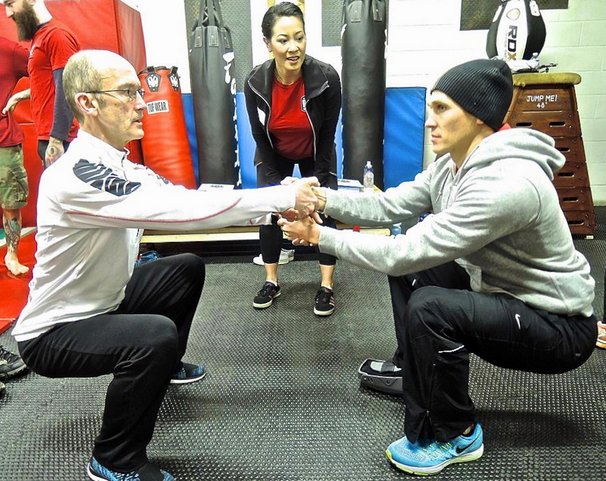
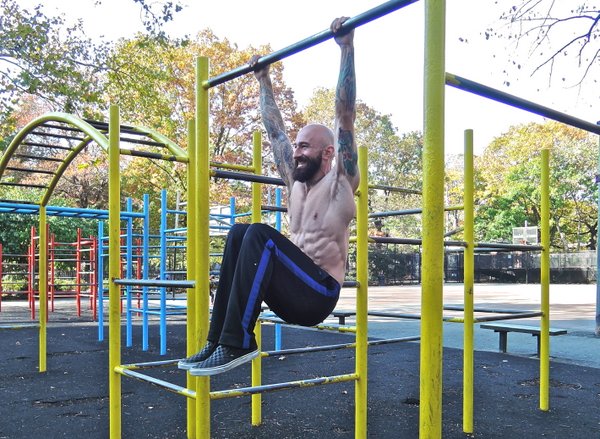
An Aussie pull-up begins with the body suspended horizontally below a bar that is positioned at approximately waist height. In the bottom position of the Aussie, your arms should be fully extended with your body in a straight line, almost like an upside-down push-up. Just like push-ups, you’ll need to engage your abs, legs, and glutes during every inch of the Aussie in order to maintain proper body alignment.
The similarities don’t end there. In push-ups, your shoulder blades should come together as you lower down (eccentric phase), and spread apart as you extend your arms and push back up (concentric phase). The same principles apply to the Aussie, only with the positive and negative phases reversed: The shoulder blades should come together as you pull yourself to the bar (concentric phase) and spread apart as you lower down (eccentric phase).
Similar to the push-up, beginners often mistakenly initiate the movement by extending their head forward. Remember to cue your clients to allow their head to relax in a more neutral position so their neck is in line with their spine. The body should be in a straight line from the ears all the way down to the heels.
Scaling Back
Thanks to the principles of progression outlined in the PCC curriculum, even the Aussie can be regressed for your more deconditioned clients. By shortening the length of your body, you can make this exercise less challenging. As with the push-up, bending the knees is a very simple way to accomplish this. Furthermore, the bent knee position allows the practitioner to push through their feet and create more favorable leverage. You can also flip your grip to an underhand position for the Aussie if you are having a hard time with the overhand grip. You can further regress the exercise by increasing the height of the bar, thereby distributing more of your weight in your feet.
Next Level Aussies
Just how elevating the bar can make the Aussie easier by placing your body in a more vertical position, raising your feet can make this exercise more challenging as you shift more of your weight into your hands and upper body. You can prop your heels on an opposing bar or a bench to use as an incline.
At the PCC, we also teach various grips for pull-ups in order to emphasize different muscle groups. These same methods can be applied to the Aussie. Experiment with placing your hands wider for more lat/back recruitment or closer together for more arm action. You can even try a variation on the Archer pull-up, which incorporates lateral movement in addition to the standard up and down motion. If you’re working towards a one-arm pull-up, you can even hone your unilateral skills in Aussie form, too. The variations on the Aussie are endless and fun to practice on your own, or with your clients.
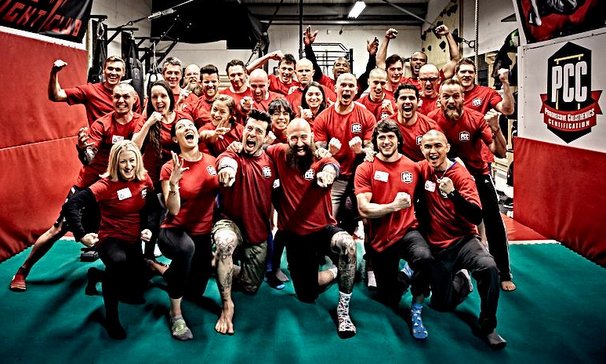
Speaking of Aussies, I am excited to be teaching at the first ever PCC in Sydney, Australia this September along with PCC Lead Instructor Al Kavadlo. It’s always a pleasure to connect with you guys in person, and I can’t wait to do lots of Aussie pull-ups with my friends from down under.
I hope to see you there!
****
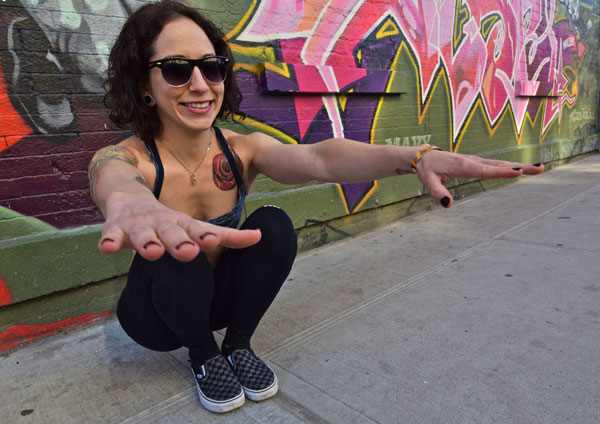
Grace Kavadlo is a PCC Team Leader, personal trainer and group exercise instructor located in New York City. She is a columnist for Bodybuilding.com and can be seen in several Dragon Door books, including Coach Wade’s Explosive Calisthenics. For more information about Grace, check out her website, www.DieselGrace.com
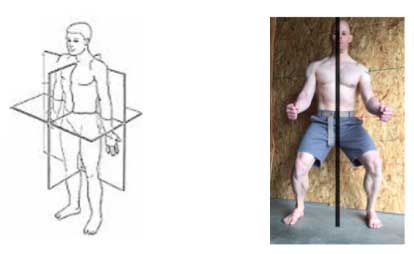
 The image to the right shows how the muscles are arranged to direct muscle tension inwards towards the centerline. Almost every muscle has at least a few muscle fibers that direct force inwards towards the spine. This is yet another reason to practice
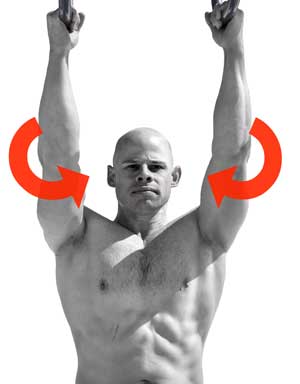 Lesson #3: “Screw” your limbs inwards
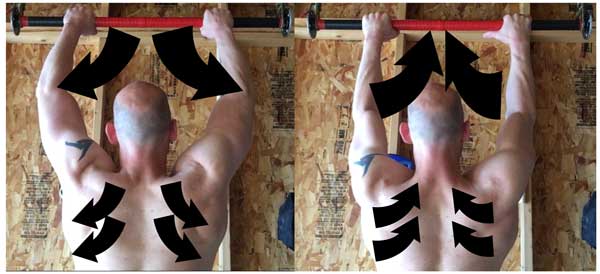
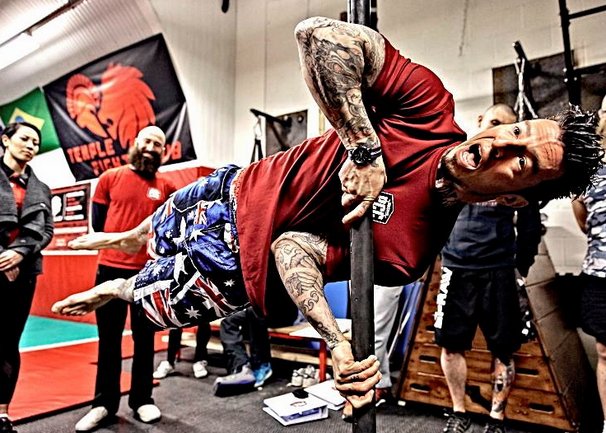
 Lock it up! Applying torque on your legs or arms will make them more stable.

 I get a lot of questions from potential PCC candidates about our
  The first few times I taught the
 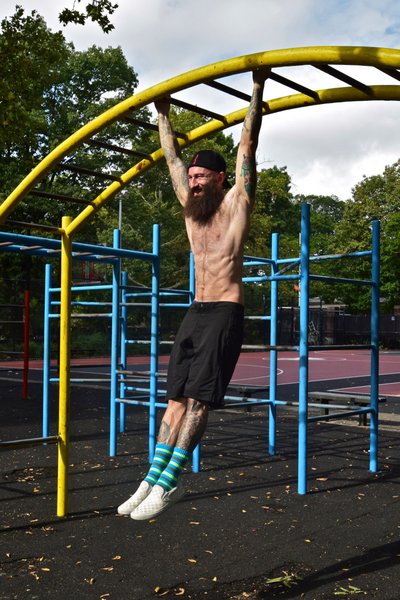 Focus on raising your knees with control as well. Avoid moving too quickly and aim to pause briefly at the top of each repetition to make sure that you remain steady.