 Ok, so you got serious about this “progressive calisthenics” thing. And now your head explodes from endless dilemmas: should you train this or that? What’s better: the planche or the one-arm push-up? Should you be working on one-arm chin-up or front lever pull-ups? Possibilities are limitless while our resources are definitely limited. You can’t think “screw it”, and train with every technique at once. You must choose something if you want to make any meaningful progress. So what should you choose? Let me give you 10 hot calisthenics exercises you should spend time training (in no particular order).
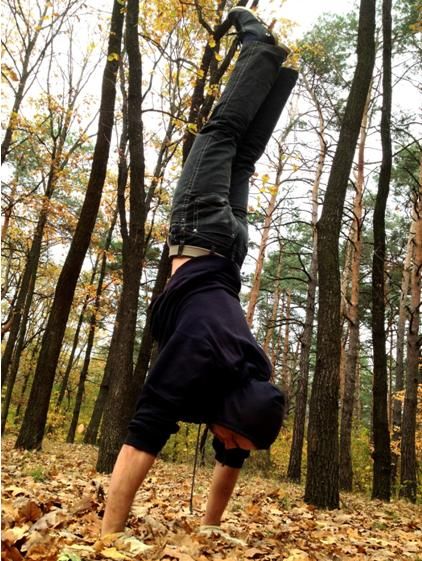
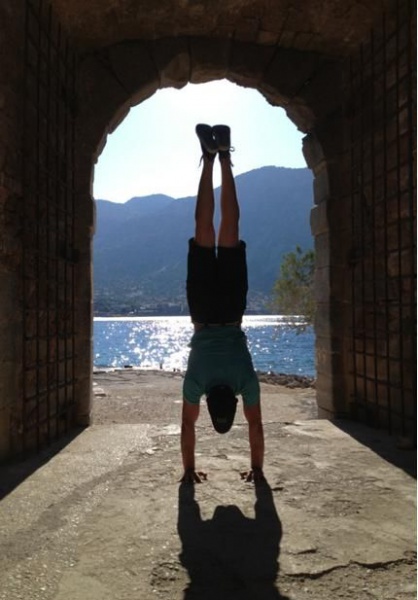
1. Handstand
If you don’t train this exercise you are missing out big time. This would be my number one priority. Why the handstand? Well, if you can stand on your legs, shouldn’t you be able to stand on hands? Not convinced? Ok, then here is what I can tell you from experience. The handstand develops your upper body like nothing else. There’s simply no substitution. It makes your shoulders and arms more stable and robust. You’ll definitely feel the newly gained strength and stability in all other pushing movements. For example, all my training clients benefited from implementing handstand training into their routines and increased their pushing numbers (some of them had a 20% increase, which is great, in my opinion). Anyway, no matter what your goal, you should strive to learn the handstand as soon as possible. And, of course, it looks awesome. If you are struggling to learn the skill here are 10 tips that will help you.
2. Handstand Push-Ups
I differentiate handstand push-ups into two types:
- Wall-Assisted Handstand Push-Ups [WA HSPU]
- Free-Standing Handstand Push-Ups [FS HSPU]
They are two quite different things. When we are talking about WA HSPUs we are talking about an almost purely strength move. Balance is not an issue here, while FS HSPUs will require decent balance and stability as well as proficiency in the handstand. No matter what you prefer, it is good idea to train both. Once you get good at them you can increase difficulty in one of these ways:
- Increase range of motion;
- Add a weighted vest;
- Move to one arm work.
Ideally, you should end with weighted full ROM one-arm handstand push-up.
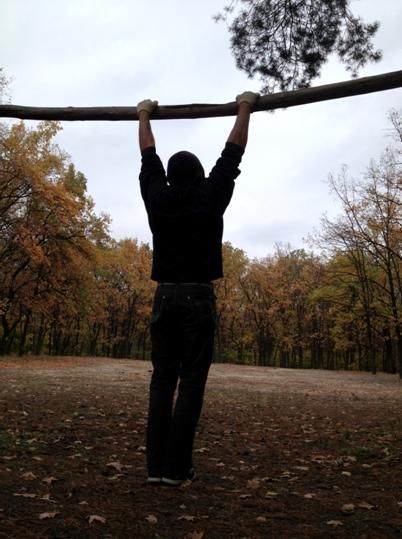
3. Chin-Ups/Pull-Ups/One-Arm Chin-Up
Everybody knows these exercises. You can call them whatever you want, but you can’t deny the fact that chin-up is one of the best lat and biceps builders known to man (if not the best). It is an essential pulling movement pattern and it should be practiced a lot. I won’t get deep into details here, but for the regular chin-ups your main technique points are:
- Back should be arched
- Shoulder blades together
- Chin up until chest touches the bar
Also it would be a good idea to practice chin-ups on different apparatus. Do them on bars, monkey bars, rings, towels etc. This will add spice to your training.
Another interesting thought would be to perform them every day (of course, assuming you can do at least 10-12). Try doing 30-50 Chin-Ups total (in as many sets as needed) every day for the next 3-4 weeks and you can be amazed with your new set of guns and barn door back.
When you are able to perform at least 15 chin-ups it will be a good time to slowly introduce one-arm chin-up work. My main tip would be to get into it very slowly. You don’t want to experience intolerable elbow pain, right? Anyway, I believe that the one-arm chin-up is definitely an exercise you need to master someday.
4. Pistol
You can’t ignore your leg training unless you desire that set of toothpicks you can often see in commercial gyms. There is an exercise that can help you not to look that stupid. It is one-legged squat a.k.a. the “pistol”. You know that it works your legs from all angles and pretty well. But there’s a problem with the pistol. Once you can do 10 reps in the exercise it becomes more endurance oriented rather than strength. What to do in such situation? The simplest solution is to add weight. A weighted vest should be ideal. If you don’t have one then you can use a backpack. Here’s the article on how to do it. Also you can use kettlebells, a sandbag, or a barbell. If you have nothing you can grab a stranger (girl, preferably) and put him/her on your shoulders for added resistance.
But what to do if you have nothing at hand, there are no people around and you feel unstoppable urge to train your legs? You can combine pistols with jumps. Try to jump onto a platform from the bottom of the pistol position. Or you can try broad jumps in pistol position. Use your imagination.
5. Planche/Planche Push-Ups
The planche is another awesome gymnastic position/move you can effectively implement in your training routine. Is it essential? Probably not. But it is a very good test of your straight arm scapular strength. It works your delts, upper chest, lats and biceps quite decently. Also it’s a staggering sight to see a human being holding their body parallel to the ground on straight hands.
Here are a couple of tips:
- Most people don’t have the necessary flexibility in the wrists so it will be a good idea to turn your hands a bit sideways.
- Always perform this skill with your elbows locked. Otherwise, it is not a planche.
- Don’t overdo it. If you want to train it more than two times per week don’t go even close to failure. Otherwise, you’ll feel very annoying pain in your forearms.
Once you master the specific planche position it is good idea to try push-ups in it. For example, once you can hold an advanced tuck planche for at least 10 seconds you can try to add push-ups in this position.
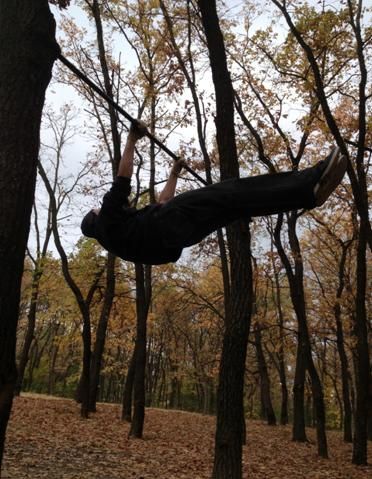
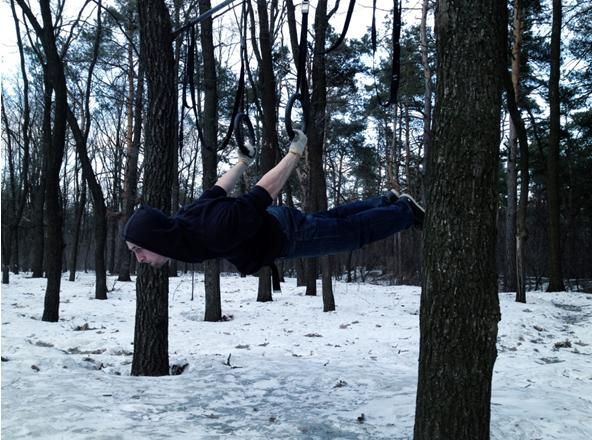
6. Front Lever
The front lever is another useful skill in our arsenal. It works arms and back while torching your core. Many people think that it is easy. Obviously, they are fooling themselves. You’ll need lots of time to master the skill especially if you are 80+ kg and tall.
Again, as with the planche you want to keep your elbows locked. And also you don’t want to overdo it for the same reasons.
A good tip for mastering the front lever is to use a “false grip” while performing it. More on this later in the article.
7. Human Flag
Everybody loves the human flag. It’s a core killer as well as test of upper body strength and stability. There are lots of tutorials on the human flag out there. What can I add? Here are couple of thoughts:
- Don’t start training the human flag before the handstand is mastered.
- Learn the human flag on Swedish bars first (or use some kind of ladder). Then move to pole version.
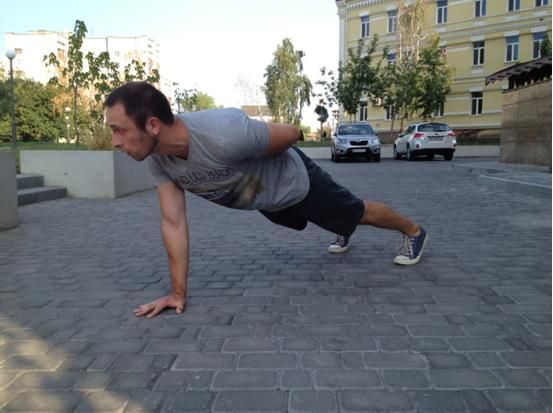
8. Push-Ups/One-Arm Push-Up
What’s so hot about push-ups? Not much. Purely the fact that they lead to the one-arm push-up. And the one-armer is hot by any stretch of the imagination.
A lot can be said about this move but I’ll concentrate on technique points. For me a one-arm push-up “counts” only if:
- feet are not wider shoulder width;
- shoulders are parallel to the ground;
- body is perfectly straight looking from the side;
- twist of the body is MINIMAL looking from the top.
You may ask: “is it even possible?” Yes, it is. But it will require lots of patience and hard work to achieve. Maybe even more than any other complex bodyweight skill. If you need some more inspiration here you can find 10 tips for mastering the Perfect One-Arm Push-Up.
9. Back Lever
The back lever is not a very hard skill but it is essential for learning the planche. Also there are lots of other skills that use this position so it will be smart to spend some time learning it. The most important thing I’d like to share with you is what to do when the back lever is mastered. The most basic thing you can do is to learn Back lever pull outs. You get into the inverted hang position, then lower down into the back lever position, hold it for a second and pull yourself back into inverted hang. Repeat for desired amount of reps.
10. Muscle-Up
I can’t leave this article without mentioning the muscle-up. You can hear or read different things about this skill. Some people say that it is essential and you should master it as soon as possible. Others (usually brainwashed with modern bodybuilding) argue saying that it’s useless because you combine pulling and pushing. They state that you can’t load the pulling and pushing pattern as much as you could if you split them.
Nevertheless, I believe that muscle-up is one of the skills you must learn. And I’m talking about controlled muscle-up here, not the kipping one.
There are two points I’d like you to concentrate on:
- Use a “false grip”—with the thumbs over the bar, rather than wrapped around it. Watch some videos on YouTube on this subject. One exercise that will help you here is false grip chin-ups.
- The main struggle is the transition part. There are three exercises that will help: Russian dips, chest-over-bar pull-ups (pull yourself very high) and muscle-up negatives.
It’s beyond the scope of this article to explain these exercises in detail, but if you want me to explain them just leave a comment and I’ll try to make it happen.
Another interesting thing about the muscle-up is that ring muscle-ups are actually easier than bar muscle-ups. Why? Due to the fact that you can pull the rings to sides during the transition phase.
Closing Thoughts
Of course, you’ll need much more than this article to create a reasonable program. My goal was to show you what exercises would develop your body and what you should focus on while programming your training. What now? You must absorb the knowledge and use it. Thanks for reading.
If you have a fitness-obsessed friend, you can do a good thing and share this article with him or her.
Play rough!
Alex Zinchenko
P.S. If you have any thoughts regarding the topic, let’s chat in comments.
***
It is a pleasure for the PCC to present Alex Zinchenko—the Ukraine’s hottest personal trainer! Alex is a strength addict, coach and author of the Rough Strength blog, where he shares his crazy ideas regarding training and nutrition. He is honest as toothache, straightforward like a train and dares to believe that heavy calisthenics, kettlebell and sandbag training along with intermittent fasting can deliver you all the results you want.
