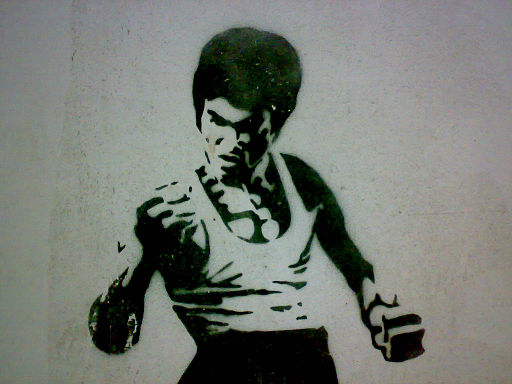
I first learned about the magic of the centerline principle in martial arts. Everything from powerful kicks to dodging punches involved moving in relation to the center of my body as well as the center of my opponent.
As it turns out, the centerline is not only the key to powerful kicks but also developing strength and muscle when applied to progressive calisthenics.
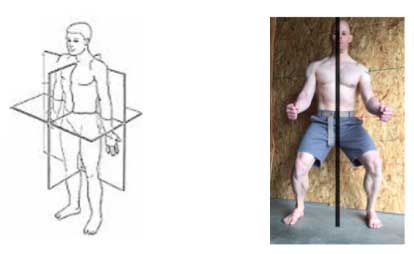
Technically, your body has 3 center lines, one for each plane of movement. The scope of this post is focusing on the centerline that divides your right and left side along the sagittal plane.
Focusing on your centerline is critical towards your strength and muscle building efforts. It opens the door towards developing more muscle control as well as improved performance. It also greatly reduces stress around your joints. Even your balance and agility will greatly improve by directing your muscle tension towards your centerline.
 The image to the right shows how the muscles are arranged to direct muscle tension inwards towards the centerline. Almost every muscle has at least a few muscle fibers that direct force inwards towards the spine. This is yet another reason to practice back bridge progressions, as they develop all of the muscles in this image. While the bridge is classically described as a move for the posterior chain, it is also one of the best techniques for developing tension towards the centerline.
Knowing about the centerline is good, but it’s even more important to know how to use it in practical application. Below are three lessons on how to apply the centerline principle in your training.
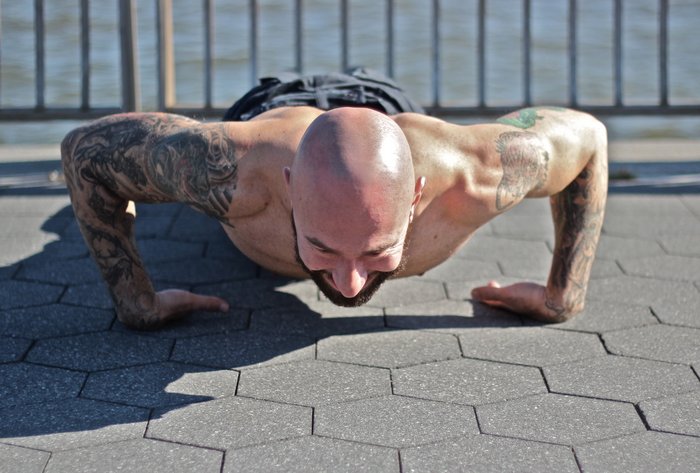
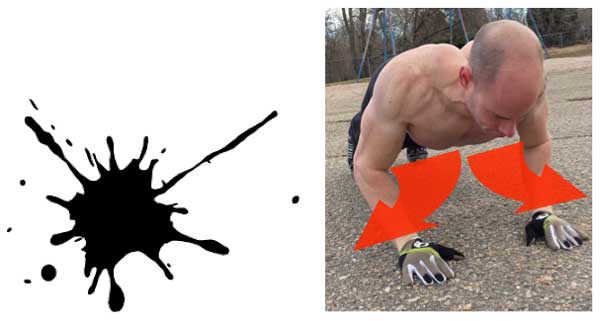
Lesson #1: Avoid the “splat”
The centerline principal works because it encourages the tension in your muscles to converge between the right and left halves of your body. This serves as a powerful transfer of physical energy up against gravity.
You can find evidence of this even in nature, as anything that has been pushed up against the force of gravity is the result of two converging forces. A common example is the Rocky Mountains here in my home state, which were formed through converging forces deep within the earth pushing upward.
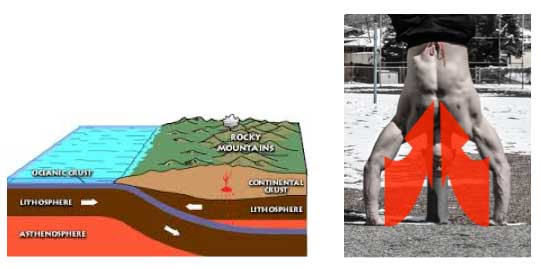
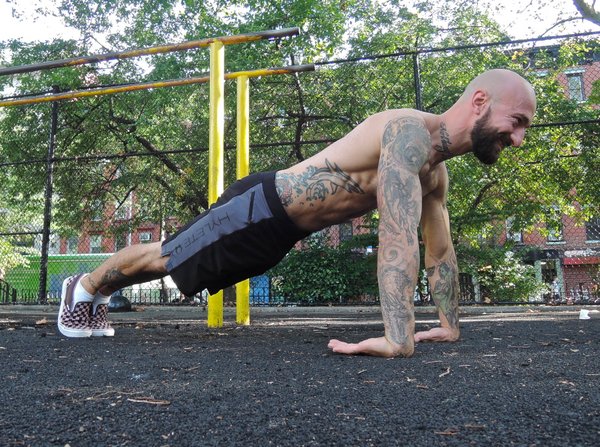
On the contrary, an object that does not have converging force holding it together eventually flattens out. A quick example is dropping a snowball or a glass bottle against a concrete sidewalk. As gravity pulls against the object and it meets an unyielding surface, the matter of the object spreads outwards. This is what I call the “splat effect” and it can happen to your body anytime you are working against gravity.
Through directing your muscle tension towards your centerline you gain stability and muscle control so you can more effectively drive yourself up against the pull of gravity.
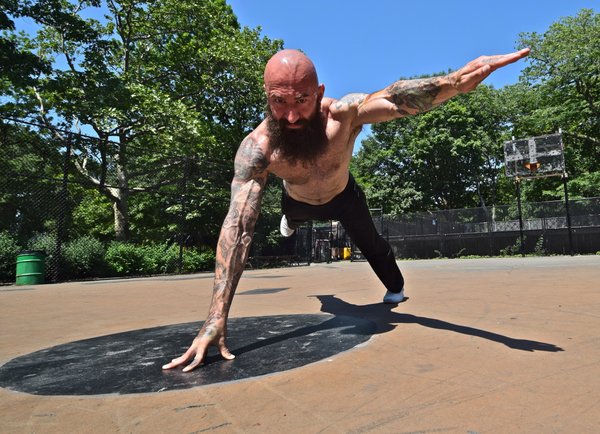
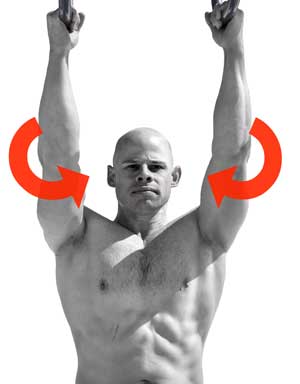
Lesson #2: Progressively apply force closer to your centerline
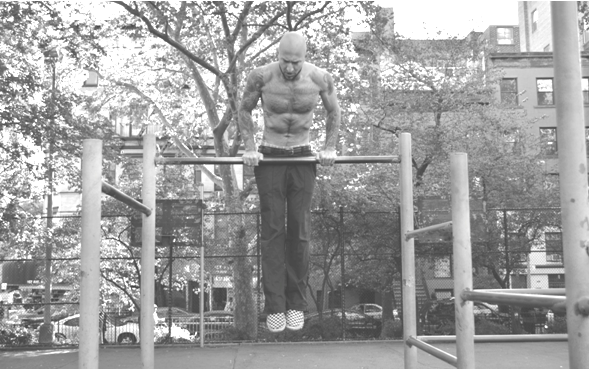
Many of the progressions in Convict Conditioning involve moving the hands and feet closer together. Close push-ups and squats are a great example of this. When you employ this style of progression you are putting force in a more direct perpendicular line against gravity. This brings you a host of benefits including greater flexibility, balance, muscle control plus more range of motion in the joints. It also forces you to be stronger since you are pushing your centerline in the most direct vector against gravity for the greatest distance possible.
It’s important to understand that simply pulling your hands or feet closer to your centerline is only part of the progression. You also want to pull your elbows and knees closer in as well. To a certain degree, you can even pull your shoulders and hips in slightly. I like to think of trying to make myself as narrow as possible. This helps me draw myself inward sort of like a guy sucking in his gut on the beach, only now I’m pulling myself in sideways as opposed to front to back.
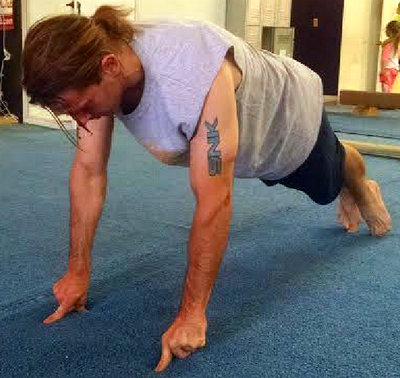
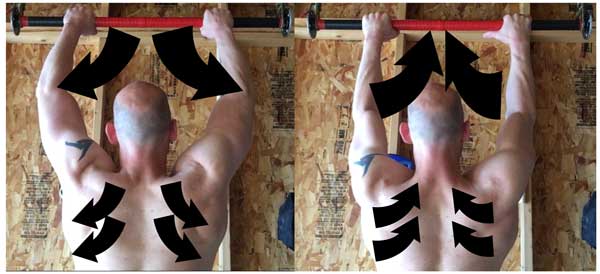
 Lesson #3: “Screw” your limbs inwards
Many of the muscles in the legs and arms “wrap” around your body’s bones and joints, sort of like stripes on a candy cane. Even muscles that look like they run straight up and down the limb have an origin and insertion point that is slightly offset from one another. The reason for this is to partially create inward torque along the limb as you move about. This inward torque is very important for creating that converging force within the body when doing unilateral movement such as throwing a ball or taking a step.
Screwing in your limbs is a little counter intuitive at first because your arms and legs torque in opposite directions to one another. Your right arm and left leg torque in clockwise while your left arm and right leg torque counterclockwise. It’s sort of confusing at first, so I just keep in mind that the knees and elbows both torque inwards. The knees torque in towards your centerline as they bend in front of you, while your elbows toque inwards as they bend behind you.
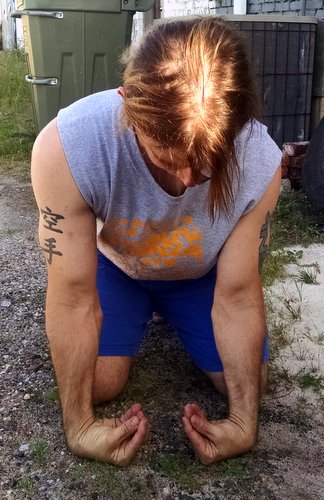
It’s important to note that torquing your legs inwards doesn’t mean your knees cave inwards. When your torque is applied there should be very little lateral movement in both the knees and the elbows. This is why I refer to applying limb torque as “locking up” the limb. It makes it stiff and stable just like twisting a towel makes it stiffer.
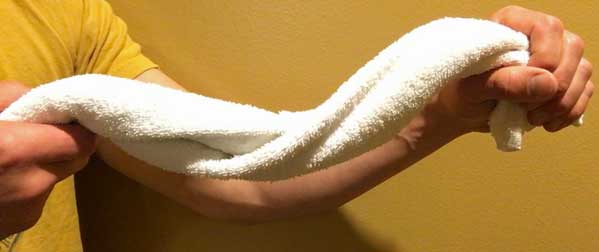
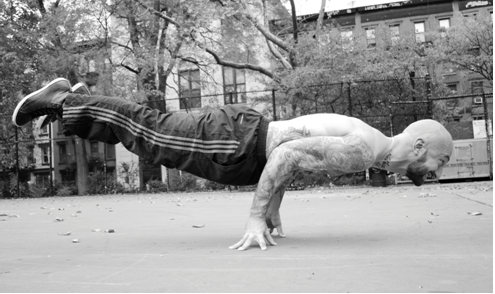
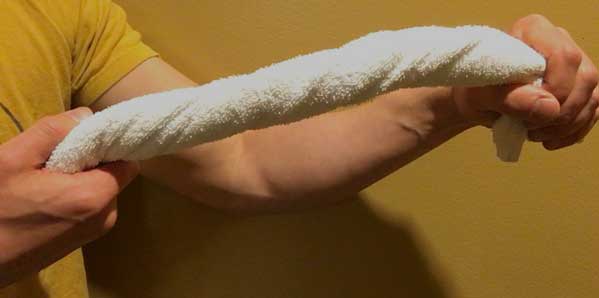 Lock it up! Applying torque on your legs or arms will make them more stable.
If you can apply all three of these centerline lessons you’ll quickly discover more strength, stability, and power than you’ve had before. More importantly, your strength will become more functional and you’ll prevent joint stress that will erode your health and vitality. Just like any aspect of progressive calisthenics, using the centerline principle takes time and practice, so be patient with it. Also, look for opportunities to apply it even if it doesn’t impact the moving limbs. You’ll be amazed at how torquing in your arms can improve abdominal activation with hanging knee raises. Keeping your hands together is also a great way to make narrow and single leg squats more challenging.
Best of luck with your training and let me know if you have any questions down below in the comments!
***
Matt Schifferle a.k.a. The Fit Rebel made a switch to calisthenics training 5 years ago in an effort to rehab his weight lifting injuries. Since then he’s been on a personal quest to discover and teach the immense benefits of advanced body weight training. You can find some of his unique bodyweight training methods at RedDeltaProject.com and on his YouTube channel: RedDeltaProject.