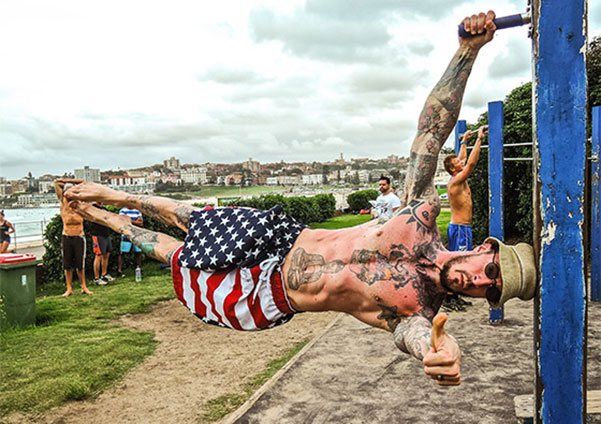
There are a few body parts that often seem limited in training options when working with nothing but your own bodyweight. Neck strength is one of those areas. Sure, you can get a reasonably strong neck from doing wrestler’s bridges and headstands, but these quickly become exercises of endurance, requiring sets of a minute or longer to continue seeing improvement.
Though some coaches would have you believe there are limitations to what can be accomplished with bodyweight training alone, the truth is you can get an extreme workout for every muscle in your body without anything more than a pull-up bar. You just need to be creative!
As practitioners of Progressive Calisthenics know, when you’re able to hold a basic plank for an extended time, you can start to train more advanced skills like the L-sit and the back lever in order to increase the intensity and decrease the time needed to build strength. Wrestler’s bridges and headstands are to neck strength what the plank is to core strength: just the beginning.
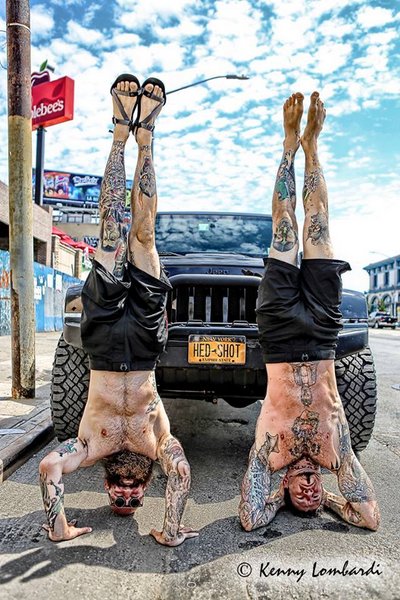
Advanced Neck Strength
Essentially, you can break down advanced neck exercises into two categories: planking and hanging. The easier of the two is planking, which consists of 3 main variations. (I say easier, but keep in mind that all of these exercises are very difficult, so be careful and ease in slowly.)
It’s also worth noting that while these are first and foremost neck exercises, you will likely be surprised by how much work you experience with the rest of your body. The good news is that you can scale any of these exercises by placing a hand (or two) on the ground (or bar) for an assist.
Neck Planks
When practicing any of these variants, make sure to use a soft surface and/or wear a hat with some cushioning. The first variation is the front neck plank. Start by performing the negative portion of a push up. At the bottom, touch your forehead to the ground, brace your entire body, especially your neck, and push into the floor through your forehead. Then if you feel you are ready to, remove your hands so the only contact points you have with the ground will be your forehead and your toes. Try to maintain contact with your forehead as much as possible, minimizing any “rolling” that would result in more of the top of your head making contact with the ground.
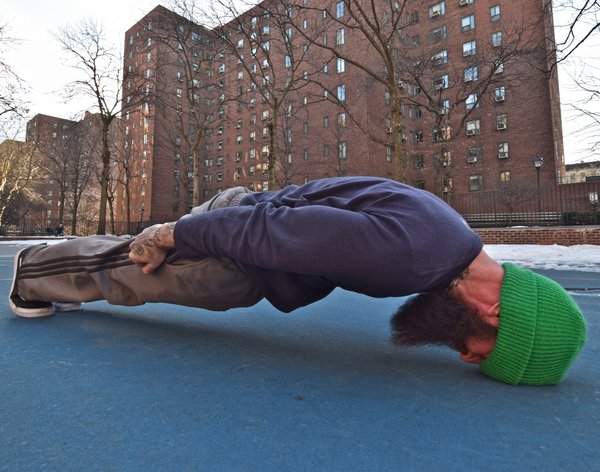
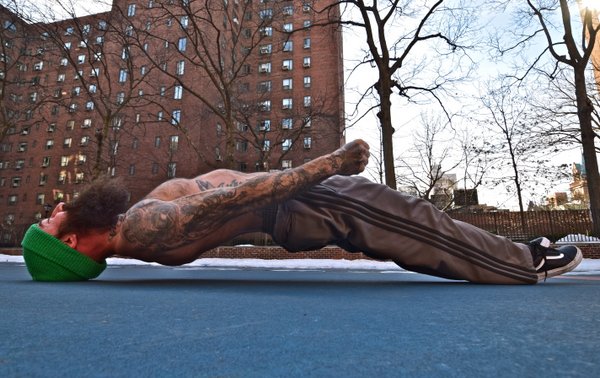
The second planking exercise is a modification of the standard wrestler’s bridge; you could call it a back neck plank. From a wrestler’s bridge, move your head such that the back of your skull is in contact with the ground and your eyes are pointed upward. Forcefully push the back of your head into the floor. The only contact points will be your feet and the back of your head. Once you are comfortable with this, you can work on holding the position with your legs fully extended, such that the only contact points are the backs of your feet and the back of your head.
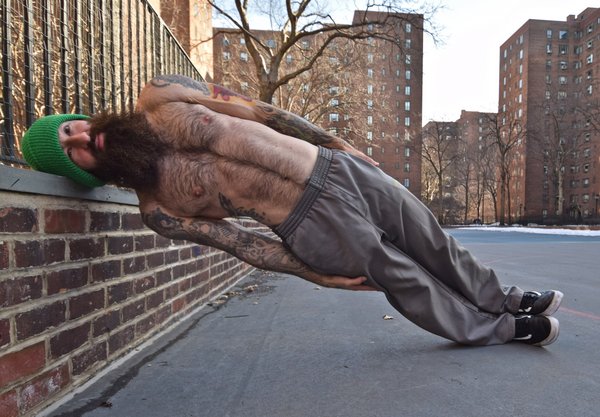
The final planking exercise is a modification of the side plank. Find a low surface upon which to rest your head at about the same level as when doing a side plank. Set your body up in a side plank position with the side of your head resting on the object. Brace your entire body, especially your neck, pushing the side of your head down into the object. When you’re ready, remove your arm, so that the only contact points are the side of your head on the object and the side of your foot on the floor.
Neck Hangs
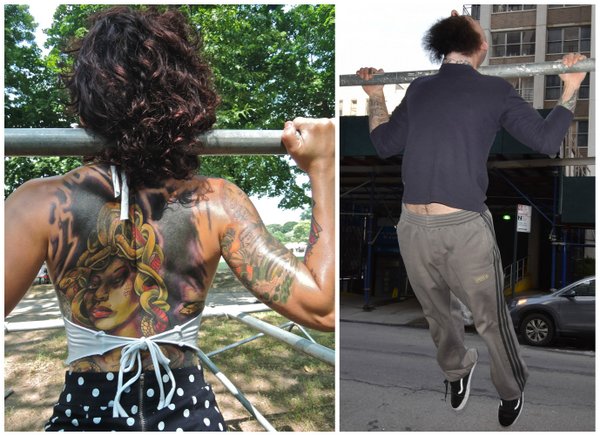
Now on to the hanging exercises! The easier of the two is the back neck hang. Get yourself in the top position of a behind-the-neck pull up. From there, curl the back of your neck around the bar as much as you reasonably can, leaning your head back so that you are looking up. Find a good spot on the back of your head and use it like a hook to suspend your weight from the bar. I find it helpful for counterbalancing to arch your body, so your feet wind up reaching back behind you. With time and patience, you may eventually be able to remove one or both hands.
The harder of the two hanging neck exercises is the front neck hang. This one’s a real doozy! From the top of a pull up, with your jaw on top of the bar, curl your head down, driving your chin towards your chest, curling your body around the bar with your neck strength. If you can, remove your hands and hold for time. It will be helpful to hold your legs/arms out in front of you to counterbalance.
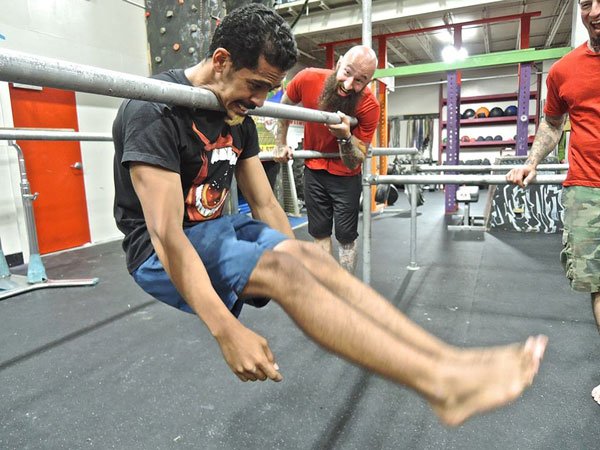
Although this is likely the hardest variation in the article, it may be the easiest to scale. With your jaw on top of the bar and one or both hands on the bar, you can perform curls essentially by nodding – cycle between the neck position of the front neck hang and an extended position, where you let the angle between your jaw and your neck open, bringing your chin up.
Get Neck-ed
Any or all of these exercises can be used to increase your neck strength far beyond what you would attain through basic neck bridges and headstands, without the need for silly head harnesses or other such gadgetry. Start working these progressions and get ready to say goodbye to that pencil neck. One day you might even find yourself doing a human flag on the top of your head like my friend Danny Kavadlo.
****
 Robby Taylor, PCC, is a calisthenics enthusiast and personal trainer located in Denton, Texas. Connect with him on Facebook to find out more.