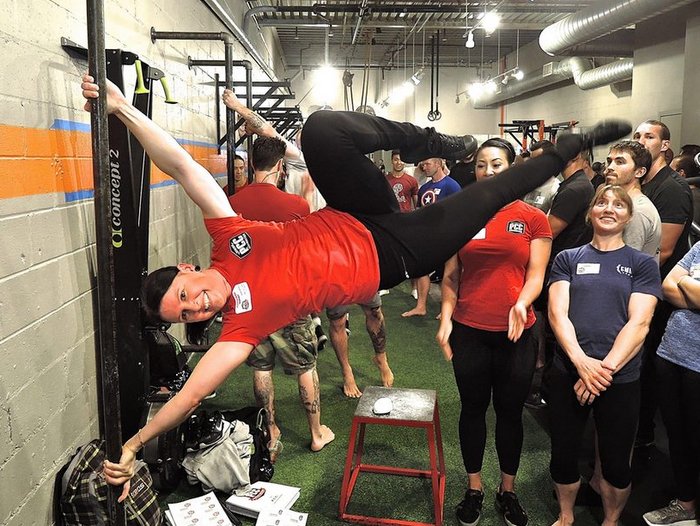
I can still remember my anxiety as I was about to teach my first Progressive Calisthenics class. I found it challenging to train myself, let alone a group of people with varying backgrounds, limitations (both psychological and physical) and fitness levels!
Perhaps you have recently qualified at a PCC, love calisthenics and are looking to share your passion in a group environment. Good luck, my PCC brothers and sisters; teaching calisthenics in a group setting can be tough! Given that most classes are 60 minutes long, devising a system to help people learn new skills and improve their fitness as expediently as possible can be very challenging.
The truth is there is no one “correct way” to structure a calisthenics workout, but there are some basic guidelines and principles that you can follow to ensure your classes are safe, fun and effective.
Here is a 5-step basic blueprint that I use for a one hour class that I hope will help you teach calisthenics in an intelligent and organic way.
The Warm-up
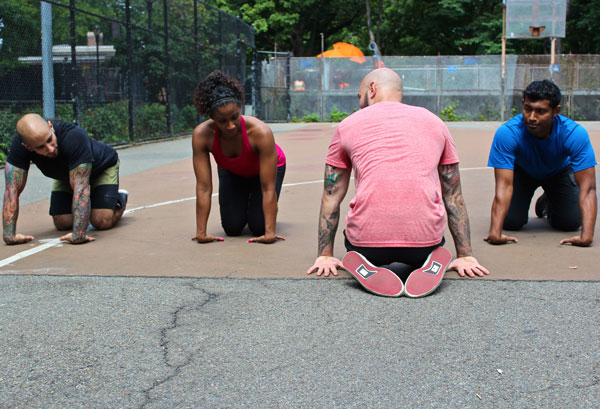
The warm-up serves a number of purposes, yet is often overlooked as a valuable use of time. It’s a great opportunity to check in with the body and the mind to prepare for training. The overall goals of the warm up are to increase body temperature and blood flow, making the muscles more elastic and pliable, and to increase the ROM of joints and start to “dial everything in” for the workout that is to follow.
The warm up should include mobility and flexibility exercises, including thoracic/shoulder, hip and ankle mobility and often the wrist, hands and forearms to prepare the joints and connective tissues for what is to follow.
The warm-up can also include “activation” sets, which involve a few reps of regressions leading up to the primary exercises you are about to practice. For example, you might use a few sets of squats and lunges to warm before working on single leg squat progressions.
Approximate time = 10 minutes
Strength First?
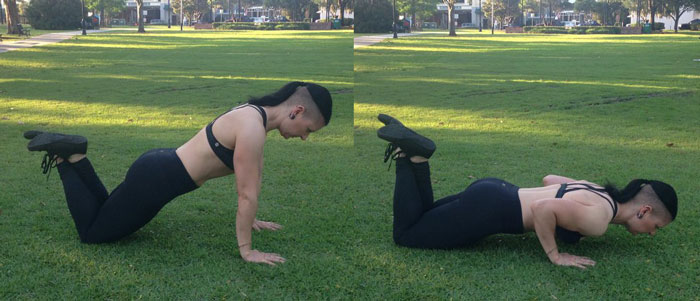
If you are working with beginners, building a proper foundation of strength needs to be your first priority.
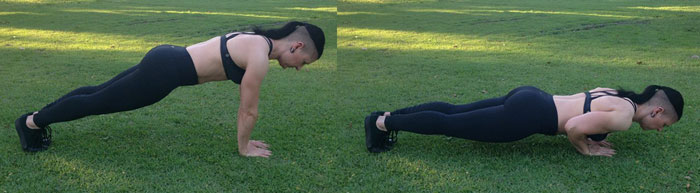
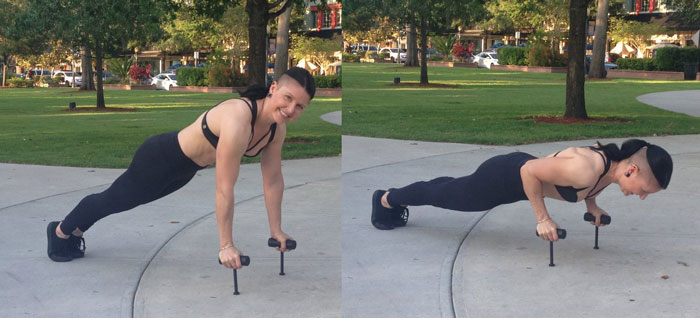
For newcomers, following a structured set and rep scheme just like traditional strength training is paramount. Mastering basics like push-ups, pull-ups, squats and lunge variations are the bread and butter of calisthenics training. They have crossover into everything else.
Furthermore, if your students are planning to eventually work up to advanced holds such as bar levers, flags, or freestanding handstands, it is imperative to be looking to increase their time on more rudimentary holds. This means spending time on things like planks, frog stands and elbow lever progressions. The training needs to be structured in order to move to the next progression. A foundation of strength is crucial to achieve those higher level skills.
Or Skills First…
If your students have worked their fundamentals and strength for a while already, then the exercise that requires the highest skill, balance or power demand should be practiced when they are the freshest. Or alternatively, whatever is your highest priority should come first.
If your focus is something like muscle-ups, handstands or elbow levers, then trying to practice them after fatiguing your upper body will likely leave you too tired.
Once you have finished your “skills practice” at a particular progression, you can then do some “work sets” of reps/holds of some of related regressions or move onto other exercises.
Approximate time = 30 minutes
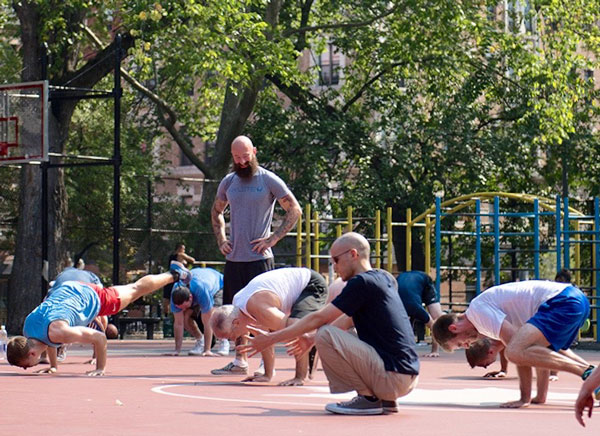
Finishers and Conditioning
I am a big fan of finishers and conditioning work at the end of sessions. Finishers and conditioning can be loads of fun and add variety to sessions whilst being very effective for skill and strength transfer. Exercises like bear crawls, inchworms, crab walks, frogger variations, etc. are all great choices. I also like to turn these types of movements into games whenever possible. Something like “crab walk soccer” can be a nice way to make your students forget how hard they are working because they are having fun!
Approximate time = 10 minutes
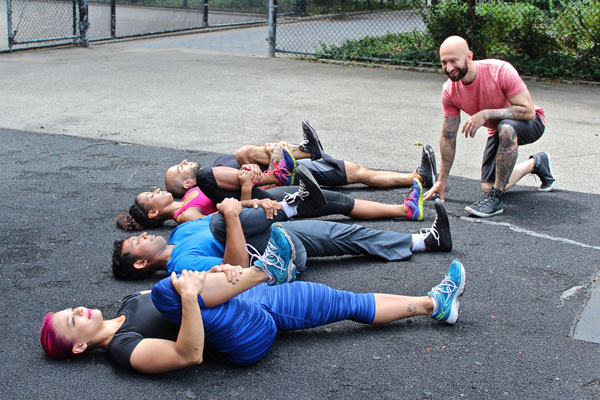
Cool Down
Not unlike the warm-up, the cool down is often glossed over by many people. It’s a great time to work those flexibility restrictions that might be inhibiting your practice as well as letting your body know that the workout is winding down and it’s time to shift into recovery mode. In addition to stretching, you cool down may consist of joint mobility, diaphragmatic breathing exercises and other body awareness drills.
Approximate time 5-10 minutes
Going out into the world to teach progressive calisthenics can be a daunting task. I’ve been doing it for a while now and still find it challenging. However, it is a lot of fun and highly rewarding to see your clients making progress.
Goals are important, but the process is even more important. Hopefully this basic blueprint will give you a structured approach to your classes while giving you ample scope to make them fun and effective.
Drop me a line a let me know how it goes!
****
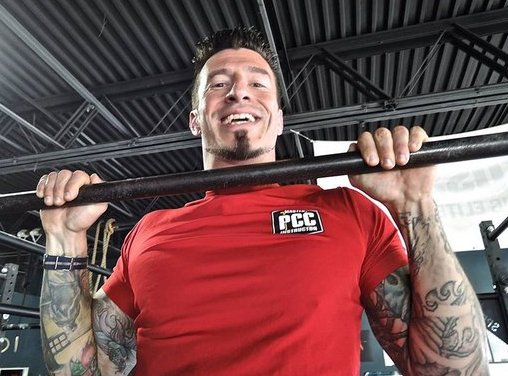
Matthew Beecroft is a PCC Team Leader, Senior RKC, and CK-FMS certified instructor. He is also a GFM and Animal Flow instructor and Expert Level 2 instructor with Krav Maga Global and a Muay Thai coach who has trained amateur and professional Muay Thai champions. He can be contacted through his website www.realitysdc.com.au or his Facebook page facebook.com/MeetLifeHeadOn
 Your Grip = Your Health?

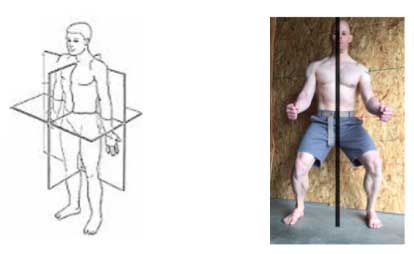
 Our multifaceted, dynamic body moves in three dimensions with every step we take. The standard function of walking requires a synergistic rotation of the shoulders, spine, and hips. Whenever watching the body move, the transverse plane will always be in “plane” sight.
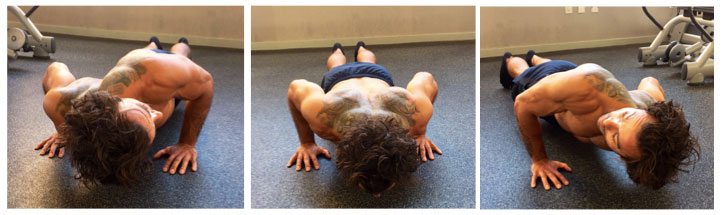
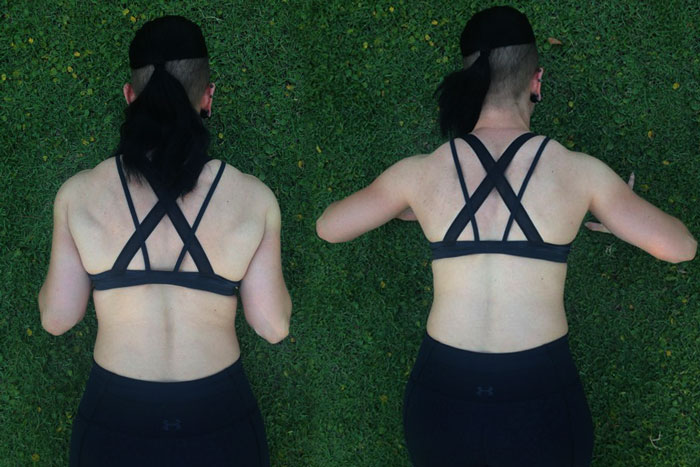

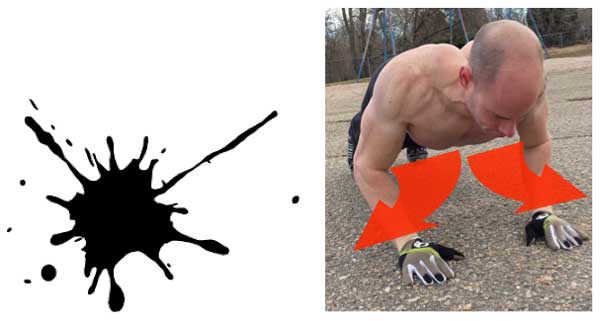
 The image to the right shows how the muscles are arranged to direct muscle tension inwards towards the centerline. Almost every muscle has at least a few muscle fibers that direct force inwards towards the spine. This is yet another reason to practice
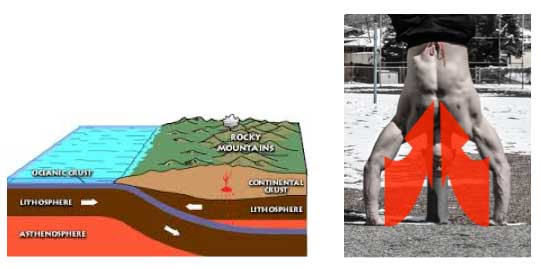
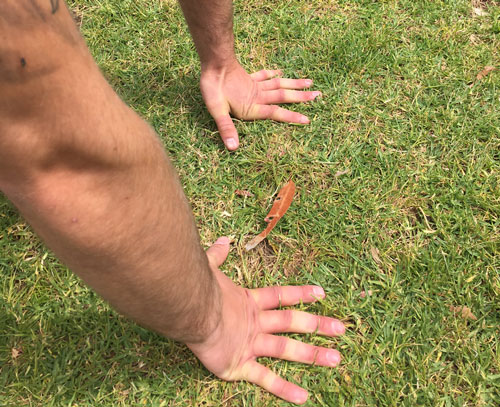
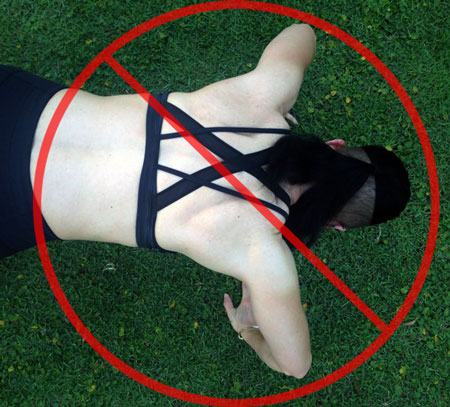
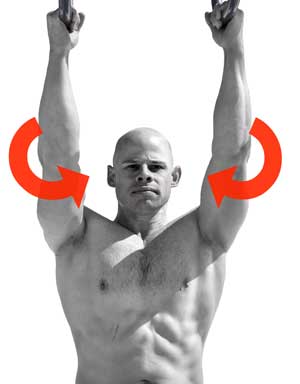 Lesson #3: “Screw” your limbs inwards
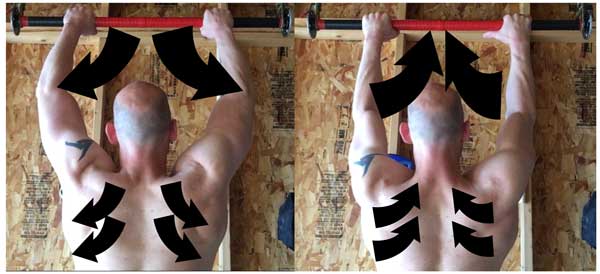
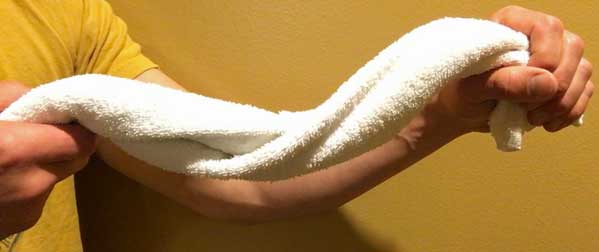
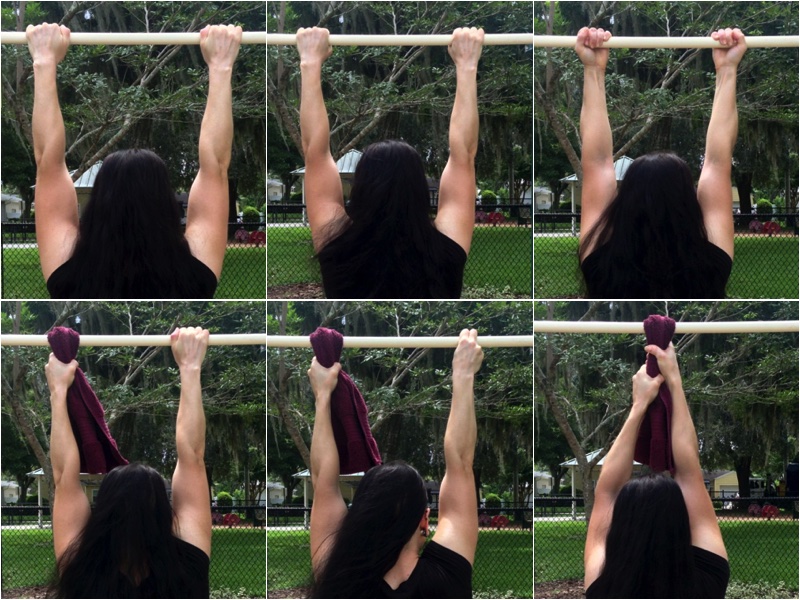
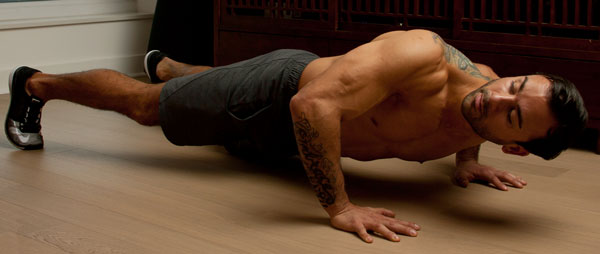
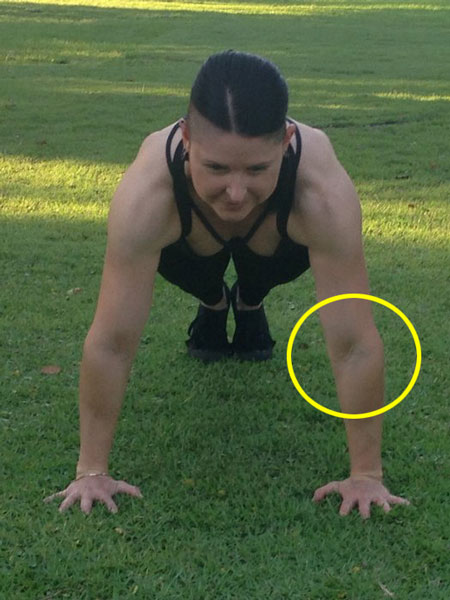
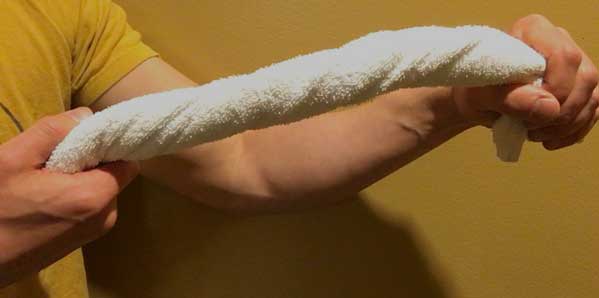 Lock it up! Applying torque on your legs or arms will make them more stable.