A basketball coach walks into the gym and witnesses one of his athletes shooting free throws. He makes 1 out of 50 shots. The coach asks the athlete what he’s doing and the athlete replies “practicing free throws.” The coach then asks him a simple question: “Are you practicing making them or are you practicing missing them?”
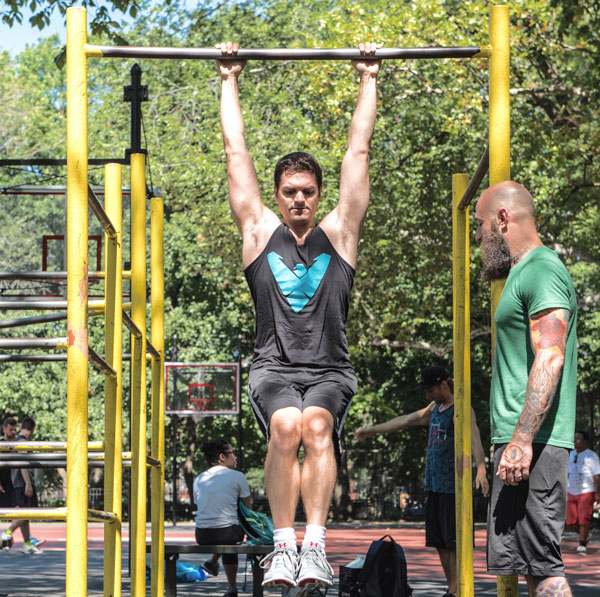
Pull-ups are kind of like free throws. They take practice, but you have to make sure you are practicing the right way. Though many people feel that they would have an easier time climbing Mount Everest than accomplishing even one pull-up, I hope to show you a different approach that will not only help with your pull-ups, but many other bar exercises as well.
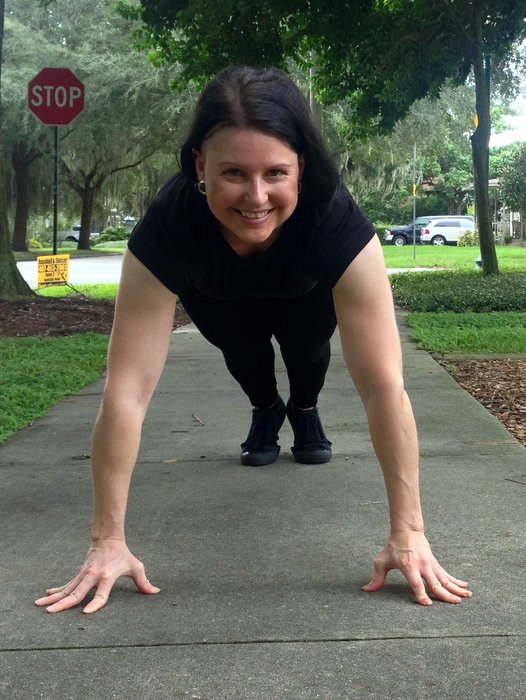
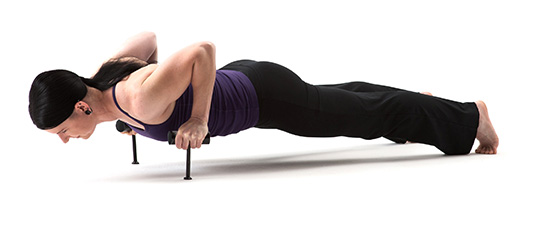
When I started my own practice in calisthenics I was able to get my chin above the bar, but it really was far from a perfect pull-up. I sensed that something was off so I began to film myself doing pull-ups. It’s not always easy to be critical of yourself but I knew that this was an essential element of perfecting this exercise. I broke it down step by step from the first pull to the middle section and then to the top of the bar. Then I studied it in reverse while lowering myself. I found that I was a complete mess!
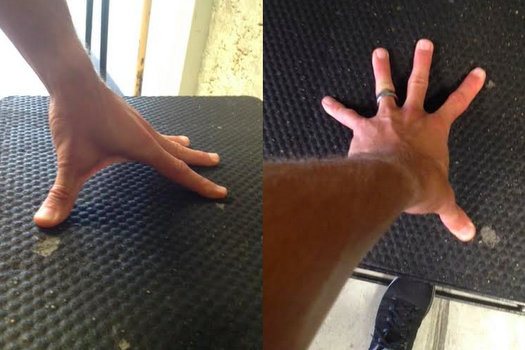
It made me think back to the story about the free throws. I applied that coach’s criticism to my situation and realized that I was practicing my pull-ups without much regard for quality. It was obvious that I had to make corrections. I started with the initial pull. To my surprise, I found that I was pulling more from my biceps, which caused me to round my shoulders too much. A lack of strength in my scapulae was a real issue. I also discovered a lack of grip strength. In order to fix this problem I decided to scale back and dedicate my pull-up practice to different variations of hanging on the bar in order to work my way back up with proper technique.
Here’s what I did:
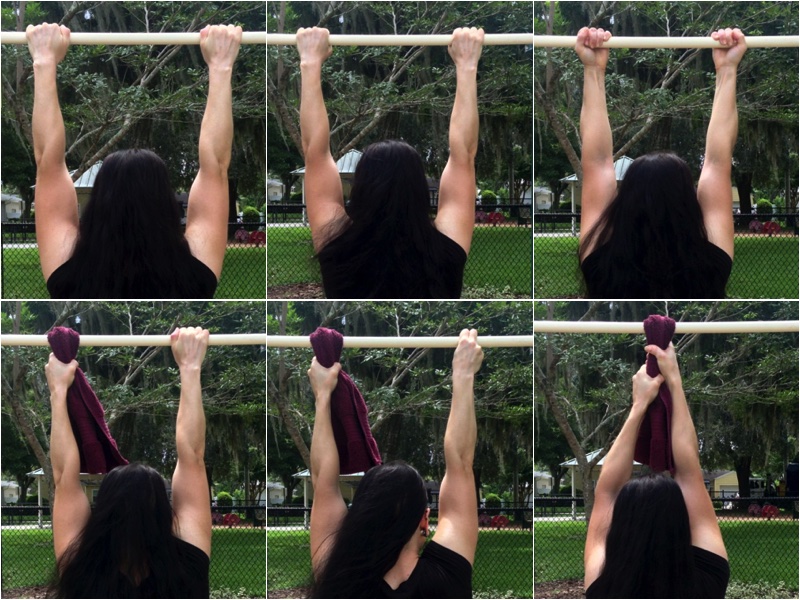
Dead Hangs
I started with the basic dead hang. The dead hang is such a great introduction to calisthenics bar training. It not only preps the hands but also decompresses the spine. Plus it opens up the chest so you can gain better shoulder mobility.
Start out with 10-30 seconds at a time. From there you can build to longer hangs. I recommend playing with different grips on the bar as well: Supinated, pronated and alternated grips are all fair game. I also suggest using a variety of different hand widths to add to the benefits of the dead hang. Using different grips will work the body in different ways, which can help you discover where your individual strengths and weakness lie.
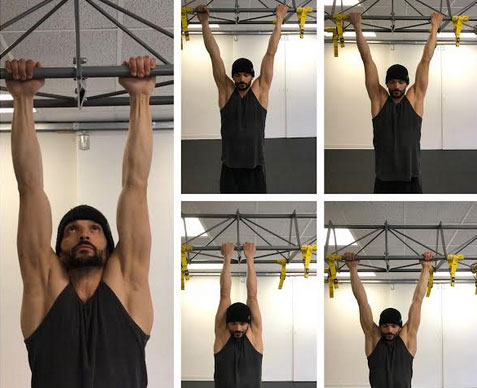
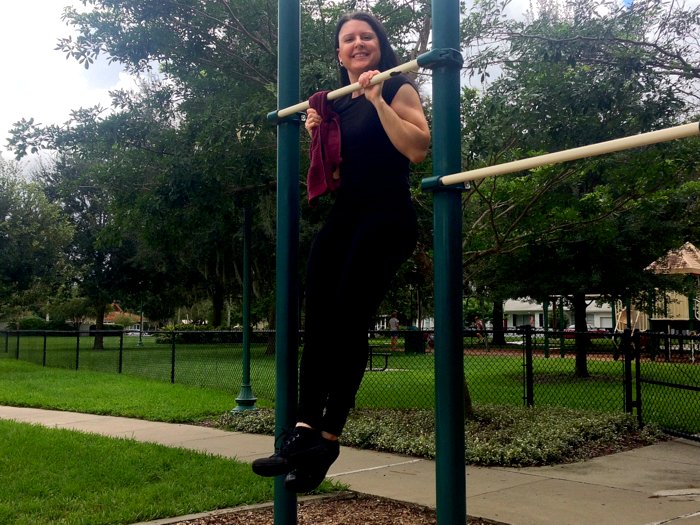
Active Hangs
The active hang is the next progression. In this variation, you’ll still be hanging with your arms completely straight, but your lats and shoulder blades will be engaged to “pack” the shoulders into their sockets. Adding this move into my programing leveled up my strength more than I could imagine. Active hangs helped me understand the proper muscle sequence in the motion of the pull-up, with scapula depression being first and foremost of the movements. As with dead hangs, I encourage you to explore and play with different grips.
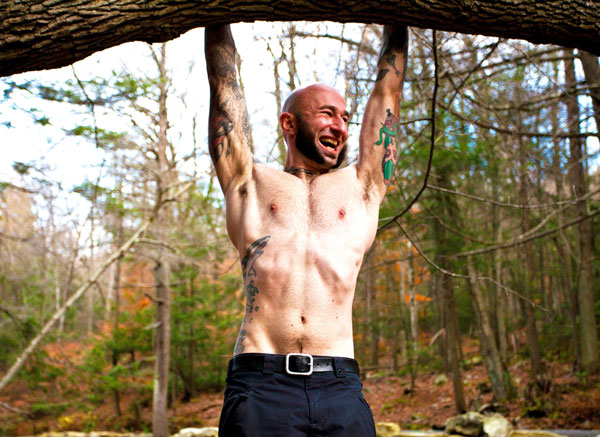
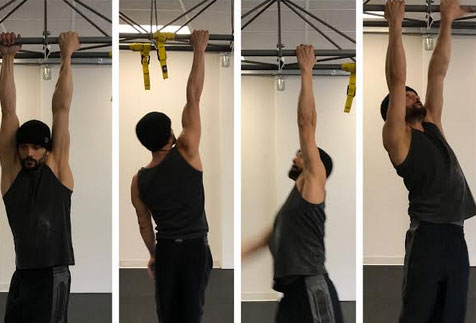
Active Arch Hangs
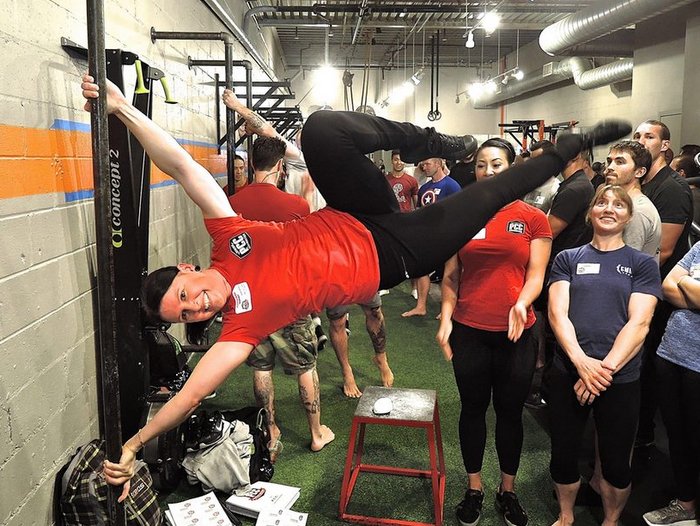
These are one of my favorites! The active arch hang is one of the most challenging due the the body position needed. The goal is to hang with an arched back, while actively depressing and retracting the shoulder blades. It’s almost like a back bridge combined with an active hang. This will not only increase one’s strength in pull-ups, but will also aid you in someday catching the extremely challenging front lever.

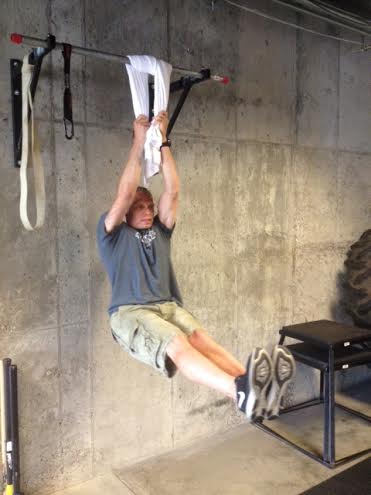
Ape Swings
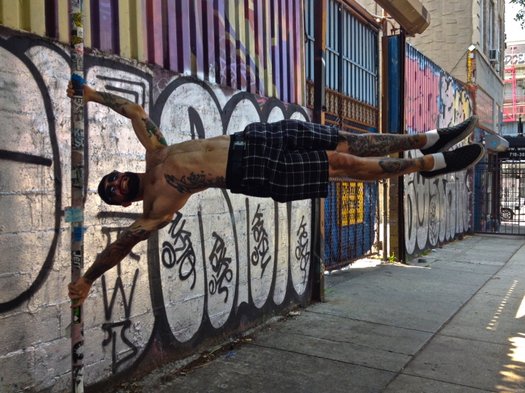
This exercise requires stamina, strength, control and mobility in order to accomplish. Start off in a dead hang with a mixed grip (one palm facing away and the other facing towards you). From here, release the palm that is facing you and rotate your body beneath the bar, switching your grip for the other side. Continue moving across the bar in this fashion, then reverse direction. What I love about this exercise is the control and scapular strength needed in order to bring yourself up enough to grab the bar. Each rep is almost like a one arm scapula pull-up.
****
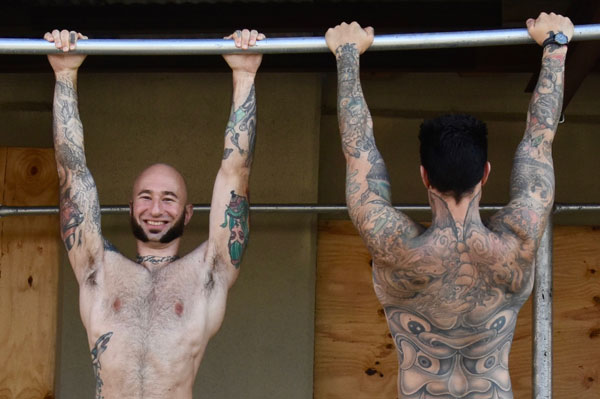
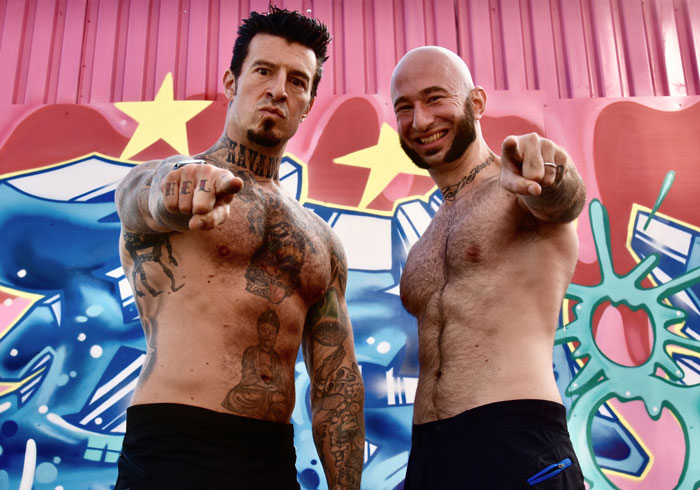
George Corso is a PCC, RKC, CSCS, NSCA-CPT, Certified Animal Flow instructor and the co-owner of FORZA in Millbrook, NY. For more information, connect with George on Facebook.
 Your Grip = Your Health?