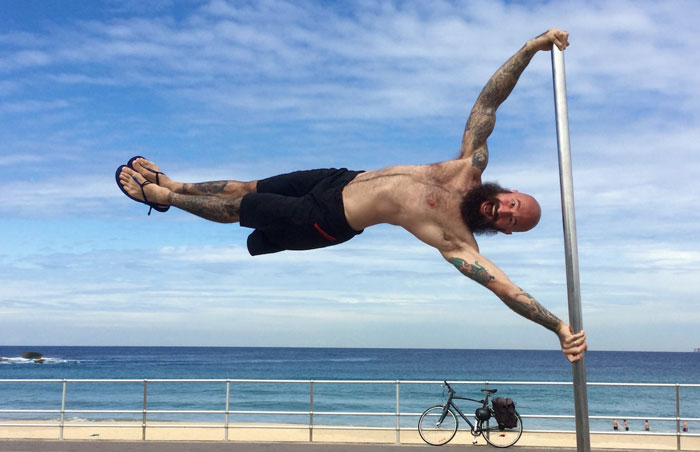
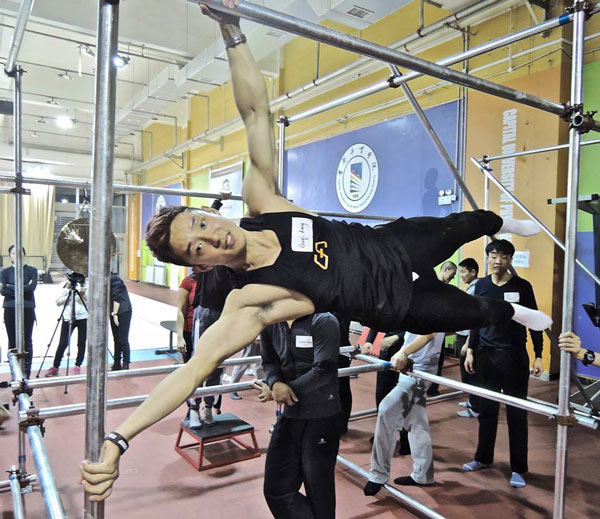
When someone asks me how long will it take to learn an elbow lever, human flag, handstand or any other intermediate/advanced level calisthenics move, my response is always, “It will take as long as it needs to.”
For the most part, if your only concern is how long it will take to achieve your goal, I believe you are in it for the wrong reasons. Immersing yourself in a healthy daily practice of self-improvement is really where the gold is. Not the destination—although it is totally sweet when you do get there.
When it comes to learning calisthenics, everyone has different athletic backgrounds and everyone learns at their own pace. It also depends on the coaching and the cues that are used.
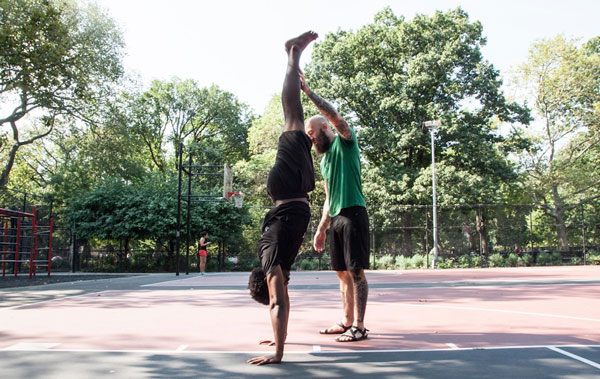
For example there is no “one” way to learn a handstand. There is no secret or holy grail. Some of the best hand balancers are self-taught, and while their methods may have worked for them, they may not work for you or your athletes.
Most gymnastic coaches will swear to you that their way is the best way and yet they all differ in their approaches. The background of the trainer, whether it is gymnastics, calisthenics, yoga, circus or b-boy will usually determine how the handstand is taught. So the cues that coaches use, and how that resonates with the student can heavily influence the learning outcome.
So the, “How long will it take me?” question is an impossible one to answer.
I’ve also been blown away by my own assumptions. Some people, because of their athletic background, I have assumed would progress very quickly, and have not, and others with no athletic background, have surpassed my expectations very quickly.
Such is the complex nature of skill training and calisthenics.
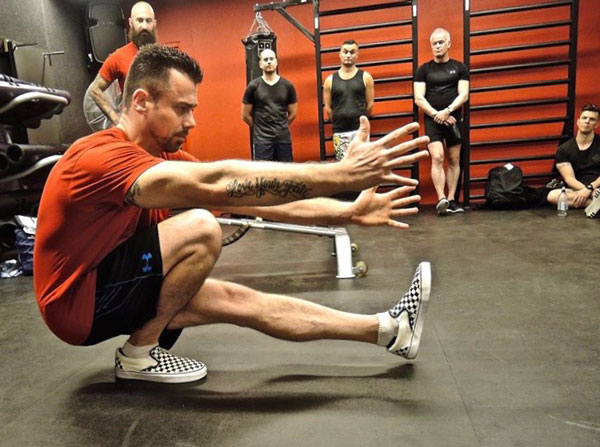
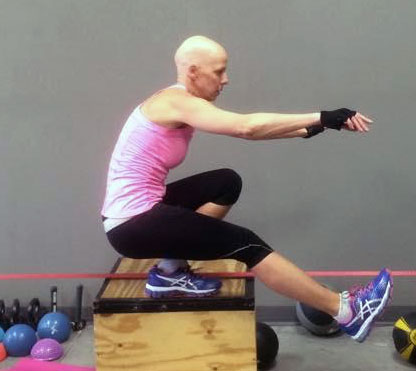
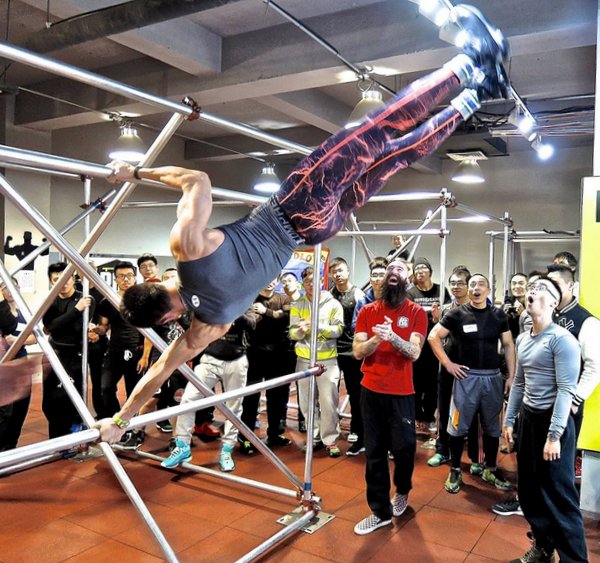
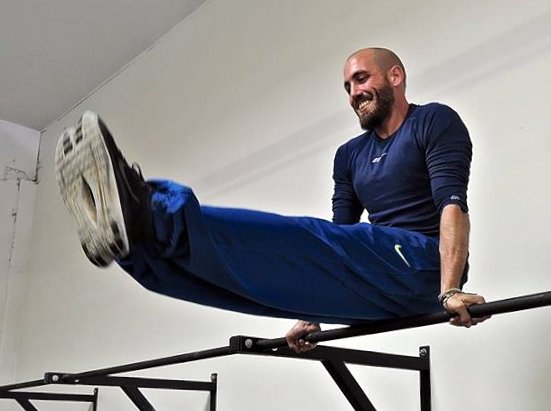
Advanced calisthenics exercises are skills, and skill work does not always progress in a sets-and-reps mentality, as other strength based training often does. That approach can work with early progressions, but as you get closer to your end point—be it a handstand, human flag, pistol squat or other such feat—the training needs to be more organic.
So once you can kick up into a handstand, or perform any other calisthenics position, exercise or hold, how do you know that you are improving?
As you progress there are subtle things that you will observe. It’s not just whether you can hold the progression or do a number of repetitions that is important as you work towards mastery. And sometimes it can be really hard to know if you are improving or not.
Here are five questions to ask yourself in any of your exercises in order to gauge your progress:
- How does it feel?
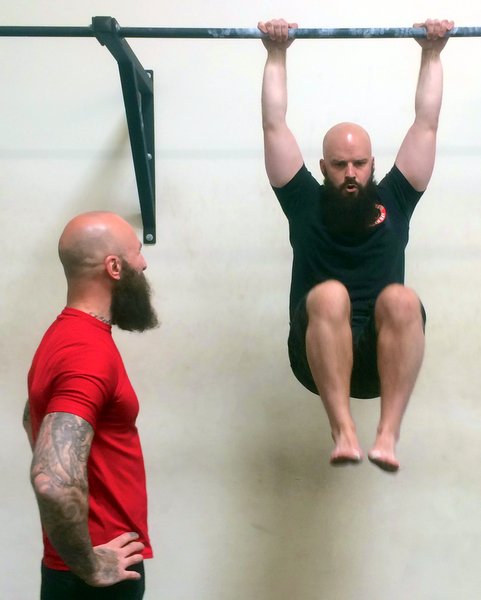
First, how hard do you feel like you are working on a scale of 1-10? This is known as the rate of perceived exertion (or the Borg scale or RPE) and ultimately we would like it to be a 6 or lower (10 being the highest). In other words, the hold or repetitions should feel “moderately easy” before you move onto a harder progression.
Similarly, I believe a progression generally isn’t achieved unless the participants perceived exertion level is a 7 or lower on a scale of 1 to 10, while their rate of perceived technique is a 7 or higher. And a rate of perceived discomfort (10 being agony and 1 being insignificant annoyance) should be no higher than a 3 out of 10, and there should certainly be no pain. Once all these things are roughly in line, then we are ready to move along to the next level as some proficiency has been achieved. If you feel you have plateaued at a certain number of reps or time for a hold, look for these three parameters. You are probably improving and didn’t even know it!
- How is your breathing?
Here’s my best advice on breathing: don’t stop! Breathing is a big indicator of a person’s overall comfort level. When a participant is in fear or working at the edge of their threshold, they will typically inhale and hold their breath, bracing the body. This is a high threshold training strategy and it’s not typically sustainable for longer sets or holds. When breathing is synchronous with the movement performed, we have moved into a higher level and are one step closer to mastery of an exercise. If your breathing is comfortable and controlled, you are winning!
- Are you in control?
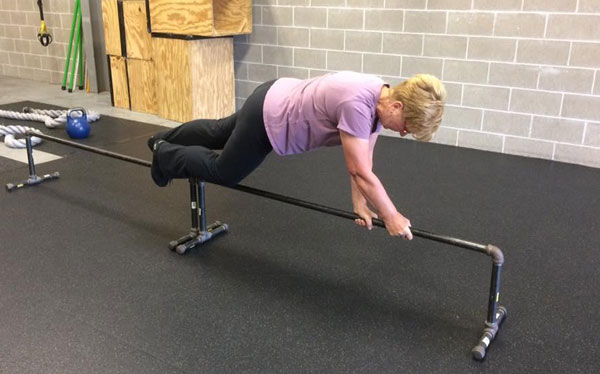
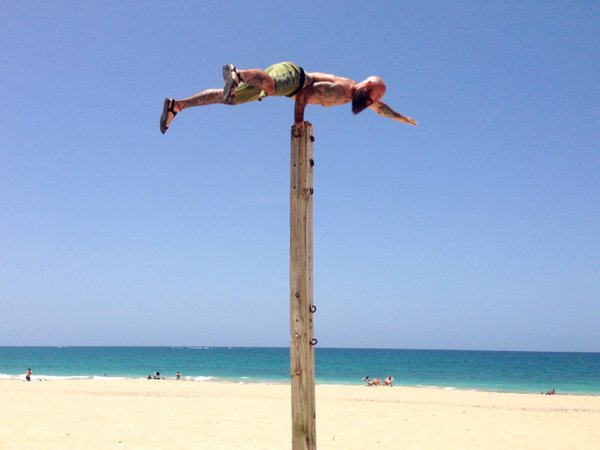
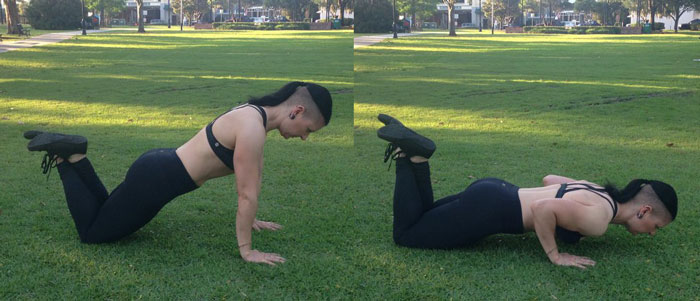
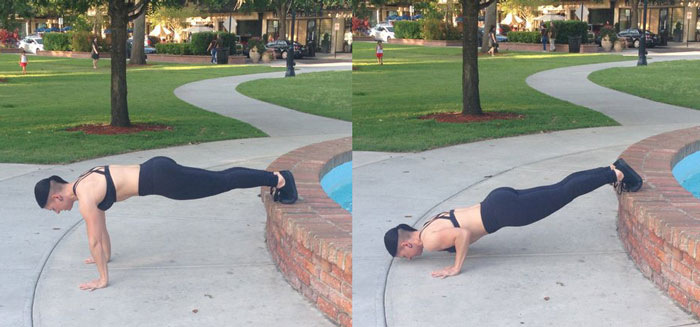
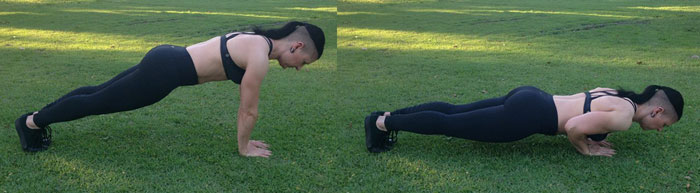
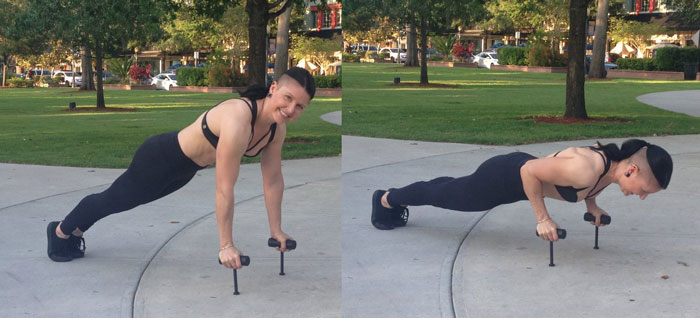
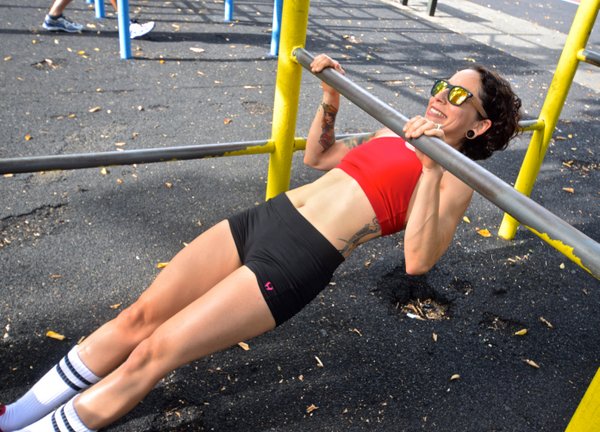
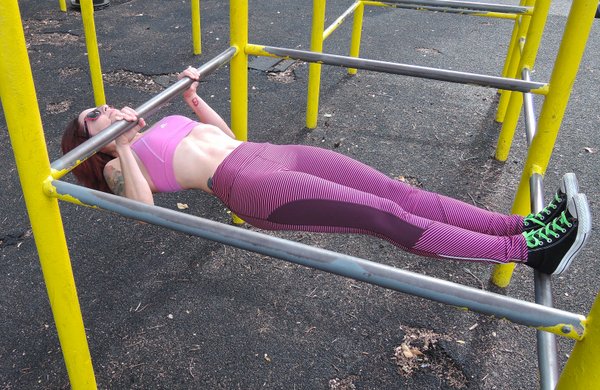
Calisthenics is all about being able to control your body. If we look at the example of the handstand, many people are very heavy whilst kicking up and coming down from the wall. Being able to come into a position and out of a position softly, slowly and with ease shows true movement competency. When learning the handstand, kicking up against the wall too hard teaches you to over-kick, which will make learning the freestanding handstand more difficult.
As skills progress, your body awareness improves as does your awareness of your surroundings. This may mean your ability to gauge your distance from a wall correctly, or a fellow practitioner (scissor kicking someone in the head while coming down from a handstand is never a good move.) So if your calisthenics are becoming more controlled, and you are becoming more aware of your body and your training environment, then you are certainly improving.
- Do you need a lot of preparation time or recovery?
What you will notice is that as you continue to work your calisthenics, the soreness and stiffness you once experienced isn’t the same. The body is an adaptive survival machine and it gets efficient quite quickly, so recovery from exercises you are used to doing is more expedient.
Secondly, as our skills improve we need less time to prepare the body. It has always amazed me that masters can often just go into a position, hold or perform repetitions or display amazing skill with no prior preparation – the body just “knows” it. That’s not to say they don’t warm up or do preparation work but the skill is performed on command. So as you progress in your training you will feel that you can move into a hold or do a certain number of reps when you feel like it without all the preparation, and depending on what your training entails, your recovery will be quicker too. This means you are making progress!
- Is it repeatable?
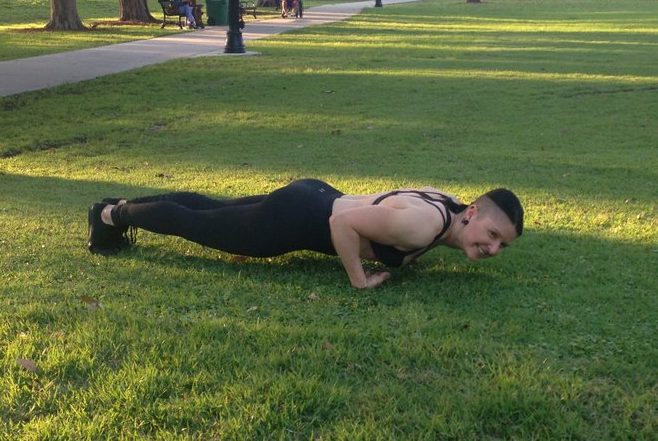
To go back to our example of the handstand, being able to hold a consistent and repeatable 10 second handstand is what I consider actually being able to do a handstand. Not a fluke hold for a second or two depending on which direction the wind is blowing.
An “on command” and consistently repeatable 30 second freestanding handstand is considered a benchmark before moving onto more advanced balancing variations by many professional hand balancers. This is considered to be an amateur balancer!
Some days or weeks you will feel like you are not progressing at all, and then others you will feel like you are really getting somewhere. There are going to be lots of peaks and valleys that will be part of your journey. It is all just feedback. Please don’t worry about failure with your training. Often when you feel you aren’t getting anywhere or you have plateaued, is often where you are learning most. Just keep on turning up. It is all about the positive mental attitude.
If you look for these markers of improvement listed above, you may be more dialed into the subtleties of your training, which in itself is a form of growth. Progress is not always set, rep or time orientated. It’s not always about the numbers!
There will be light bulb moments in your training but the real magic is in the small improvements from day to day, week to week and month to month. Learning calisthenics is never a linear progression. If you are like me, longevity is the ultimate goal and this is measured in years, not workouts.
****
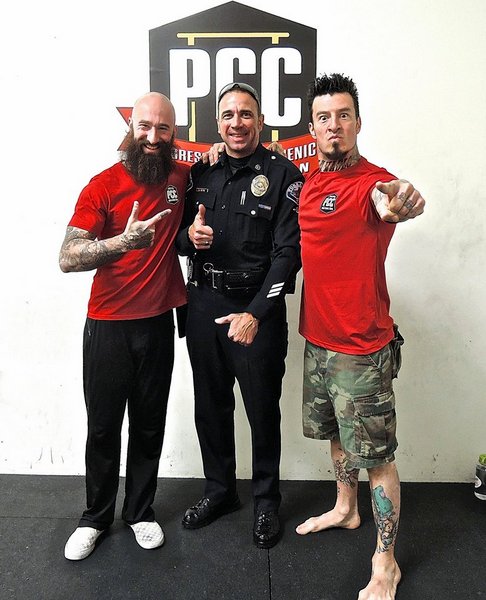
Matthew Beecroft is a PCC Team Leader, Senior RKC, and CK-FMS certified instructor. He is also a GFM and Animal Flow instructor and Expert Level 2 instructor with Krav Maga Global and a Muay Thai coach who has trained amateur and professional Muay Thai champions. He can be contacted through his website www.realitysdc.com.au or his Facebook page facebook.com/MeetLifeHeadOn


 At the end of the day, my goal is to become the best version of myself possible, and to help further others in their own journeys. My hope is that you might take notice of this post and give your own squeaky wheels some grease. Because let’s be honest, we’ve all got them! And don’t forget to keep it simple.
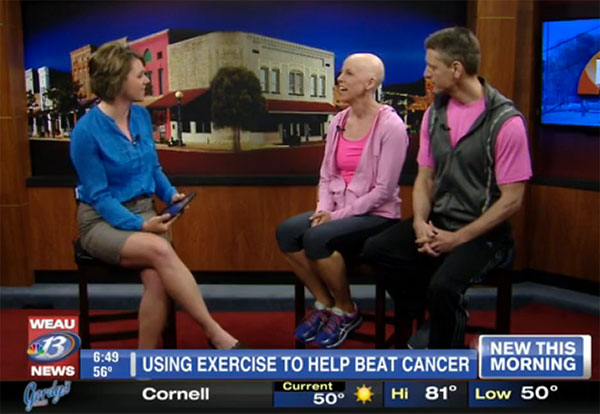
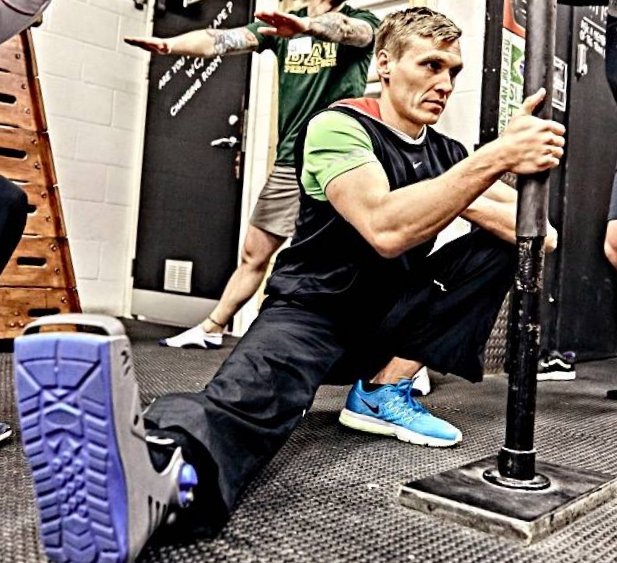 In the life of an athlete, there is a high likelihood that injury will disrupt our training plans at some stage. As much as we try to prevent our bodies from breaking down, and do our utmost to push ourselves to the limit without crossing the line between optimal performance and injury, our fitness journeys don’t always go as planned. But how many of us use an injury as an excuse to feel sorry for ourselves and take a break from training? Don’t fall into that trap; an injury can actually be a fantastic opportunity to reflect, re-evaluate and shift focus to work on a different area of fitness.
 I continued to seek medical advice from my doctor but ‘rest’ from exercise only meant resting from any exercises which could have worsened my injury. Whatever injury or setbacks you have, there will always be some form of training you can do. Even if physical activity was not possible, I knew
 Life Lessons
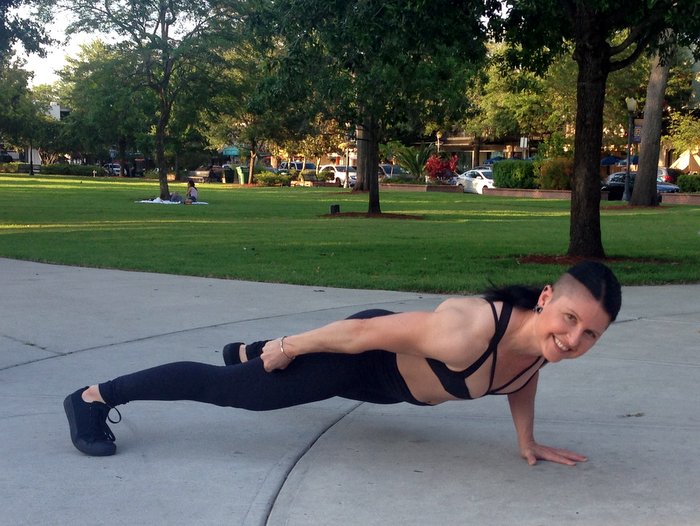
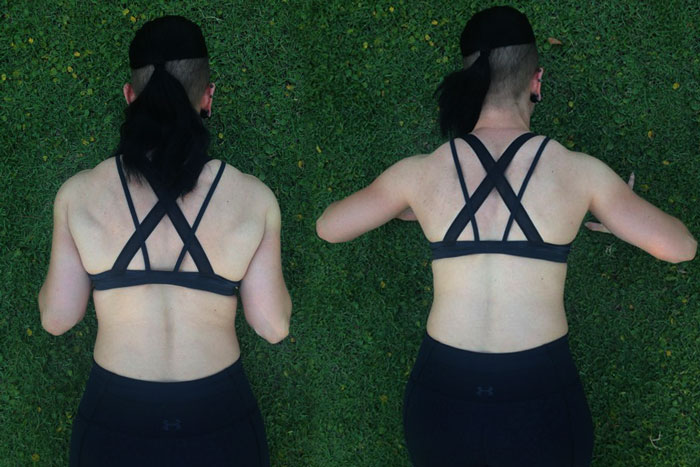


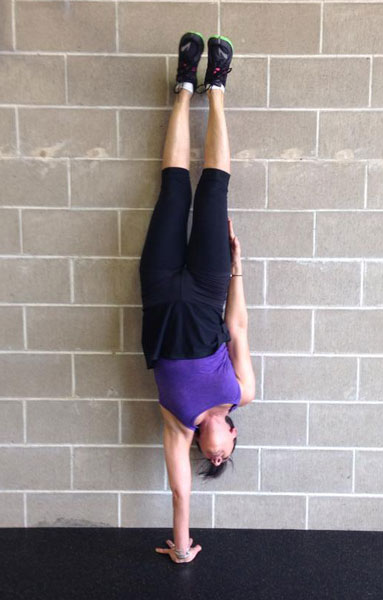
 The image to the right shows how the muscles are arranged to direct muscle tension inwards towards the centerline. Almost every muscle has at least a few muscle fibers that direct force inwards towards the spine. This is yet another reason to practice
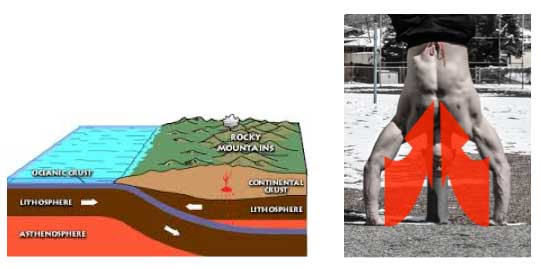
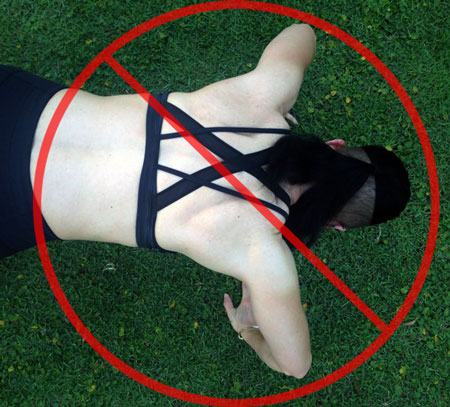
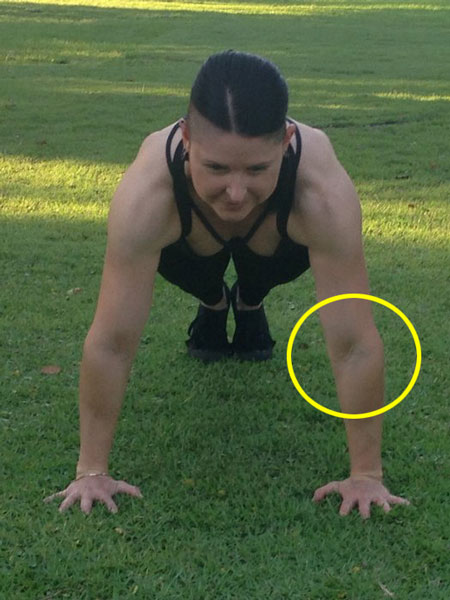
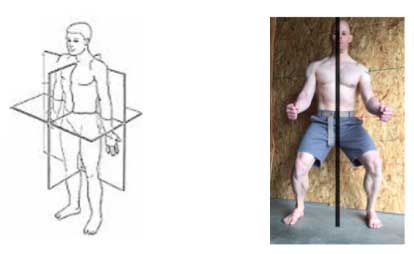
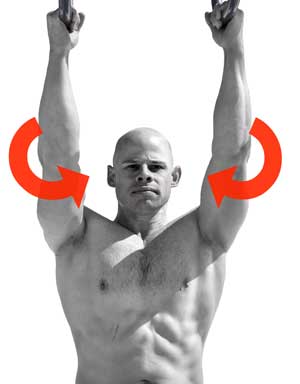 Lesson #3: “Screw” your limbs inwards
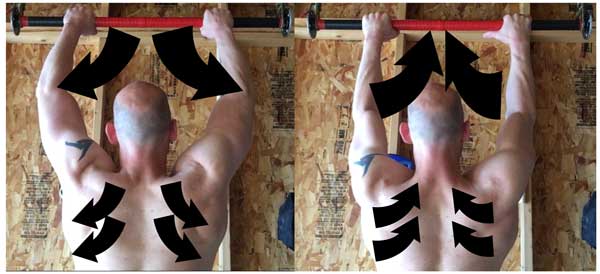
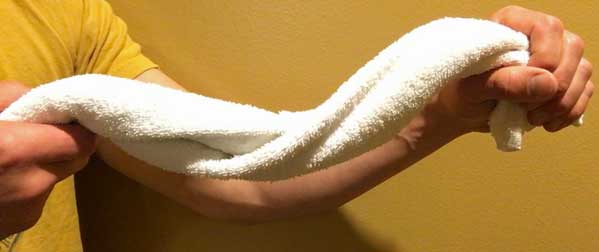
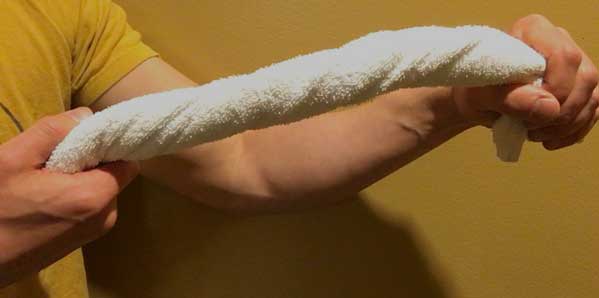 Lock it up! Applying torque on your legs or arms will make them more stable.