One of my absolute favorite parts of any teaching situation is the opportunity to troubleshoot and help teach the troubleshooting process. This not only helps the participants with their own workouts, but teaches them how to help their clients make big changes quickly.
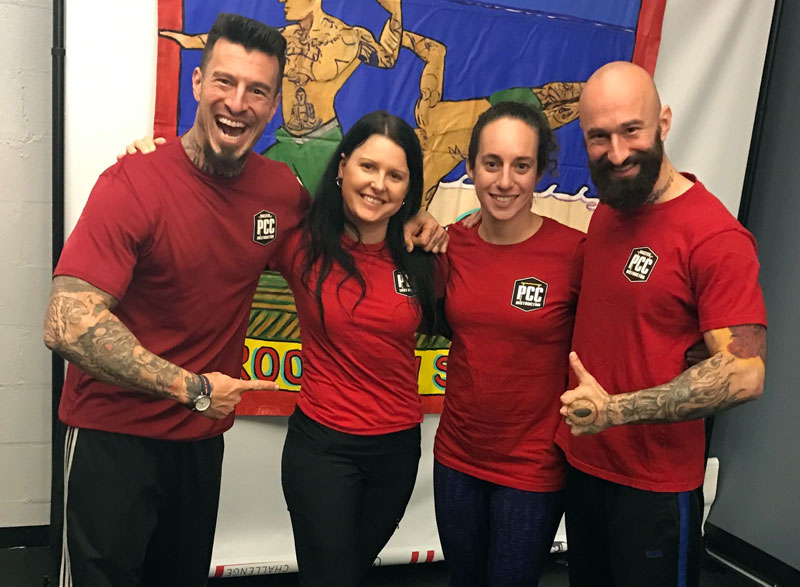
And whenever there’s a new group of people at a PCC, there are new questions, issues, and viewpoints. This was certainly the case at the most recent PCC held at Crunch Gym’s flagship location on 59th Street in Manhattan. As the Kavadlo brothers always say—and they’re totally right about this—on the first day we enter the room as strangers, but leave as friends. The amount of networking, cooperation, and brainstorming among the participants this time was especially high. Can’t wait to see what comes of these new friendships and alliances.
While it’s unrealistic to claim that everyone who attends a PCC workshop is guaranteed to experience a big breakthrough in their training, it seems to happen frequently. People attending a PCC are usually either trainers, instructors or serious enthusiasts, but we all have our blind spots. The combination of the demonstrations, lectures, Q&A, and the partner practice sessions on all three days of the PCC creates a powerful learning environment. Even though I’ve been involved with the PCC since the very first workshop back in 2013, I still learn something new every time. Should also add that since even the most recent time I helped instruct, the curriculum has continued to evolve and improve.
All of that being said, it is extremely rewarding to give someone a game changer cue or idea that almost instantly takes them to the next level. So, in this recap of the NYC PCC workshop I’d like to revisit a couple of my favorite cues that came up at the workshop. To those who might think I’m giving away too much, understand that these ideas really are best absorbed real-time in the context of a PCC workshop.
“Point at Yourself” and “Pew-pew!”
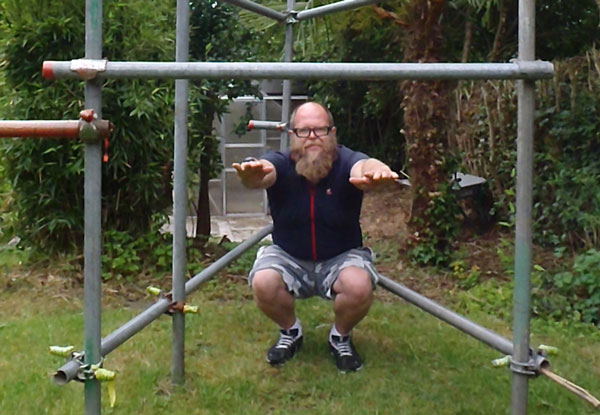
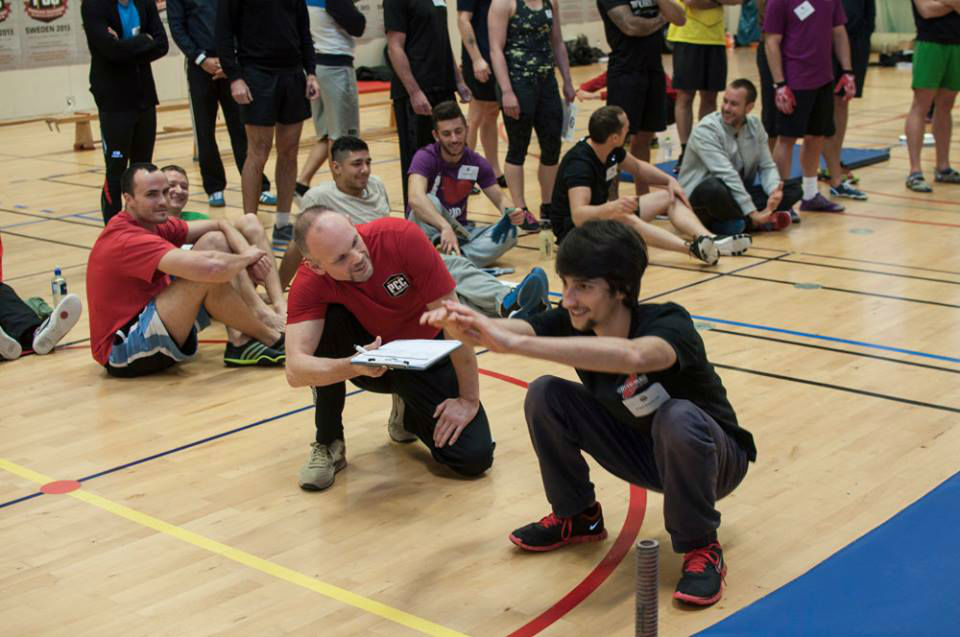
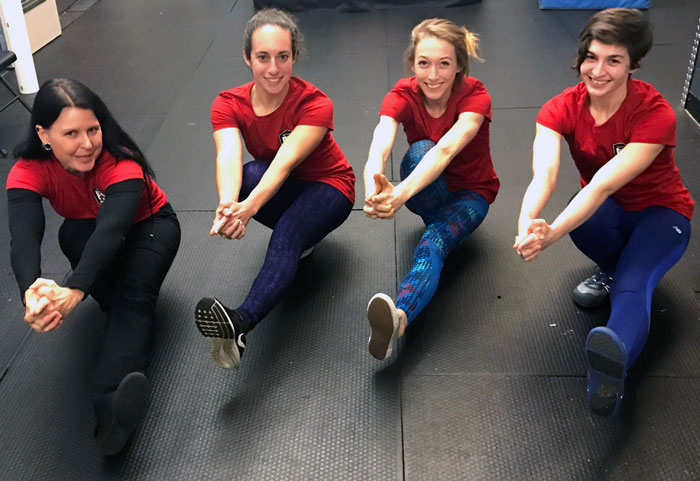
Something I’ve seen both online and at PCC workshops with people who are so close to performing a perfect pistol squat is a slack looking foot on the leg held in front. Often, these same people will have the idea that they somehow aren’t strong enough to do it. But with one (or both) of the following cues they are often able to generate enough tension to pull off the move with precision.
The first cue is a personal favorite, it’s simply to think of pushing through the heel of the suspended leg while pointing the toe back TOWARDS you. “Point your toe back at your nose.” You’re basically flexing the foot as hard as you can, which causes the quad to contract very strongly, keeping the straight leg straight out in front of your pistol squat. You will want to stretch out the quad a little after this, and some folks (myself included, especially if I’m a little dehydrated) may actually get a little cramp in the quad. Common sentiment, “Oh I didn’t know I needed to contract the quad THAT hard”
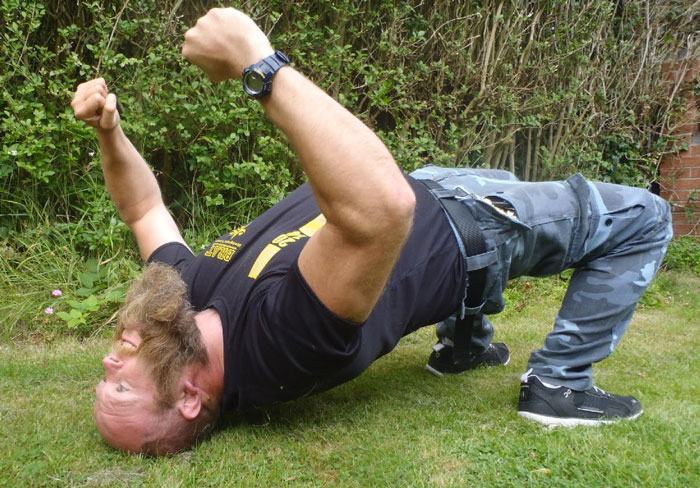
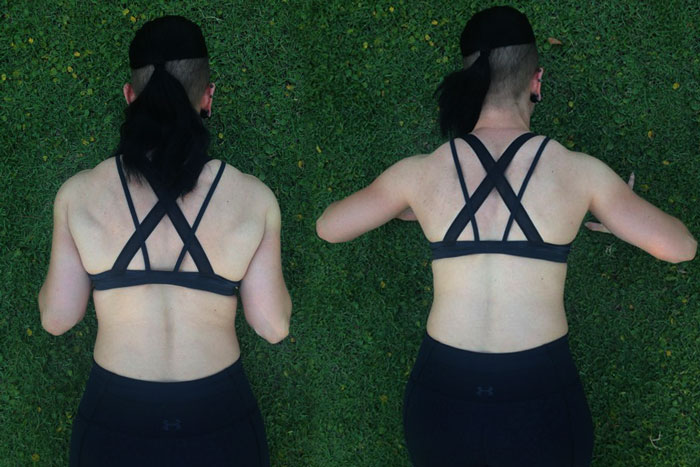
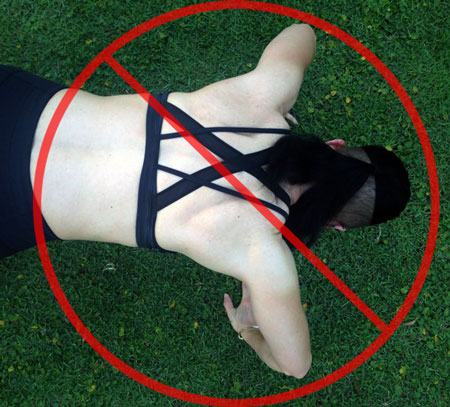
Al also reminded us that generating extra tension from the upper body can also really help the pistol squat. Get in touch with your inner 007 and make the “pew-pew” fingers while strongly clasping your hands together. This can make for much more stable pistol squats in terms of tension and balance, and as in the example above, cute photos.

“I’m gonna hit you in the tummy, ok?”
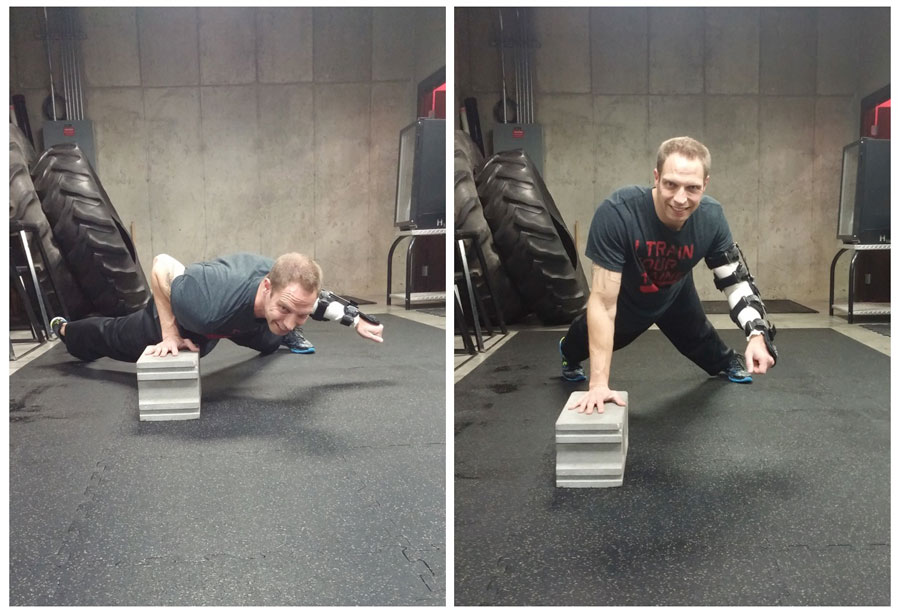
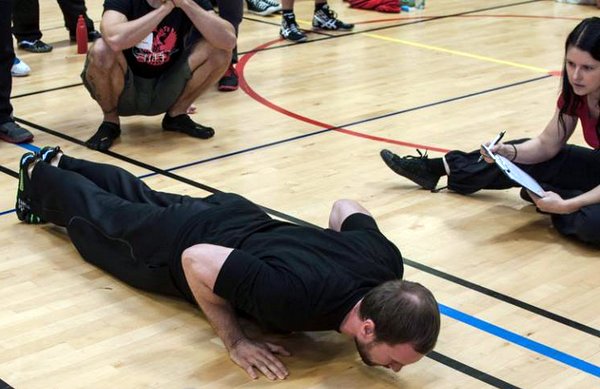
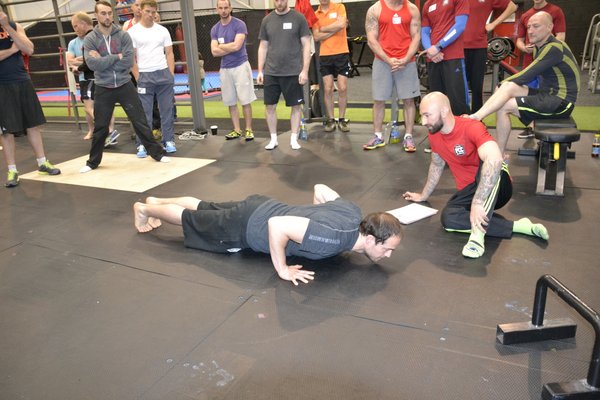
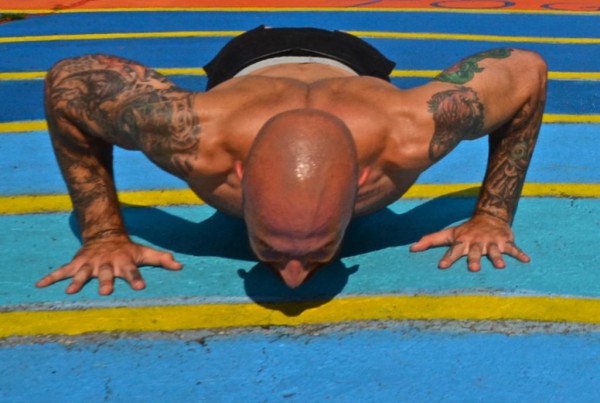
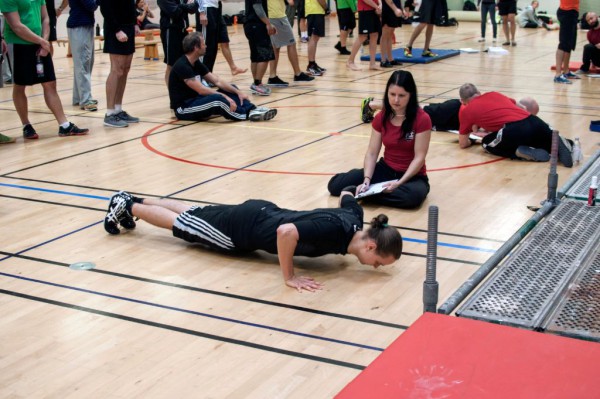
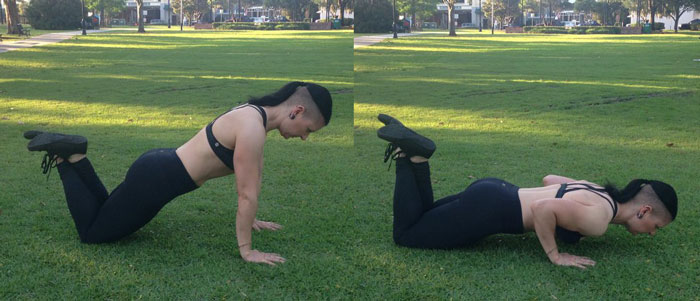
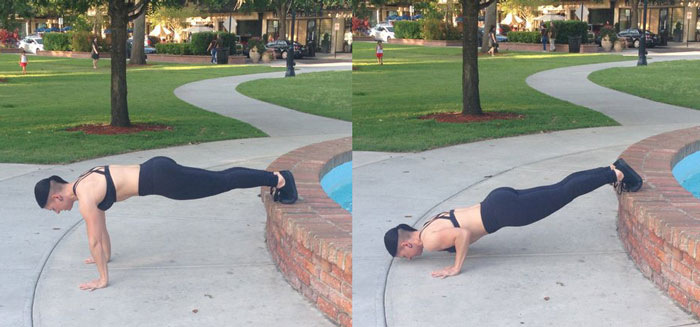
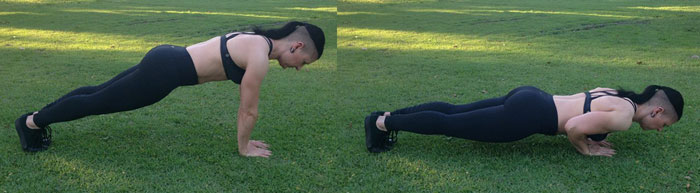
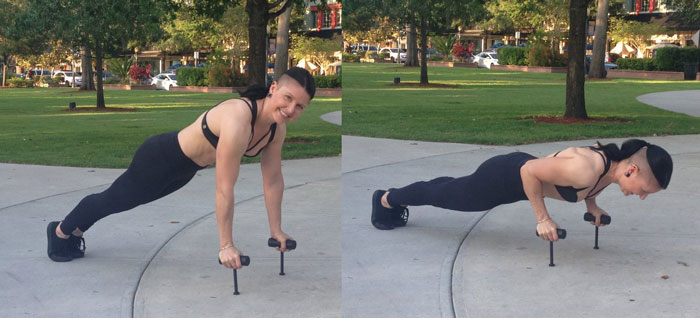
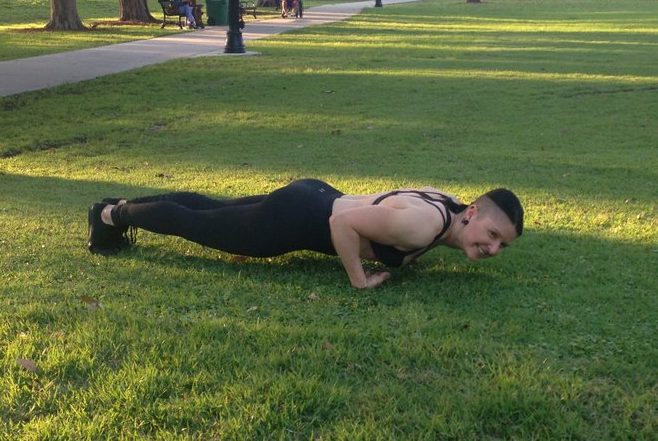
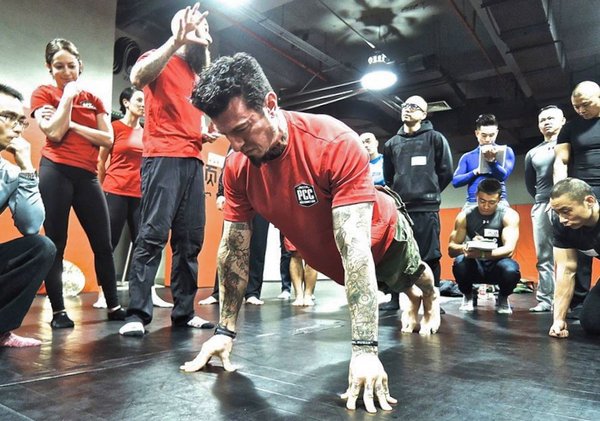
By the time someone attends a PCC workshop, they’ve done a LOT of push-ups in preparation for the Century Test. But, changing the angle or the points of contact from a standard pushup in one of the many advanced progressions taught at the PCC can make the exercise feel brand new again. Old habits can sometimes creep back when the focus moves from the familiar standard pushup. The novelty of trying a new progression can cause even the most advanced of us to forget the crucial basics.
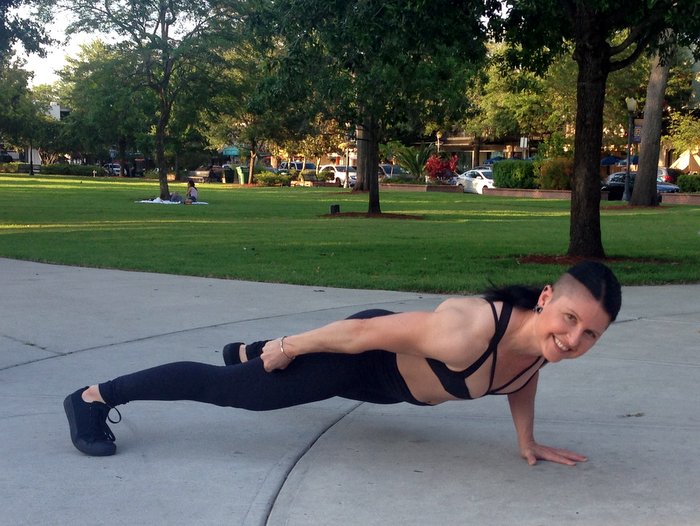
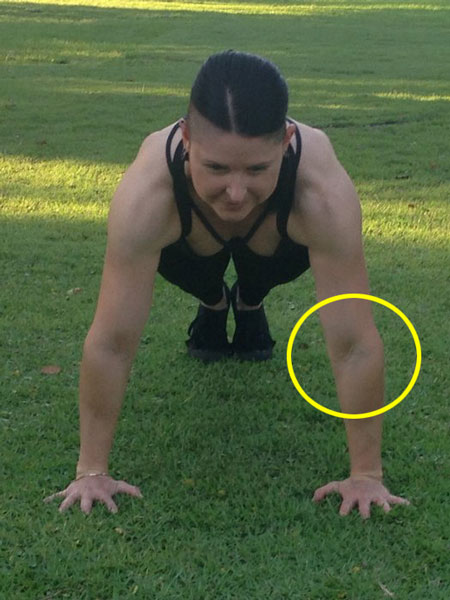
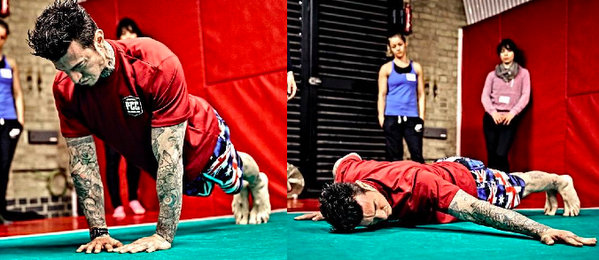
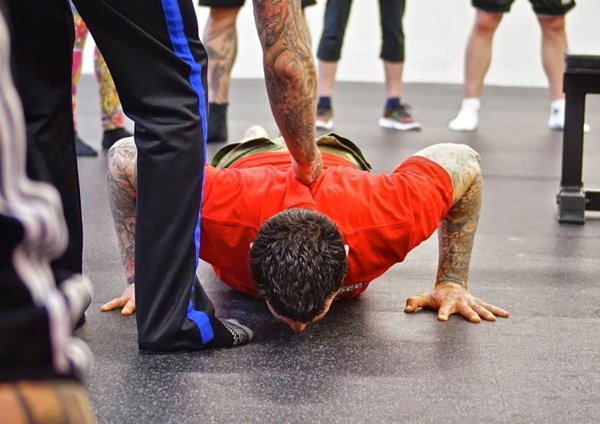
Such was the case with a participant I helped at the workshop. He had been repping out fantastic standard push-ups and all the other variations perfectly until this point. While raising one hand high on a platform to try a nearly one-arm uneven push-up, he seemed to forget about his midsection. But, without trunk stability, this advanced push-up would be impossible. I knew he could do it based on previous performances, and after seeing his lower back sagging on the attempt, I said, “Wait! Use your abs, I’m going to hit you in the tummy, ok?”
He said, “OK,” so I gently gave him a couple little chops right in the tummy. The first one let both of us know that he had let his core go slack, and the second one revealed that he’d fixed the situation. His back was suddenly straight again and he was able to successfully complete a rep of this difficult and frankly extreme push-up variation.
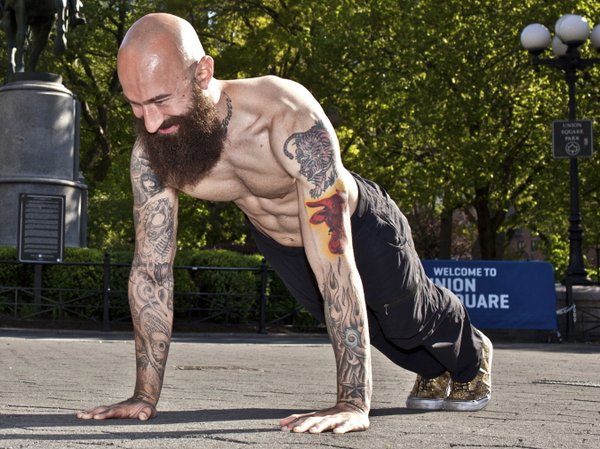
No matter what push-up variation we’re discussing, the push-up at its heart is a moving plank. And that of course requires abdominal stability The more advanced the progression, the more extreme the stability requirement.
One Last Thing…
At the workshops I’ve been invited to help teach over the years, I’ve noticed that while we have a ton of fitness professionals attend, we also have many people from other fields. As someone with a computer science background I’m always pleased to see developers, engineers, and other technical professionals show up to a PCC and perform extraordinarily well. The idea that they are setting such a strong example in their lives outside the fitness industry is also excellent for public health. Fitness and the ideas in the PCC and Convict Conditioning really are for everyone.
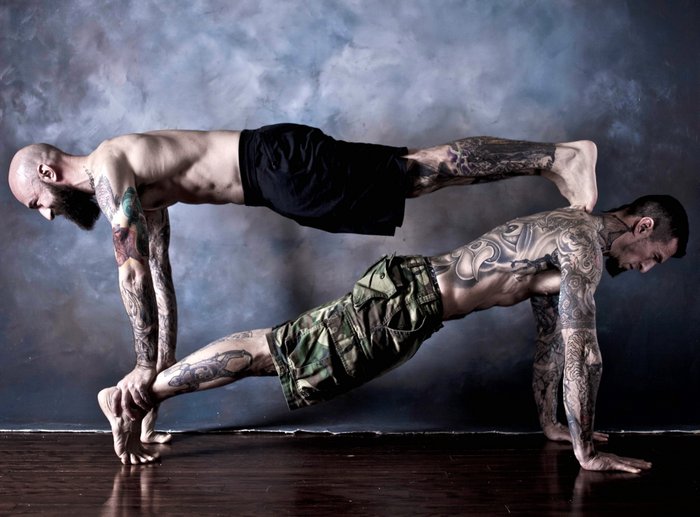
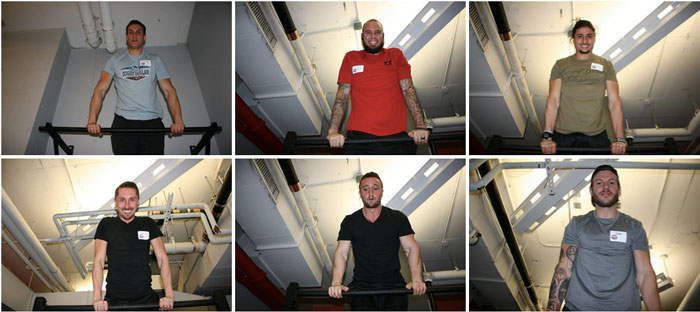
While we may all admire and aspire to the most advanced steps, and videos and photos of those feats are typically the ones that go viral, the bread and butter basics of calisthenics are applicable to all human bodies. The early progressions, especially as taught at the PCC and in Convict Conditioning are powerful for any level. And the newly certified PCC Instructors from this most recent NYC PCC at Crunch’s flagship gym are ready to bring these transformative ideas to the world.
****
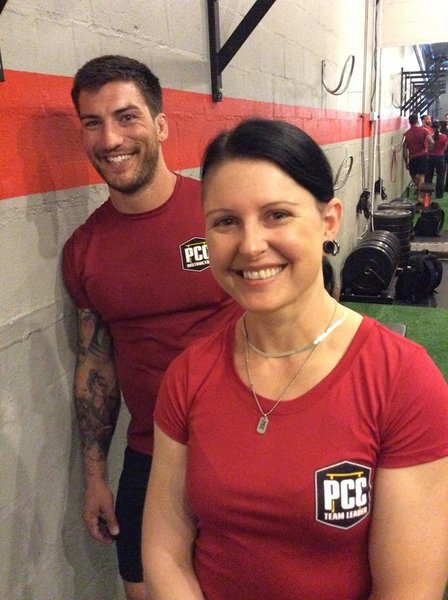
Adrienne Harvey, Senior PCC Instructor, RKC-II, CK-FMS, has been RKC Certified since 2010, and RKC Level 2 certified since 2011. Kettlebell and bodyweight training have been crucial in Adrienne’s personal quest for fitness. A core member of the PCC team, Adrienne loves sharing her knowledge with small groups and individuals. She has modeled in multiple Dragon Door titles including The Neuro-Grip Challenge, Rings of Power, DVRT, Neuro-Mass, Pushing the Limits, and several others. For her recipes and workout programs to further support performance, body composition, and of course—FUN, check out her website: http://www.giryagirl.com.

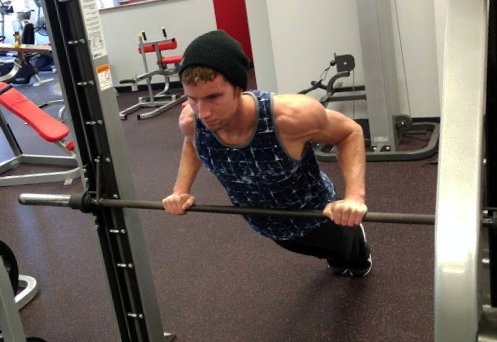
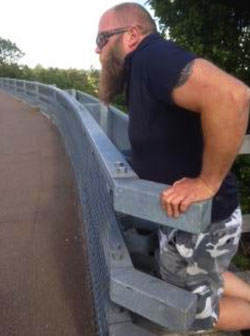
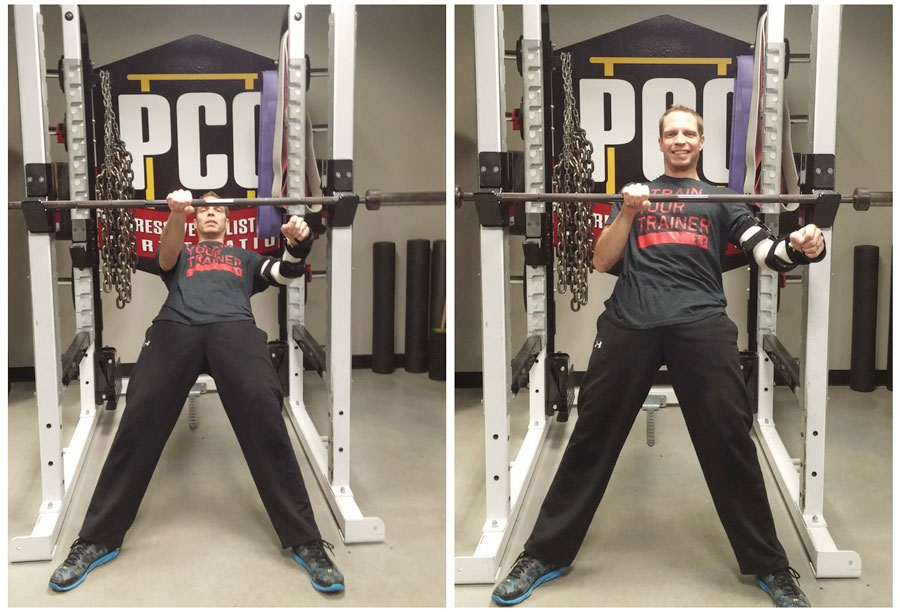
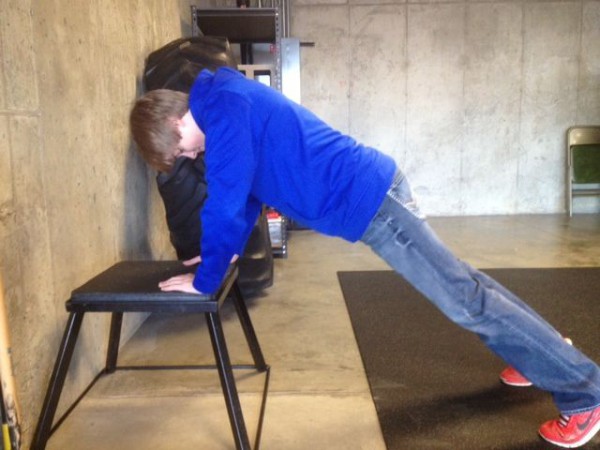
 The Smith Machine is basically just an adjustable straight bar, so it really is a bodyweight athlete’s best friend in disguise when it comes to learning push-ups, both the basic and one-arm versions. Strict form push-ups are an absolute foundation of
 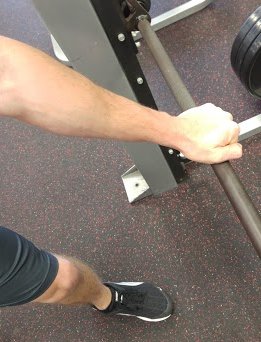 To begin working on Smith Machine incline push-ups, start with the bar set to about chest-height and set up your stance and grip as you would any other incline push-up, except you will be gripping the bar rather than placing an open-hand on the floor. This slight difference can cause the elbows to naturally want to flare out to the sides, so keep your grip close to shoulder width and be mindful of your form. I do recommend using a “thumbs over the bar” grip rather than wrapping them underneath, as this allows the wrists to turn out slightly and keep the elbows pointed inwards. After performing a good 10 reps to get a feel for the angle, assess your performance and fatigue.
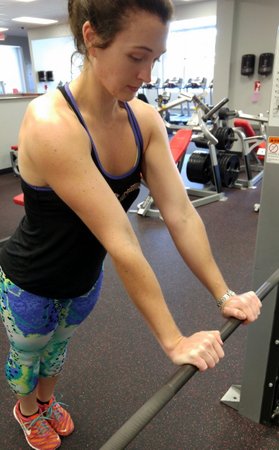
 With these same methods of adjusting movement intensity via bar height and foot placement, one can also begin to safely explore the more advanced one-arm push-up progressions. Although most of the preceding article has been geared towards beginner calisthenics practitioners who are attempting to learn basic push-ups, all of the stance strategies and varied intensity tactics discussed above can be used by more intermediate and advanced bodyweight athletes attempting to learn or perfect their one-arm form. No matter your level, using an adjustable bar is a simple and effective way to track and ensure your progress.