It’s a new year, and gyms across the country are flooded with folks who’ve made the decision to change their lives. Unfortunately, these pursuits often start off well, but end up gradually fading away – often, before February even begins.
There are myriad possibilities for why so many of these efforts don’t achieve their goal; unfortunately, the first thought is often that the person is lazy, unmotivated, etc. While that may be the case for some, I have found that there is a factor that seems to be even more significant: the lack of a deep understanding of the process.
The fitness industry has done a poor job in terms of educating those that have a true desire to improve their physical being. New gym members are left to fend for themselves among the sea of machines and exercise equipment. To all of those afflicted by this current state of the fitness industry, I propose the following potential solution: strength training. Not the sort of strength training that is so often thrown into discussions of diet and health as an afterthought. I am referring to the deliberate, gradual improvement of your ability to exert force onto the world around you. This has the potential to change your body, bolster your confidence, and open doors that you thought to be cemented shut.
What We Want
We all want to be able to look in the mirror and have an instant, unmistakable sense of pleasure and contentedness with our appearance. When we think that we look good, we assume that others probably think that we look good as well. And nothing boosts this pleasure more quickly than a compliment from a friend or colleague.
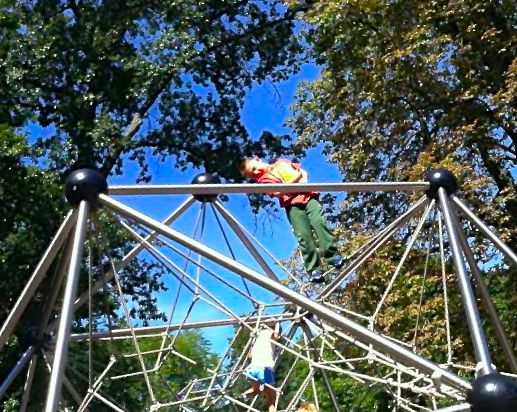
We want to be independent. Not in the sense of paying your own bills and coming home at any hour of the day, but a sense of real physical independence: the ability to be able to shovel out your car after a snowstorm, walk up a flight of stairs without an escalator or handrail, or to be able to open a pickle jar. In an age where you can find someone or something to do anything for you – for a fee, of course – we are gradually losing our ability to thrive without depending on others. How amazing would it feel to be able to shovel out your entire driveway after a blizzard, then have the strength of body and character to shovel out your elderly neighbor’s driveway and enable them to make it to their grandkid’s first ballet recital?
How We Get It
Strength is the ability to exert force onto our environment and effect change. It is what allows us to explore and manipulate the world at will. Who would ever want to be prevented from living up to their fullest potential by something that they have direct control over? Unfortunately, thanks to the flood of conflicting information in the world, we often have no clue where to look or how to start on this endeavor. Fortunately, with a little bit of patience, a hearty dose of effort, and some good ol’ discipline, the plan that I propose here can get you there. Let’s get started!
Push Me, I Push Back!
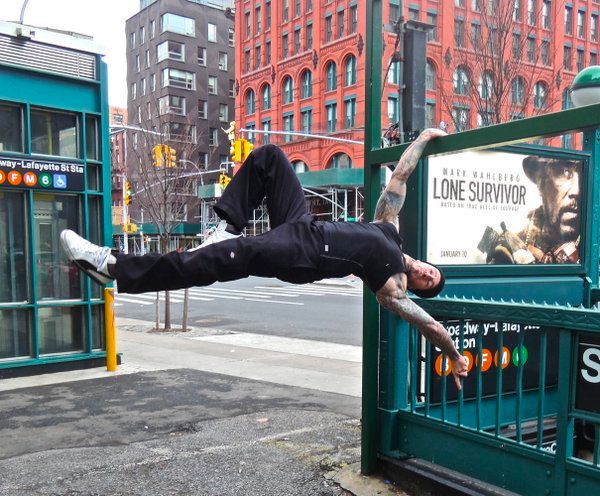
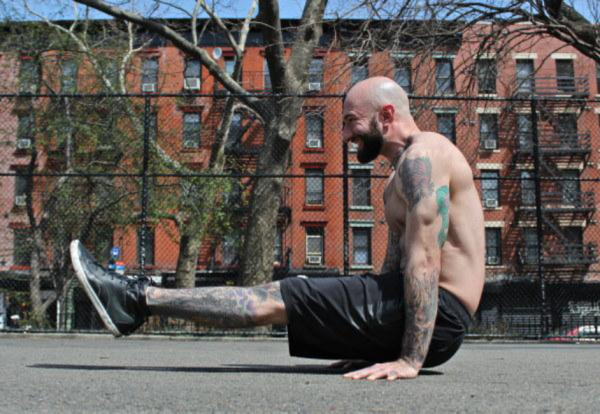
The ability to push through our hands and influence the environment around us is so incredibly important, yet unappreciated until one can no longer do so. The ability to push doors open, push yourself up off of the floor after falling on ice, and countless others are examples of the need for pushing prowess. How do we improve our ability to push? We practice pushing!
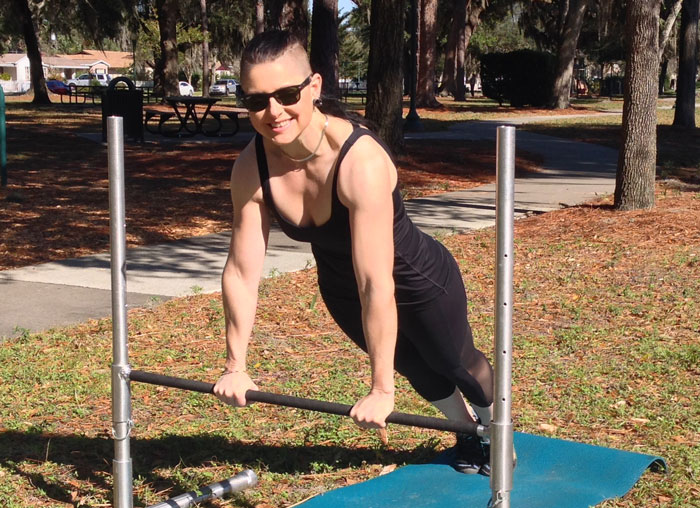
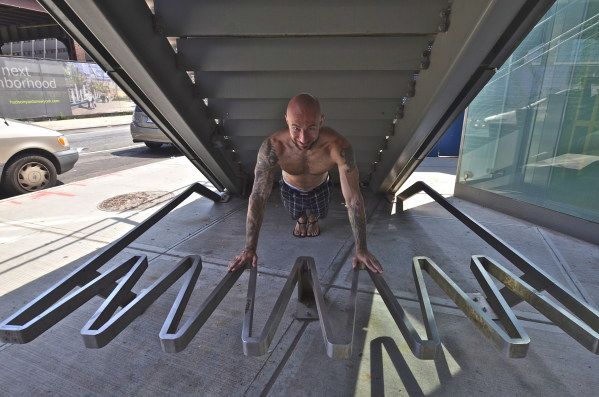
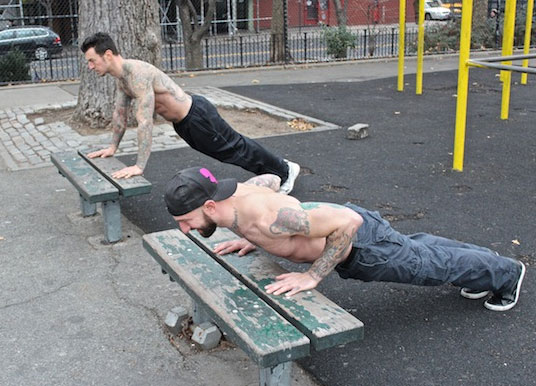
Elevated Surface Push-up
Find a box, table, or anything sturdy that is roughly hip-height. If too challenging, use a slightly taller surface. Place your hands onto the edge of the surface with your palms lined up with your shoulders and squeeze it.. Brace your body into a steel beam with legs locked straight, ankles squeezed together, abdominals clenched, head up tall . Lower yourself slowly under full muscular control until the lower part of the chest touches the surface, elbows within 4-inches of ribcage. Return to the starting position slowly, without bouncing off of the surface. Momentum is the enemy here.
Goal: 20 repetitions. Then, use slightly shorter object and build to 20-repetitions. Repeat until using knee-height surface easily.
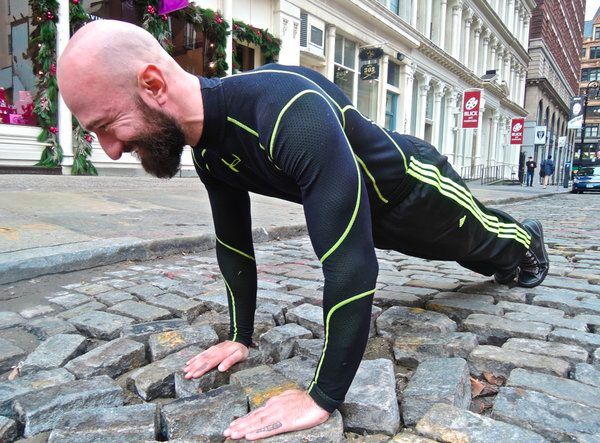
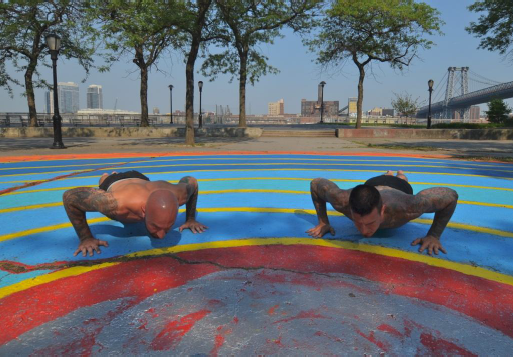
Standard Push-ups
Begin kneeling in an all-fours position with the hands directly beneath your shoulders. Next, extend one leg at a time back until the toes are dug into the ground and legs locked straight. There should be a straight line from your ankles to your shoulders when viewed from the side. No bellies sagging toward the floor, no bent knees, no drooping head. Lock your legs straight and try to feel the muscles on the fronts of the thighs tighten. Squeeze the butt muscles and tighten the abdominals as if bracing for impact. Pull the back of the head toward the ceiling, without lifting the chin. It should feel as if you are giving yourself a double-chin. Now, squeeze the floor and slowly lower yourself until your chest gently kisses the floor.. Slowly push into the floor and ascend until full arm extension.
Goal: 20+ repetitions
After becoming proficient in these three foundational pushing motions, you will have now earned more definition in your arms, shoulders, and chest, as well as the ability to push back when the world pushes you. Congratulations! You have earned it.
Pull Yourself Together
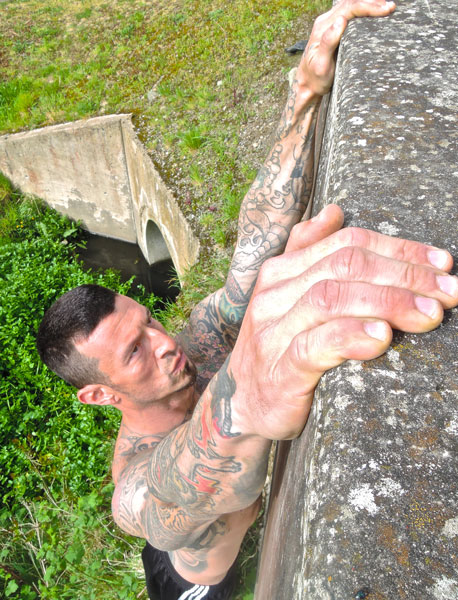
There is nothing like the ability to wrap your hands around the world around you and pull yourself through, over, and beyond. See that tree branch? See if you can pull yourself up into the tree and afford yourself a bird-like view of the world around you, only accessible to those with the strength to handle anything that the world presents to them. As a nice side effect, you’ll also build a serious set of arms. Time to pull!
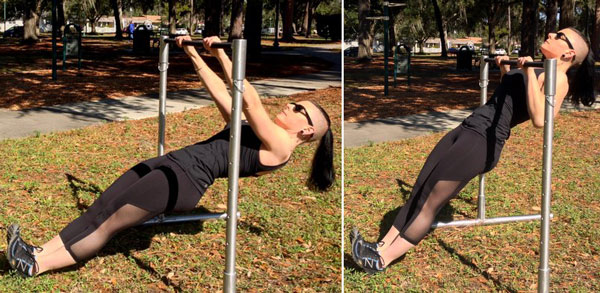
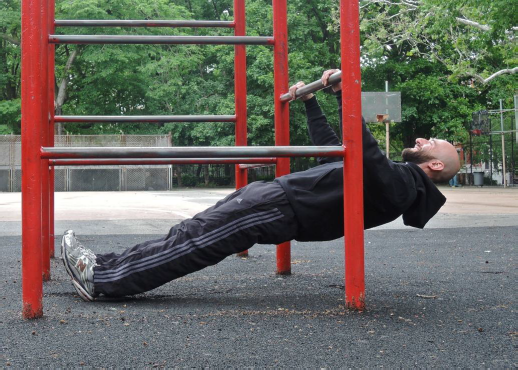
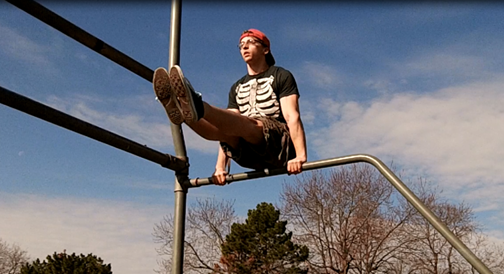
Australian Pull-ups
Find a sturdy table, a horizontal bar, or any other object that is between hip and sternum-height that you can grip with your hands and hang from. Grab the object and walk your feet under it until your lower ribs are under the edge of the object. At this stage, your legs should be straightened, arms should be straightened, and hips should be elevated and perfectly aligned with the knees and belly-button. Pull the lower chest to the edge of the surface and pause firmly against the surface. If these are too challenging, use a taller surface.
Goal: 20 repetitions
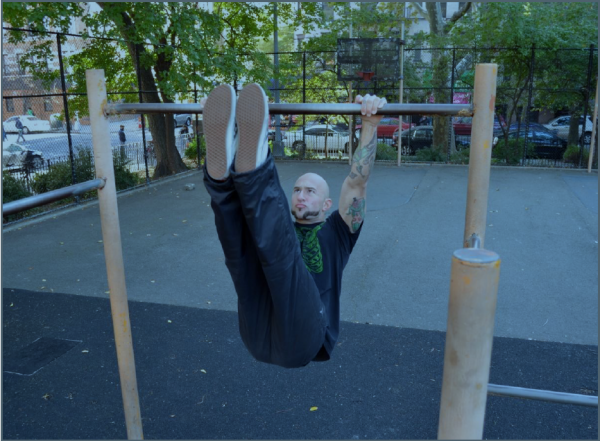
Negative Pull-Ups
Stand on chair or similar object in front of the Pull-Up bar and take a narrow, underhand grip on the bar. Either tip-toe or use a small hop to get the chin over the bar with the elbows fully closed and in tight to the ribs. Hold this position as long as you can, not allowing the shoulders to shrug or the body to swing. Allow yourself to slowly descend toward the ground inch by inch.
Goal: 60-seconds
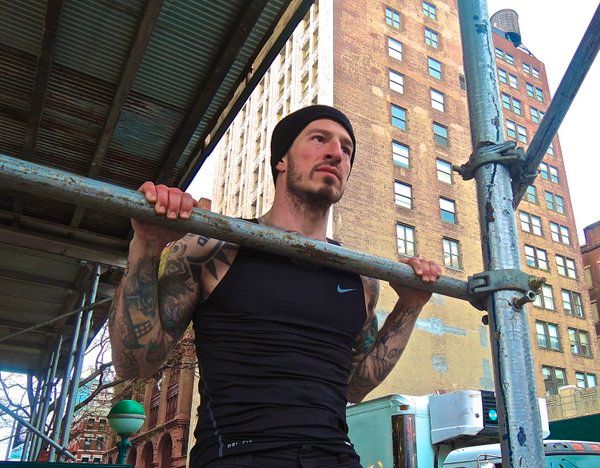
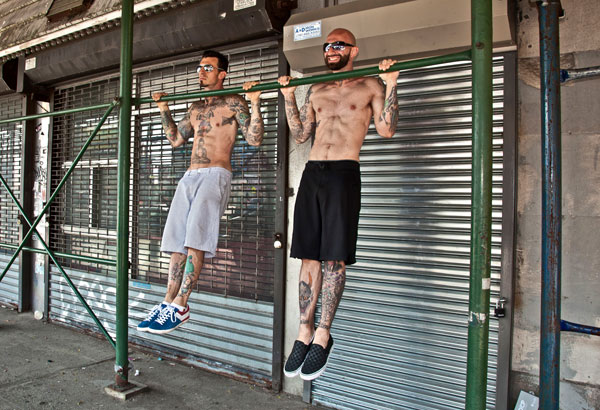
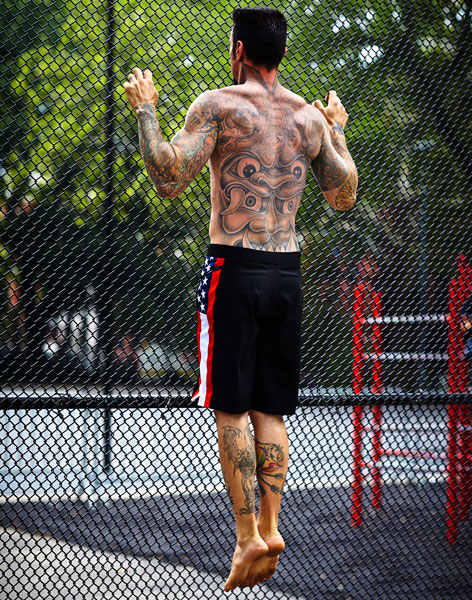
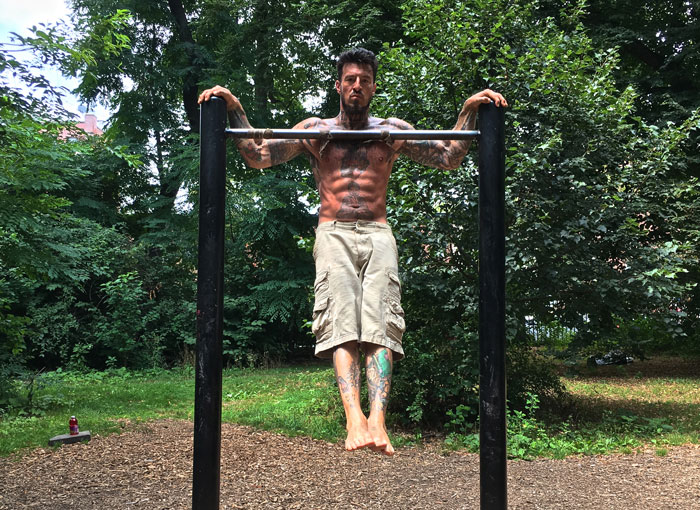
Pull-Ups
Begin hanging from the bar with fully straightened arms. Next, squeeze the bar as hard as you can and pull like your life depends on it! Going from straightened arms to chin over the bar is an amazing achievement for anybody, no matter which sex or how old. Take pride in the fact that you can maneuver your body around the environment at will. Got any room left in those shirt sleeves now?
Goal: 10+ repetitions

Strong Legs, Limitless Reach
Legs are the unsung hero that everybody relies upon for quite literally everything that we do, yet put little care into strengthening them. See that mountain? How about hiking to the top and basking in the glory of conquering nature’s skyscraper. Or being able to play tag with your kids?. The legs have an amazing potential for strength, endurance, and versatility. It would be shame to waste that potential. Let’s build those wheels!
Brisk Walking
This is where is all starts. Walking? Really? Yes. The best way to get better at traversing the world with confidence is to practice traversing the world with confidence. Stand up tall like there is a book on your head and you don’t want it to fall. Pike your feet up and never allow them to drag. Let the arms swing by your sides naturally. The swing of the arms is a good sign of the expressiveness of a person. Show the world that you are full of life and vigor! Walking gently builds the endurance in every joint in the body through low stress, high repetition motion.
Goal: 60-minutes
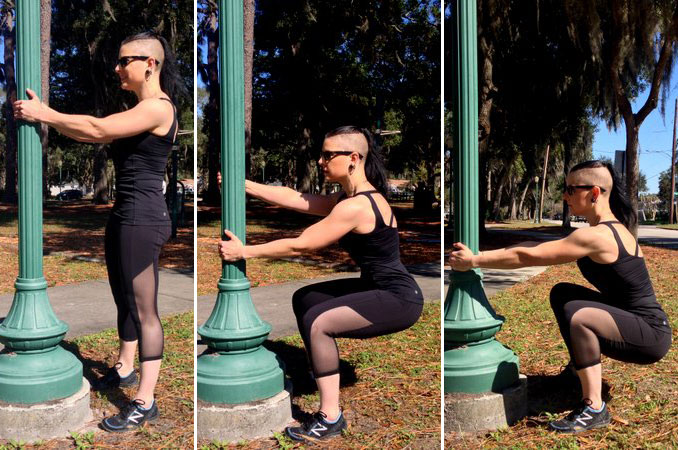
Assisted Squat
The ability to go from a standing position to a campfire squatting position under full control is crucial for maneuvering the world. To achieve the full squat requires a proficient degree of ankle, knee, hip, and spinal mobility, as well as strength. To build this ability, walk up to a door frame or anything that is about hip height that can support you pulling against it. Place your feet slightly wider than hip-width apart, with the toes either facing straight forward or slightly turned out. This will vary person-to-person, so try both ways. With a firm grip on the object, sit your butt backwards toward the wall behind you with the chest lifted proudly, then slowly descend until the backs of the thighs touch the calves. Your heels should be firmly planted into the floor. Your knees should be perfectly lined-up with your feet.
Goal: 60-second hold
Full Squat
Once you have held the bottom of the squat for 60 seconds with the arms straightened out in front of you, attempt to stand up by keeping the chest lifted and straightened the knees and pushing the hips forward toward the object in front of you. Congratulations! You just went from a full squat to a stand. Now, slowly sit back and down into the squat again, pause for two seconds, then stand up. This ability will keep you strong and limber for life, so long as you keep practicing and utilizing it in your worldly adventures. You’ll also build one firm set of legs!
Goal: 25+ slow repetitions
What Now?
So, you can now push back against the world, pull yourself over, around, and through it at will, as well as climb it with ease. What are you going to do with your newfound abilities? The world is out there, waiting patiently for its beauty to be appreciated. The doors of possibility have now been opened! Don’t let them go to waste!
***
Marc Ayala, PCC, is a personal trainer located in Boston. With a love for reading and research, he is constantly on the quest for more knowledge and sharper skills. Marc is passionate about uncovering the physical potential in his clients, pushing them to levels of strength that they never thought possible.


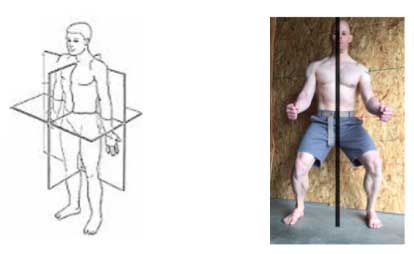
 The image to the right shows how the muscles are arranged to direct muscle tension inwards towards the centerline. Almost every muscle has at least a few muscle fibers that direct force inwards towards the spine. This is yet another reason to practice
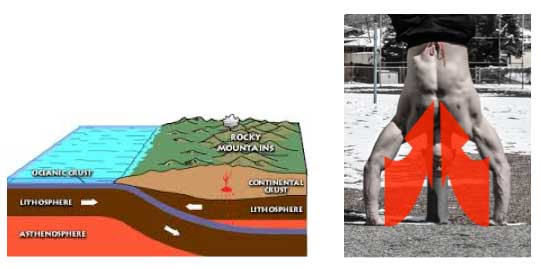
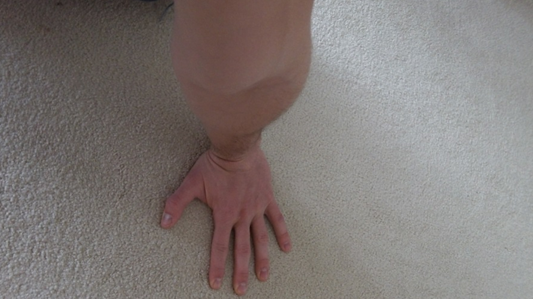
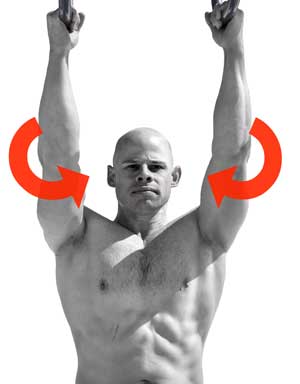 Lesson #3: “Screw” your limbs inwards
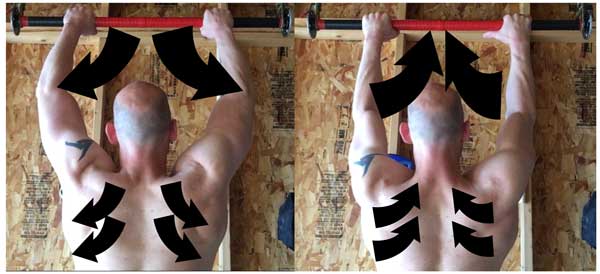
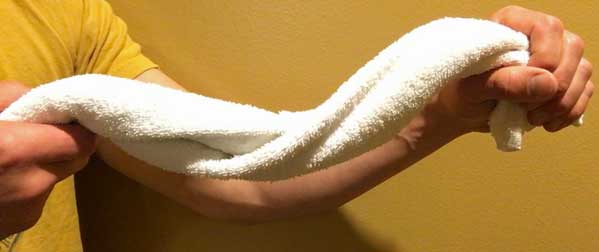
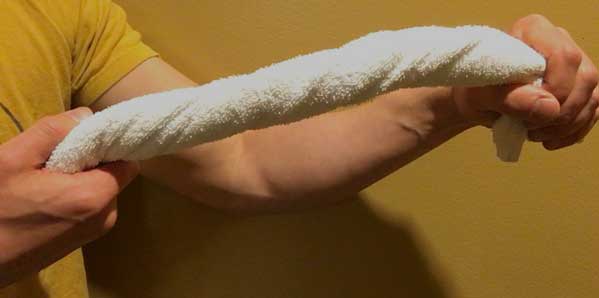 Lock it up! Applying torque on your legs or arms will make them more stable.