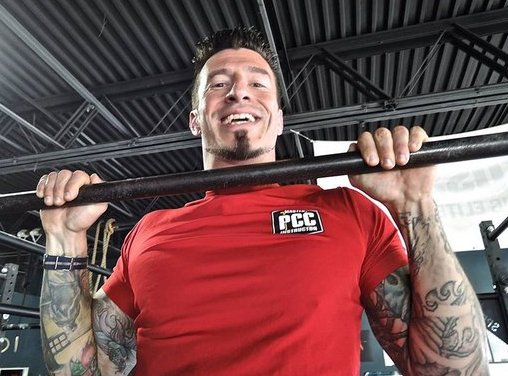
Pull-ups are my favorite exercise. I started practicing them at age 13 and throughout my lifetime I’ve pulled my chin over a horizontal bar more times than I can count. That’s probably why I’m good at them.
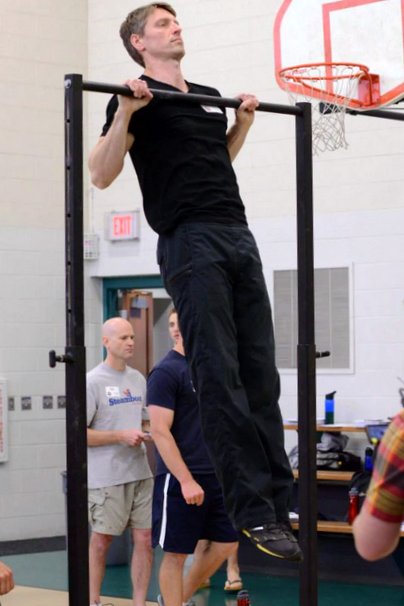
But that’s not the case for everyone. In fact, for many PCC candidates, the pull-up is the most difficult and intimidating part of the Century Test. Its placement at the end of the 100 rep sequence only adds to the challenge, but this is no accident. If you want to be a PCC instructor, you must be able to perform 10 proper pull-ups even when you are fatigued.
While there are no secrets or shortcuts in the world of calisthenics, if you feel like you’ve plateaued on pull-ups, there are certain techniques and training methods that may help you blast through those barriers and take your pull-up game to new heights. I’ll share a few ideas with you below, but before we move on, let’s be clear about how the PCC defines a proper pull-up:
- The classic overhand grip is encouraged, though the underhand or “chin-up” grip is allowed during Century testing.
- The shoulders may be relaxed at the bottom of the rep when the elbows are fully extended, but the scapulae should retract and depress as the rep begins.
- The chin must fully clear the bar at the top, and a full extension of the elbows is required at the bottom. The body must also remain relatively straight throughout, with minimal hip or knee flexion.
- Though you obviously have to lean back a bit to avoid hitting your head on the bar at the top of your pull-up, your torso should not travel very far forward or backward.
Tighten Up
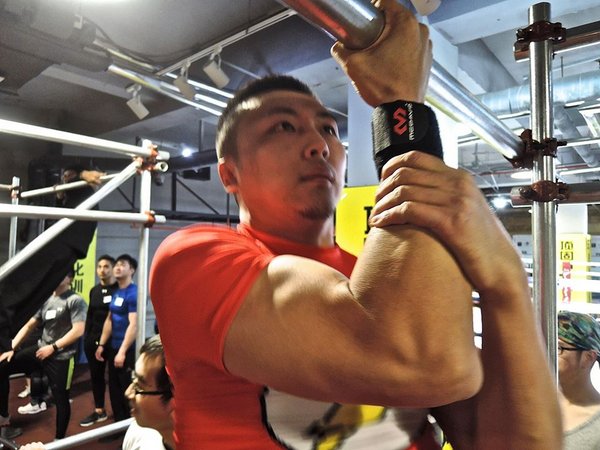
One of the biggest mistakes people make when performing pull-ups is thinking of the movement purely as an arms exercise. Of course you involve your arms to a great degree when performing any type of pull-up, but the muscles of your back, shoulders, chest, abs and more all play their part. As such, it can help to focus on maintaining tension throughout your entire body as you pull your chin over the bar. Grip tightly with your hands, tense your abs, squeeze your glutes and flex your quads as your drive your elbows toward your hips to fully utilize your lats during the pull. Focus on maintaining total body tension during the descent as well in order to avoid picking up unwanted momentum.
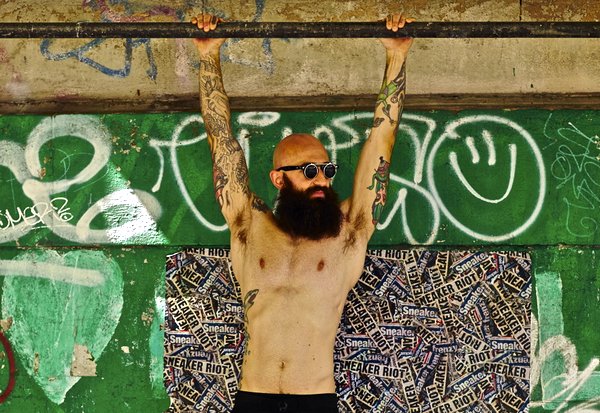
Hang On
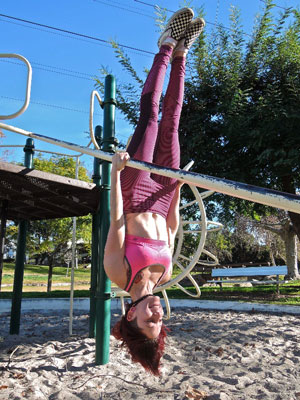
The “rest/pause method” is an old-school technique to increase your reps on just about any exercise, and it can be especially useful for pull-ups, particularly once you can do several in a row. After a brief warm-up, simply do as many proper pull-ups as you can, then continue to hang on the bar for a few seconds. After you catch your breath, try to squeeze out one more pull-up, then hang on for a bit longer, take a few more breaths, and try for one more. You might be surprised at how many extra reps you can manage this way, plus you will get additional grip work from all the extra hanging.
Pull-Up Pyramid
Implementing a pyramid protocol is a fun way to incorporate a fairly high volume of pull-ups without sacrificing proper technique. The idea is to gradually increase, and then gradually decrease the amount of reps you perform in each of several consecutive sets.
Begin by doing one pull-up, then come off the bar and take a short break. Next, perform two pull-ups, then after another break, do three. As the sets get longer, the breaks between them should get longer, too. Continue this pattern until you reach the point where you can no longer add another rep with proper form, then start working your way back down.
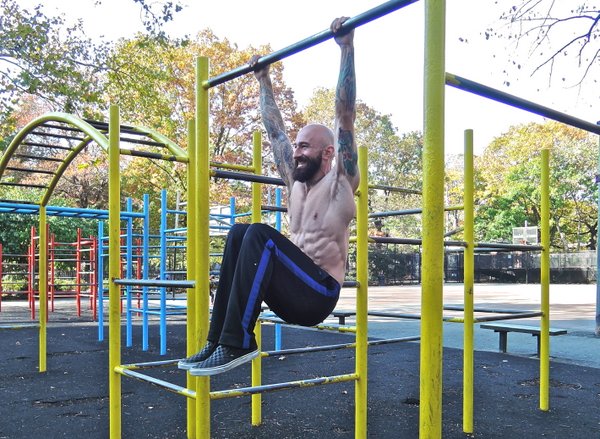
Pull-up Superset
A superset involves taking two exercises and performing them back-to-back with little to no rest in between. Typically the harder exercise goes first and when fatigue is reached, you switch to the less difficult exercise.
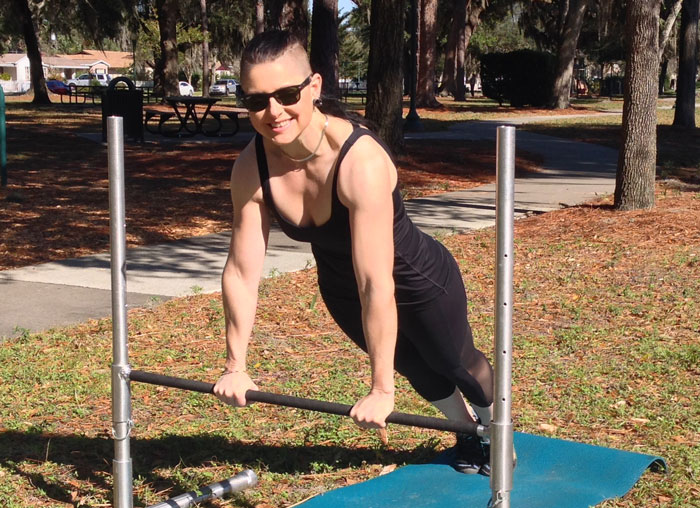
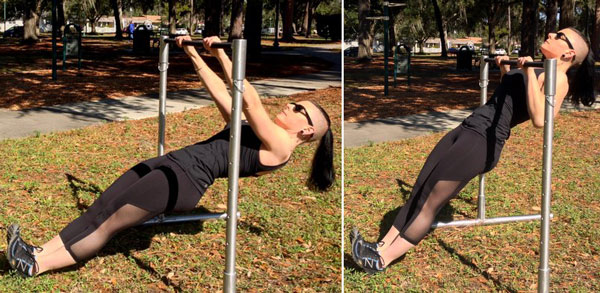
A great way to apply this concept toward improving your pull-ups is to perform a set of Australian pull-ups (aka bodyweight rows) immediately following a set of standard pull-ups. Take a long break, then repeat the superset again.
This method allows you to continue to work your pulling muscles once you can no longer perform any more pull-ups. You can do this 3-4 times in a single workout, but you’ll probably want to give your upper-body a day or two of rest afterward.
Learn To Love It
More than any specific training template or method, consistency and effort will always be the two primary factors that determine success. You have to spend a lot of time doing pull-ups in order to get good at them. There’s no substitute for hard work. Learn to embrace your pull-up practice and in time you may even learn to love doing pull-ups as much as I do.

***
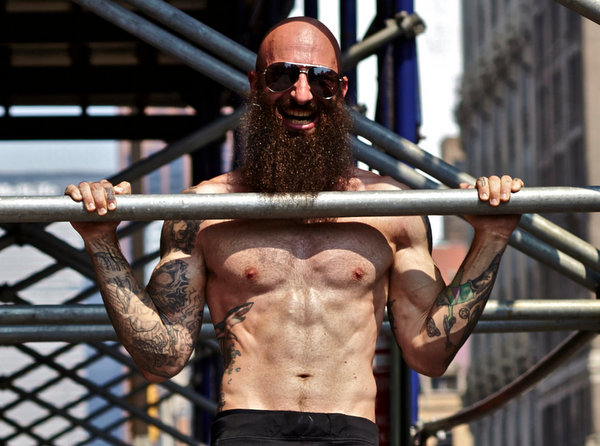
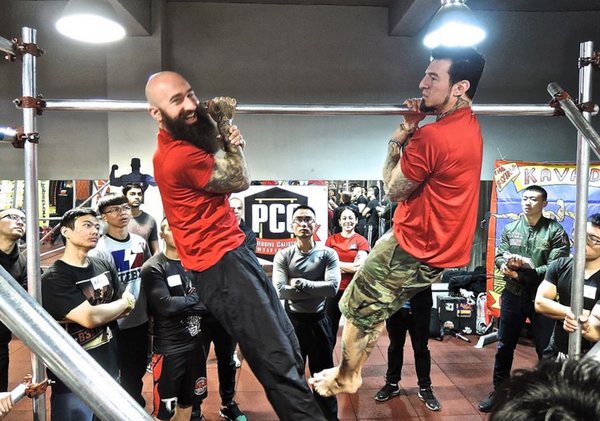
Al Kavadlo is the lead instructor for Dragon Door’s Progressive Calisthenics Certification. Recognized worldwide for his amazing bodyweight feats of strength as well as his unique coaching style, Al is the author of five books, including Raising The Bar: The Definitive Guide to Pull-up Bar Calisthenics and Pushing The Limits! Total Body Strength With No Equipment. Read more about Al on his website:www.AlKavadlo.com.
 I get a lot of questions from potential PCC candidates about our
  The first few times I taught the
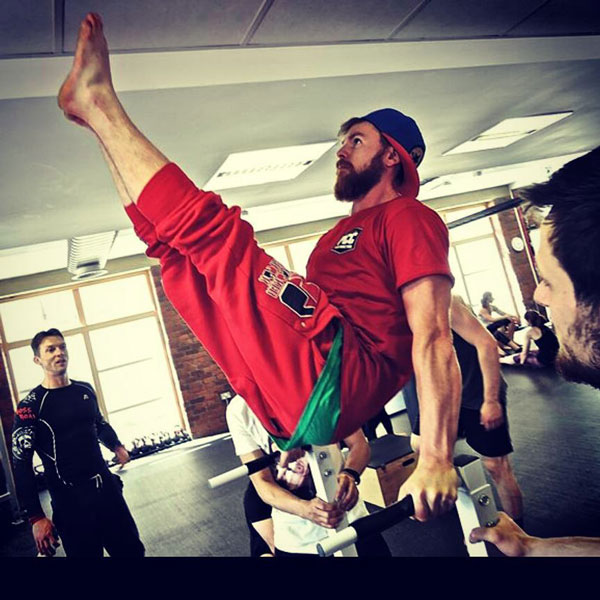
 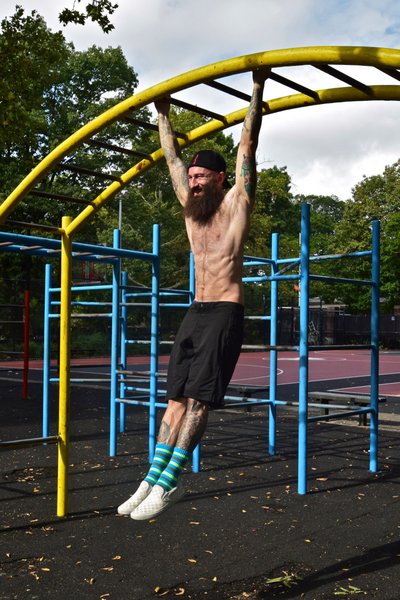 Focus on raising your knees with control as well. Avoid moving too quickly and aim to pause briefly at the top of each repetition to make sure that you remain steady.
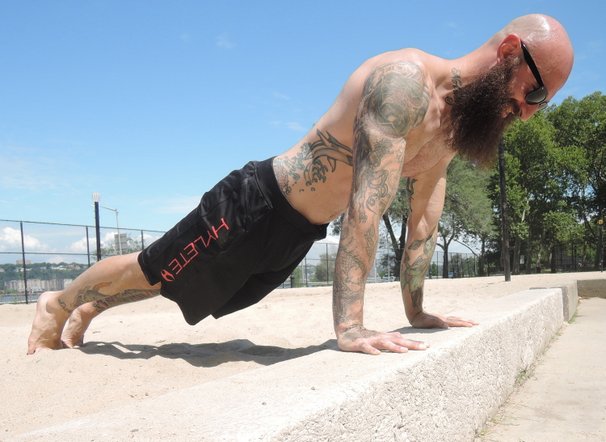

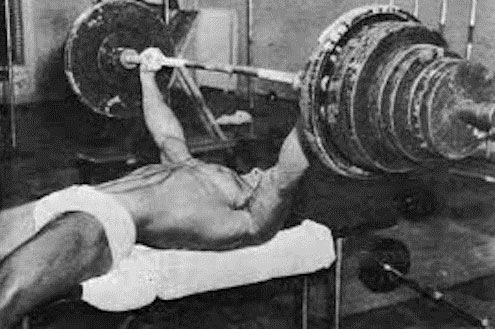
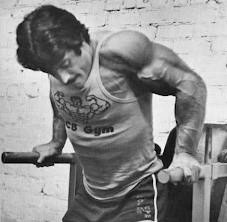 The king of High Intensity Training was Mike Mentzer. He shocked the training world with his one-set-to-failure philosophy, and he practiced what he preached. It was hard to argue with those results, either: back in ‘78 he was the first ever bodybuilder to win the Mr Universe with a perfect score. Many in the know also thought he was the winner of the highly controversial 1980 Mr Olympia, which was actually taken by a well out-of-shape Arnold S., who entered as a last minute contestant.
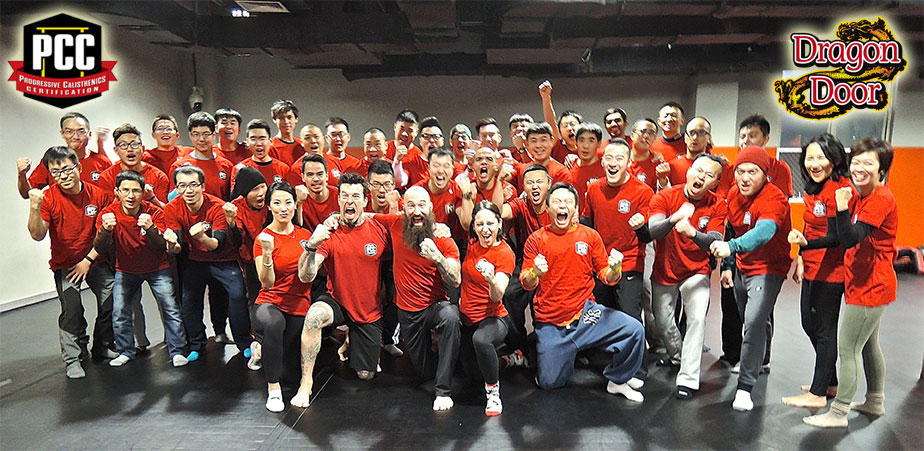
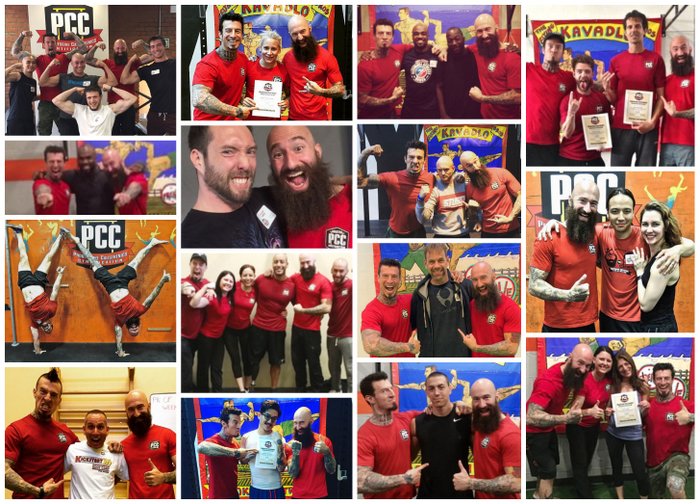 What a great year it has been for calisthenics and the PCC! Danny and I traveled all over the US and Europe in 2015, bringing the Progressive Calisthenics Certification to new places like
  –It’s always an honor to get a blog post from a calisthenics legend like PCC Instructor
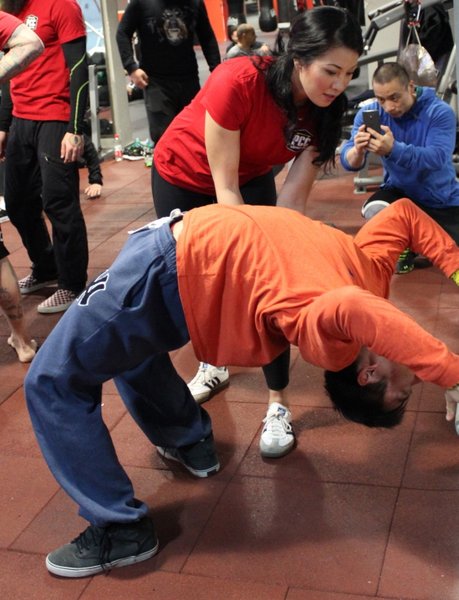
  –My wife and fellow PCC Instructor Grace Kavadlo penned this helpful
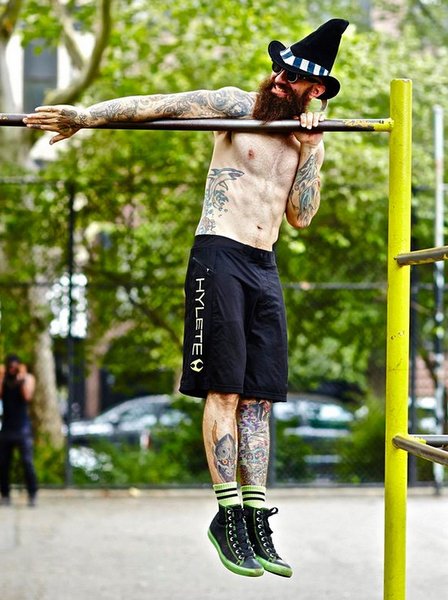

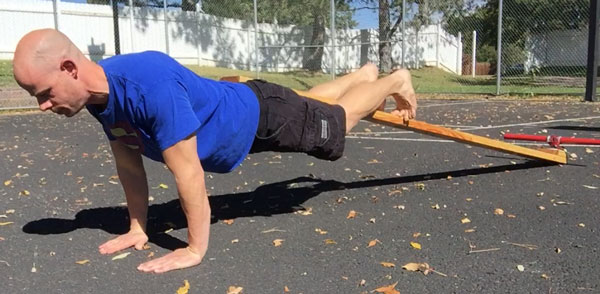
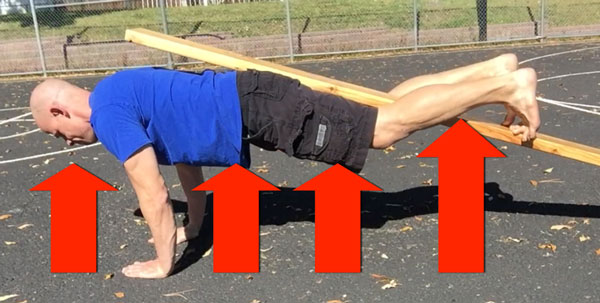
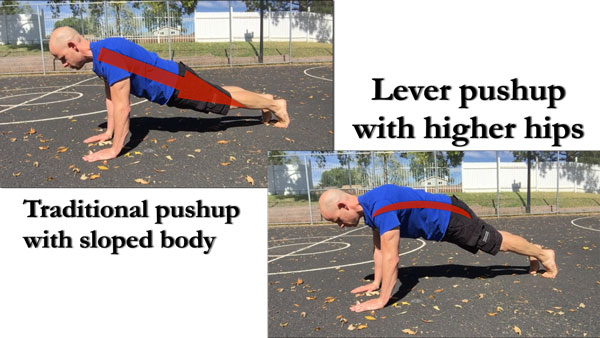
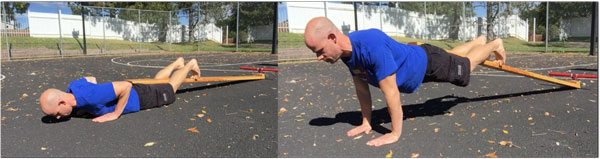
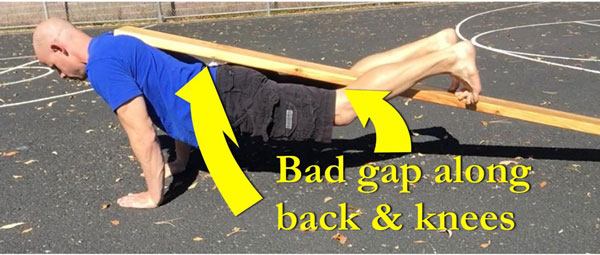
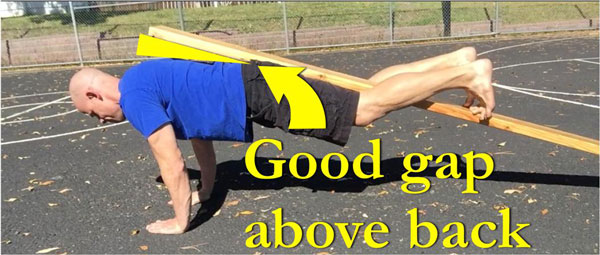
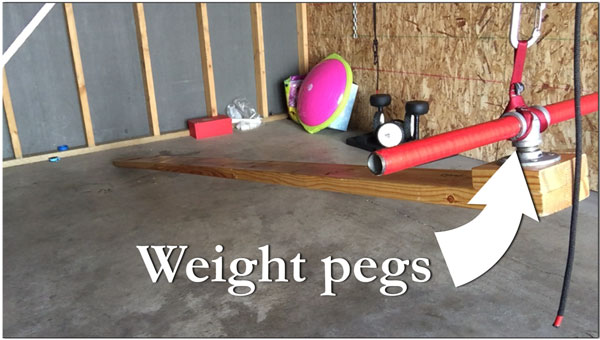
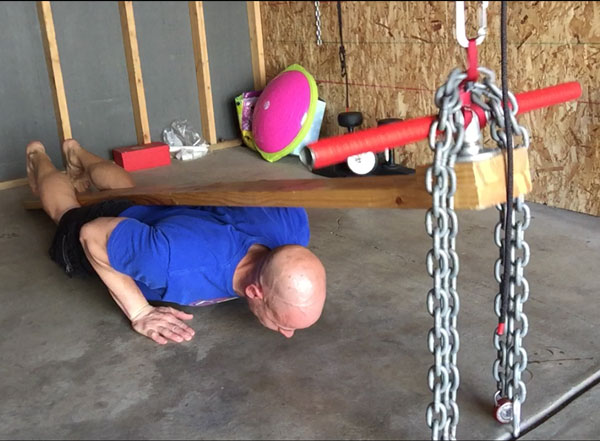
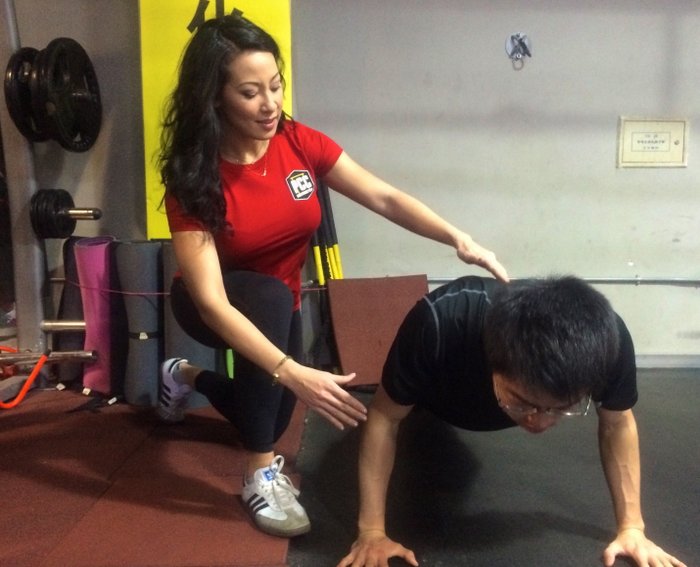
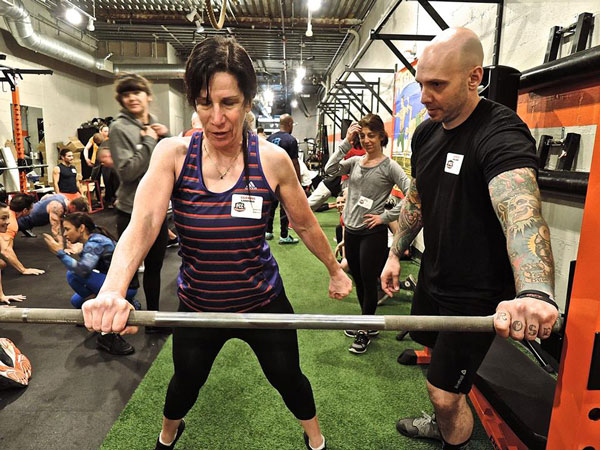
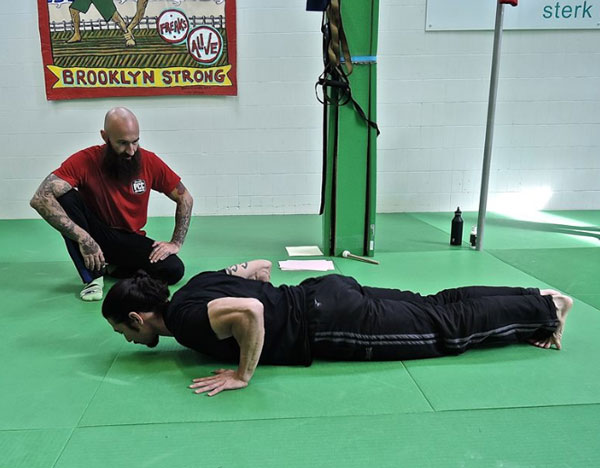
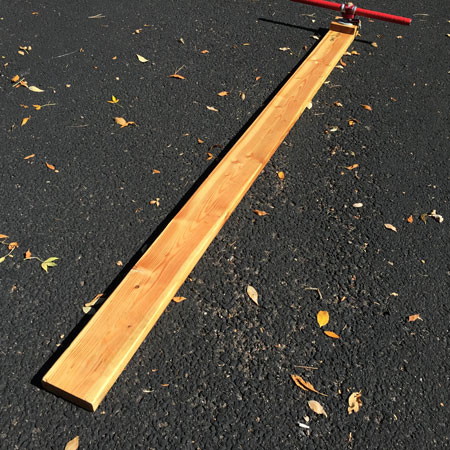 The struggle to load the push-up…