Anyone who’s practiced calisthenics long enough knows firsthand that mobility is a crucial component of bodyweight exercise. Calisthenics staples like L-sits, back bridges and pistol squats all demand a high degree of flexibility, but even less obvious exercises like pull-ups and handstands require mobility as well.
While practicing those moves in and of themselves can help you improve your range of motion, supplemental stretching can elevate your calisthenics game to the next level.
Here are three simple stretches that you can practice daily to improve your overall mobility. Just try to hold each pose a few times a day while you take several deep, slow breaths. There’s no need to set a timer or be too dogmatic about it.
Speaking of dogs…
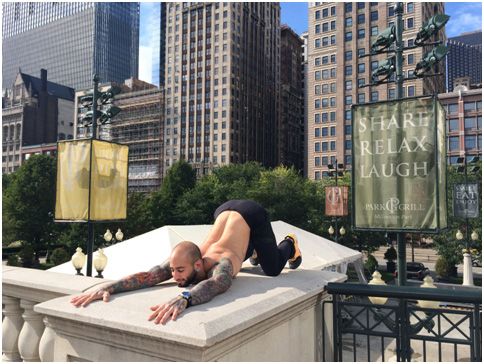
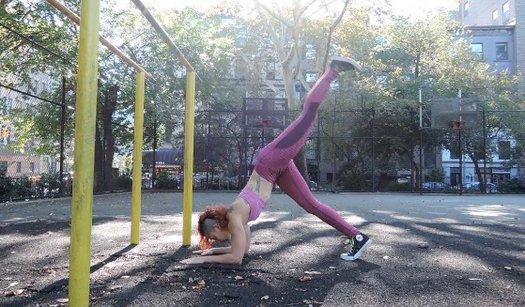
Updog
What’s up, dog?
For starters, it’s a great way to prep your spine for bridge work. It also opens your hip flexors, warms up your triceps and provides a good stretch for your abdomen.
Begin in a push-up position, then drop your hips toward the ground, lift your chest and look up. Be careful not to let your shoulders shrug up by your ears. Think about pulling down and back through your shoulder blades like you would during a pull-up. Press your hands into the ground, lock your elbows and gently contract your quads to prevent your legs from dragging on the ground.
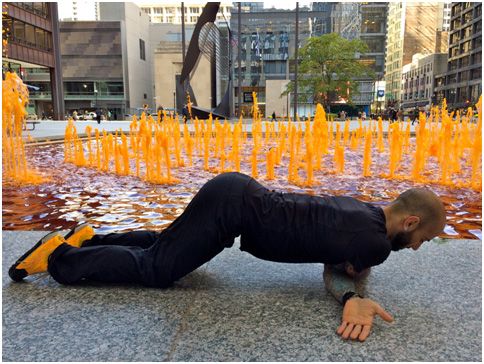
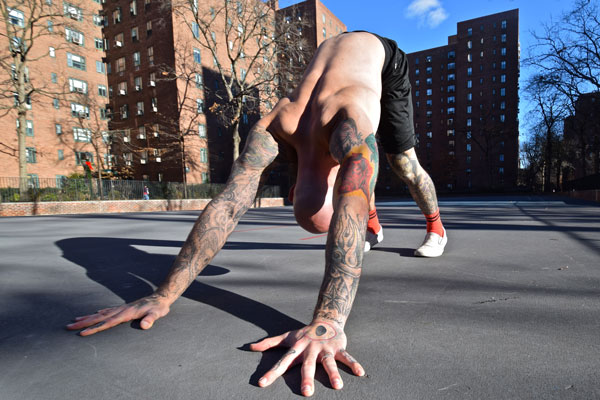
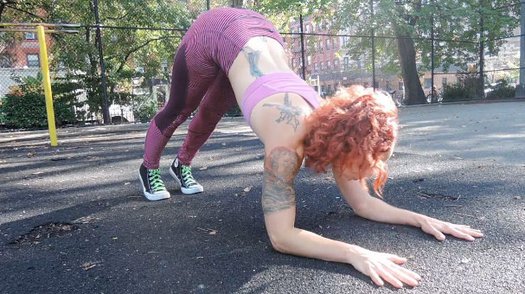
Downward Dog
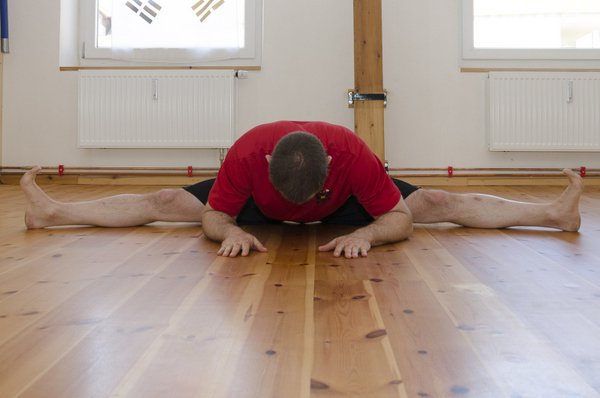
Downward Dog is a helpful stretch for building flexibility in the entire posterior chain as well as opening the shoulders. It will loosen your hamstrings for L-sits and pistol squats, plus it can improve your handstand as well.
Begin on your hands and knees with your toes curled under your heels, then slowly lift your hips into the air while pressing your chest toward your thighs. Try to keep your back as flat as possible while pressing your hands into the ground and reaching your hips into the air. Do your best to maintain straight arms and legs, though it’s okay to allow your knees to bend and/or let your heels come off the floor. In time, work toward fully extending your legs and pressing your feet flat. People with tight calves may find it helpful to bend one knee while straightening the other, alternating sides.
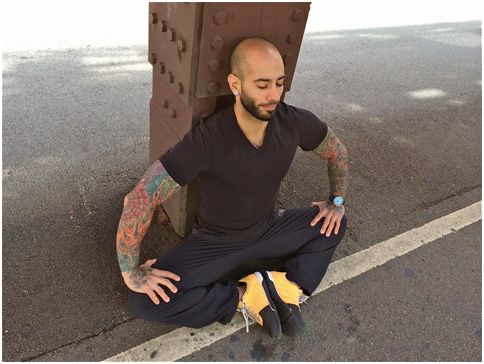
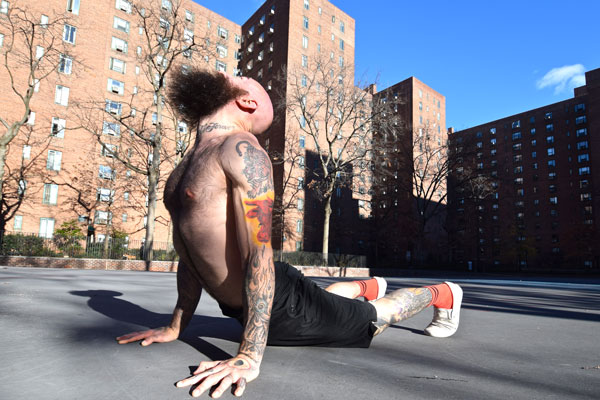
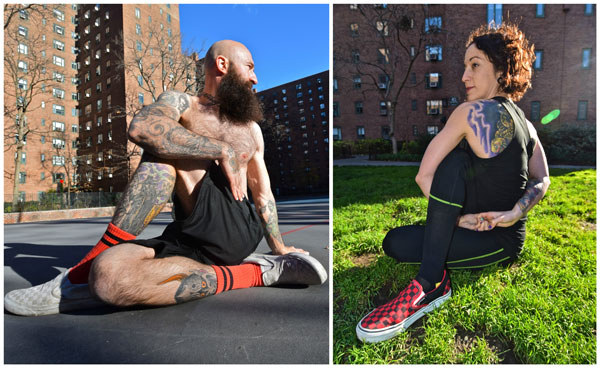
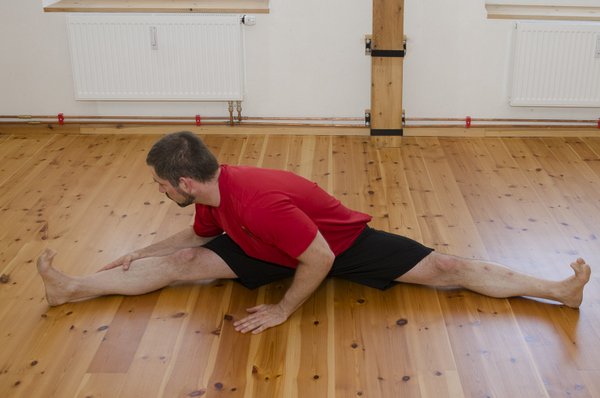
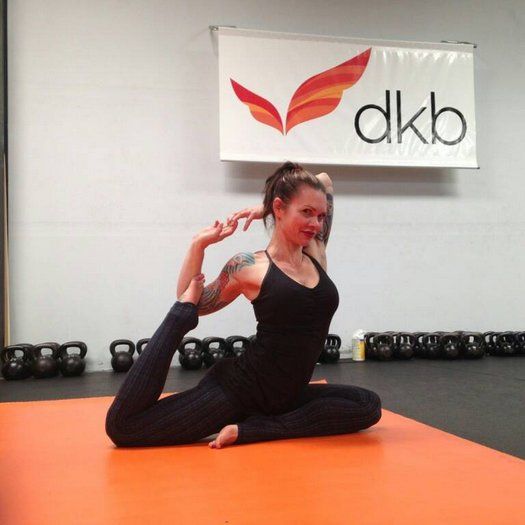
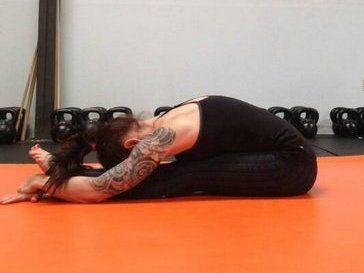
Seated Twist
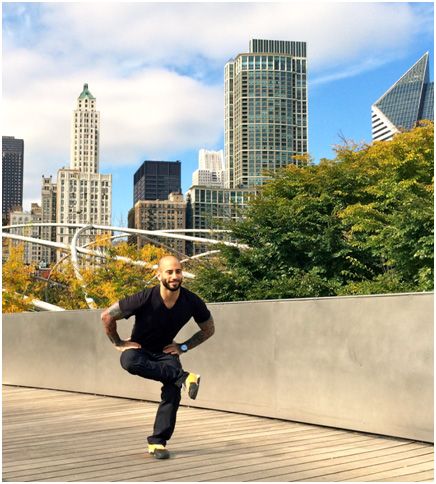
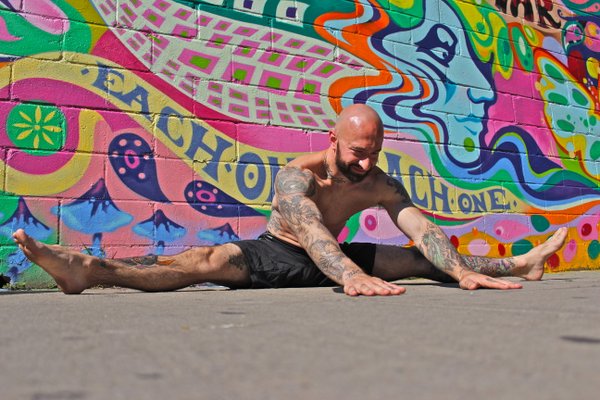
A powerful stretch for the hips and spine, the seated twist is also one of Coach Wade’s three favorite stretches, as noted in Convict Conditioning 2. The full expression of the exercise, which involves binding the hands, is also a great stretch for the shoulders. Seated twists are helpful for any calisthenics move that requires rotation, such as the side crow or dragon pistol squat.
Sit on the ground with both legs extended straight in front of you. Now bend your right leg and cross it over the left, placing your right foot flat on the floor. Twist your trunk and reach your left arm out in front of your right knee. Your right hand should be placed palm down on the floor a few inches behind your back as you twist and look over your right shoulder. From here you can bend your left leg as well, tucking the foot beneath your opposite hip. For an added stretch, reach your right hand behind your back while threading your left hand through the opening beneath your right knee, bringing your hands into a bind (or gripping a cloth between the hands if a bind is not yet attainable). Make sure to repeat the stretch on both sides.
I encourage you to use these stretches to warm up at the start of your calisthenics practice and/or to cool down at the end. The more time you spend in each pose, the better they should start to feel. Also feel free to practice throughout the day any time you feel stiff.
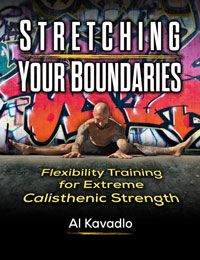
To find out more about stretching to improve your calisthenics practice, check out my book Stretching Your Boundaries – Flexibility Training for Extreme Calisthenic Strength.
****
Al Kavadlo is the lead instructor for Dragon Door’s Progressive Calisthenics Certification. Recognized worldwide for his amazing bodyweight feats of strength as well as his unique coaching style, Al is the author of five books, including Raising The Bar: The Definitive Guide to Pull-up Bar Calisthenics and Pushing The Limits! Total Body Strength With No Equipment. Read more about Al on his website:www.AlKavadlo.com.

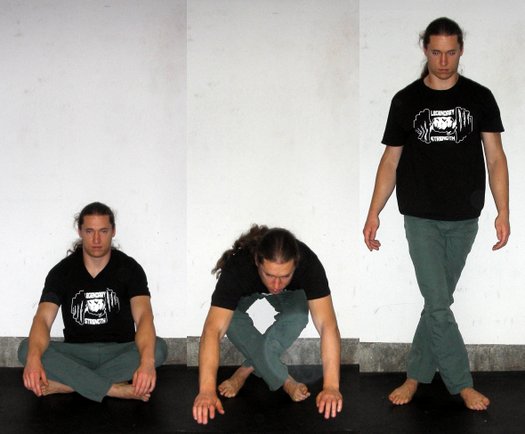

 Next is a standing forward bend, where you bring your hands to one side and keep them on the ground as you stand up. This is a combined forward bend and rotation. Another variant is to sit back into the opposite hip. So if your hands are to the right of your body, you’ll sit back to the left. Spend a couple minutes going between one side and the other.
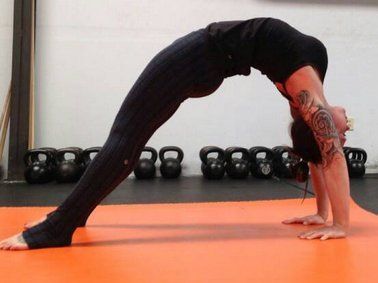
 For a proper bridge, your arms and legs are the support structures and your hips and back should be relaxed and open. Your chest should be projected up and back, toward the top corner of the wall behind you, and your hips should be lifted up and forward, toward the top corner of the wall in front of you. This aiming in opposite directions creates that “openness” in the spine. Breathing should be steady and even, and you should hold the position for 5 to 10 breaths. Again, don’t force things. Take your time and improve steadily.