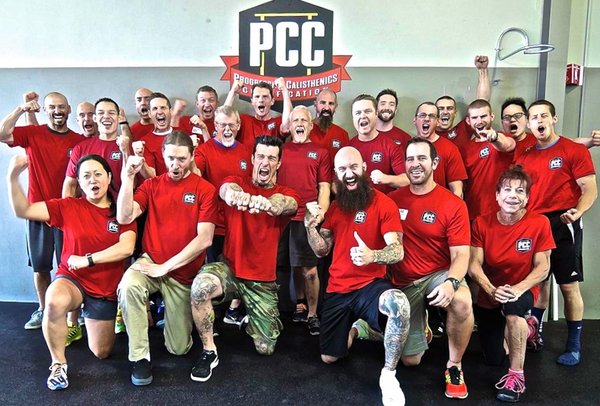
For me, the PCC was not just a calisthenics certification, it was a life-changing, eye-opening experience.
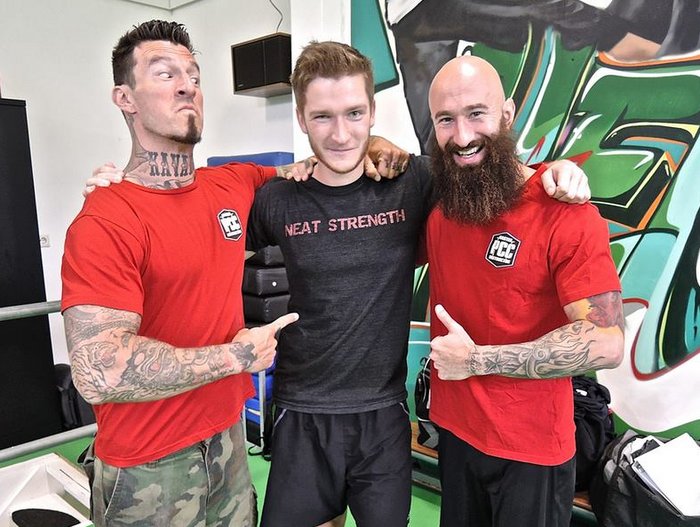
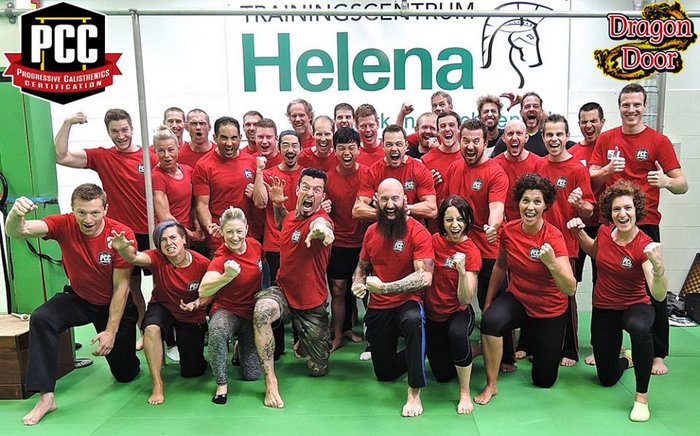
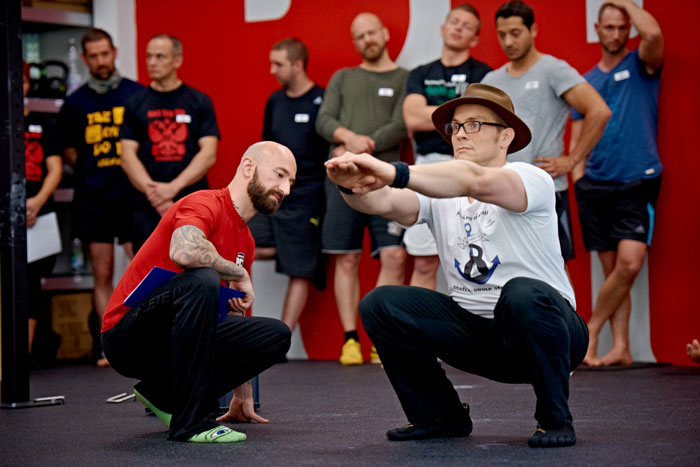
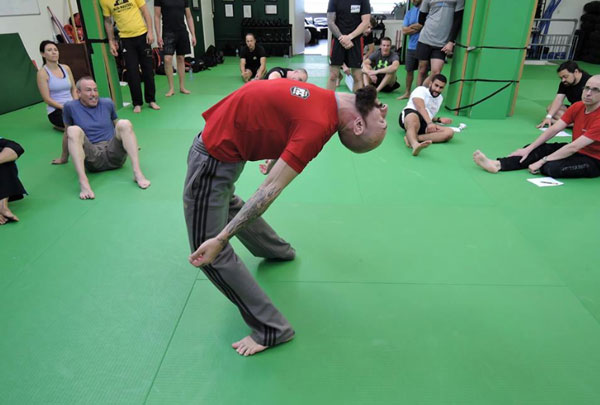
In October of 2014 I traveled from my home in Egypt all the way to Haarlem, Holland to attend the Progressive Calisthenics Certification. Going into a gym full of people I’d never met from all different nationalities was an intimidating experience by itself. That was when the learning began, however–just bouncing ideas off of people with different backgrounds than myself.
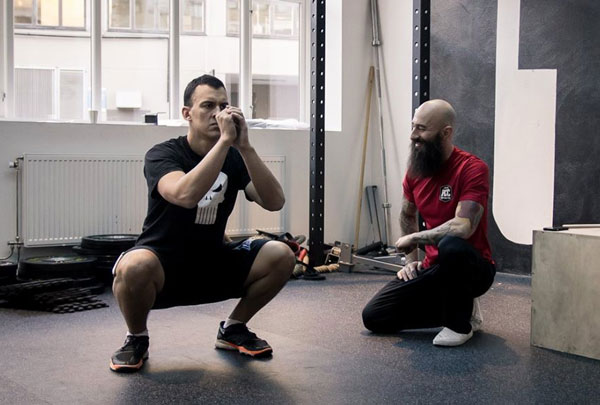
Al and Danny have a great way of welcoming people. They’re both very warm, and very hospitable, but I personally believe they’re opposites. Al is more of a lighthearted, relaxed type of guy while Danny is energetic and intense. This got me thinking, if these two guys are opposites, yet both are extremely successful, what does that mean? The answer is this: there is not one way to connect with your clients and achieve success. The only way is to be true to yourself, and strive to always improve and serve your clients as best as you can. That was one of the most valuable lessons I took away from the weekend.
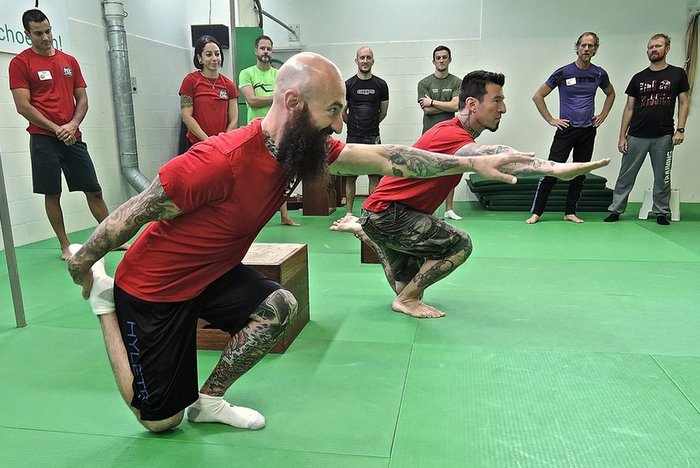
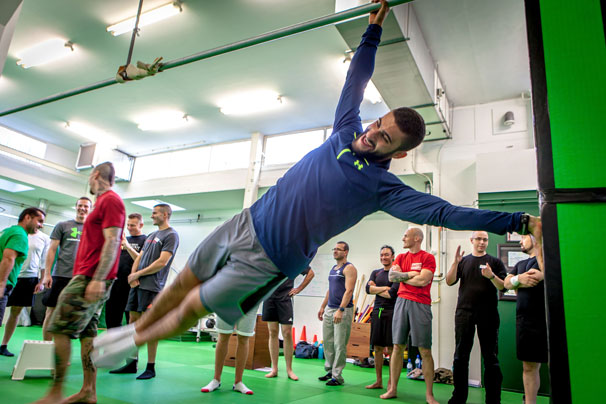
Another thing I realized is that Al is skinny, while Danny is more muscular. Although that might not seem like much to most people, here’s what it taught me: forget aesthetics. Yes, neither Al nor Danny look like your typical bodybuilding meatheads, but they can do feats that would put most of the bodybuilding community to shame. The things I saw that weekend–slow muscle-ups, stand-to-stand bridges, one arm pull-ups–are the true signs of strength as far as I am concerned.
The biggest lesson I learned from the PCC, however, is to forget the dogma. I’d have to admit, I was the type of person who was obsessed with “sets and reps” and “the right way” of training. What Al and Danny taught me was to expand beyond right and wrong. As Al says, “There is no right or wrong, there are only actions and consequences.”
In this age of information overload where everyone considers themselves an expert, it’s hard to come out with truly valuable information. Ironically, the message that Al and Danny taught me, which is to be open to all possibilities, got me to shut some things out. They encouraged me to start questioning things, to focus less on information, and more on quality of information.
Too many people think the way you learn is by sitting in a classroom, listening to a teacher, and getting an A on the test. Fortunately, life doesn’t work like that. Real learning happens in the application of new lessons, from getting feedback, and by constantly trying to improve.
Since returning to Egypt, I quit my corporate job, and started my own fitness company called The Movement, where I’ve been coaching group classes and training people one-on-one.
Every time I work with a client, I’m constantly asking for feedback on how we could continue to improve the program. That doesn’t mean that I’m soft or that I let my clients off easy. They will tell you that I push them–and I push them hard–but that’s why they appreciate me. They know that I’m pushing them for their sake, and they trust me. Part of my job as a coach is to remind my clients of why they sought me out in the first place.
Though it may not be for everyone, sometimes, especially when I feel they’ve made considerable progress, I will invite my client to dinner to celebrate. For me, this is a way of increasing our rapport and it tends to create a positive association to training. It is also a good way to inspire them to eat healthier.
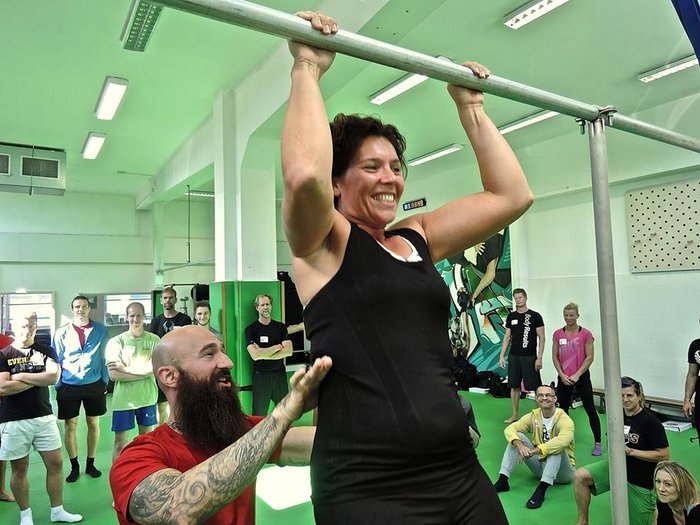
Most of my clients are novices who’ve almost never worked out, so doing something fun and having a laugh outside of the gym shows them a side of training that they never knew existed. This is the vibe I got when I first entered Trainingscentrum Helena in Haarlem, Netherlands.
The PCC experience got me to tell the people who want my advice on the best workout plan to “find what works for you–what you enjoy, and do it.” People have a hard time understanding this simple sentence, and I believe I would’ve too if it wasn’t for the PCC.
****
Ali El Khatib is a PCC instructor who quit his corporate job to venture into health and fitness. Ali founded “The Movement” which aims to provide people with Physical, as well as Mental solutions to achieve true health.


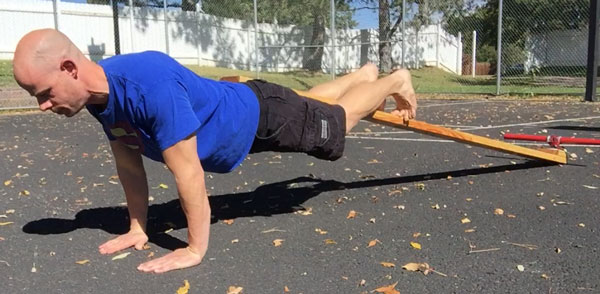
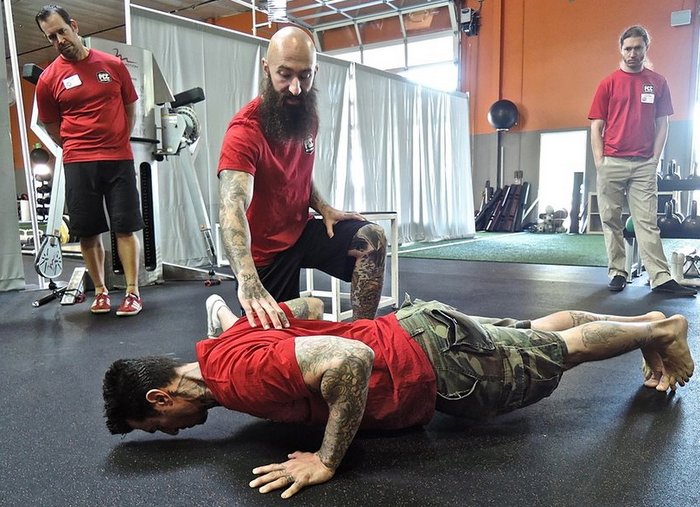
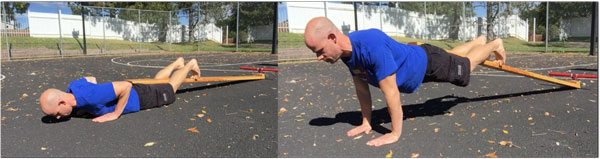
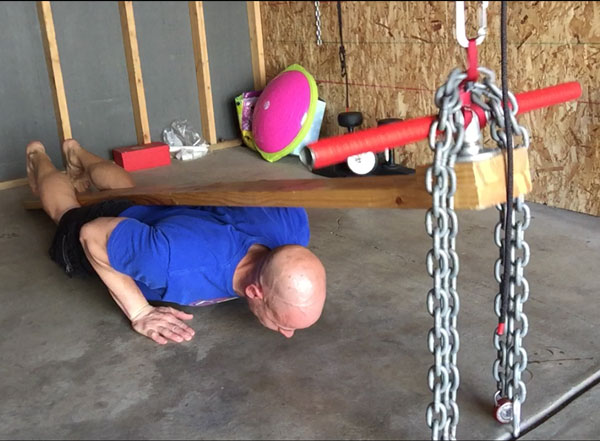
 The struggle to load the push-up…
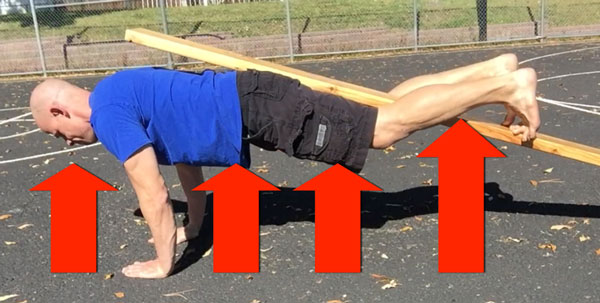
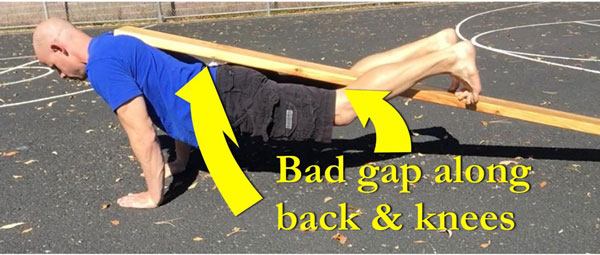

 Position check:
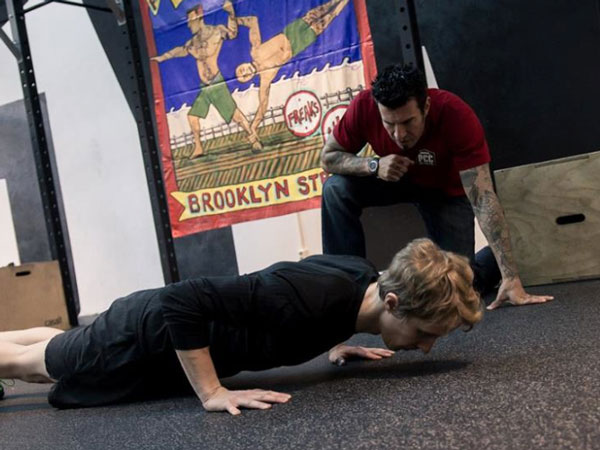 Position Check:
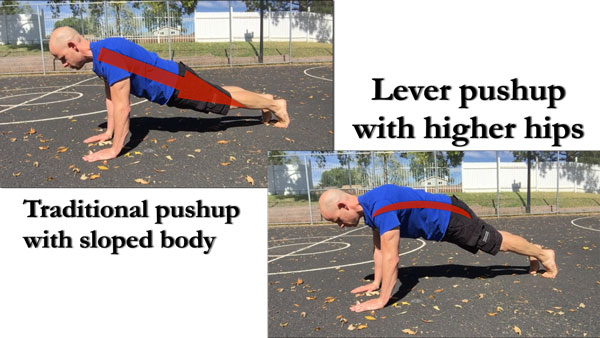
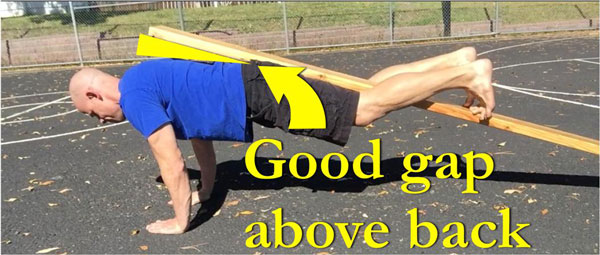
 Position Check:
 Position Check:
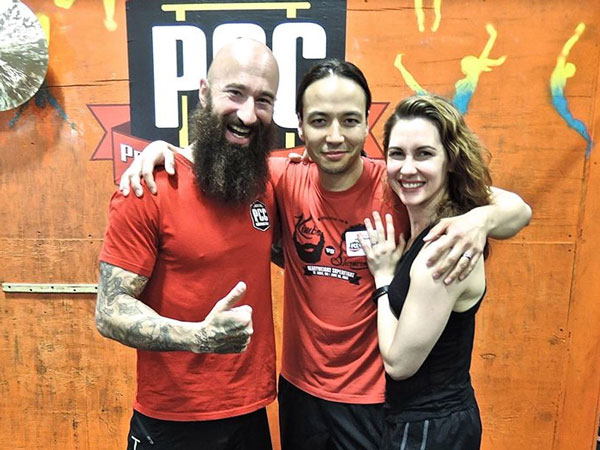
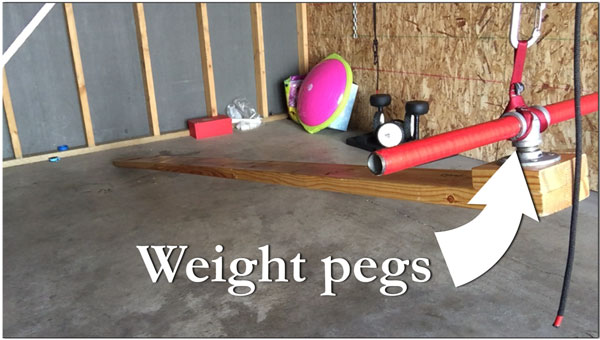
 The Smith Machine is basically just an adjustable straight bar, so it really is a bodyweight athlete’s best friend in disguise when it comes to learning push-ups, both the basic and one-arm versions. Strict form push-ups are an absolute foundation of
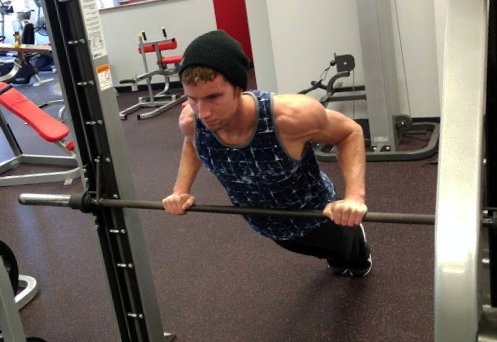
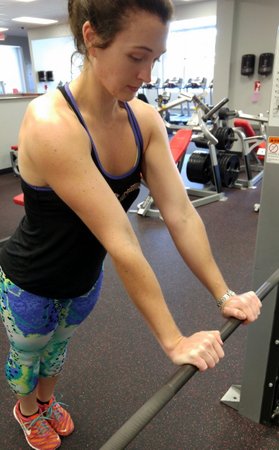
 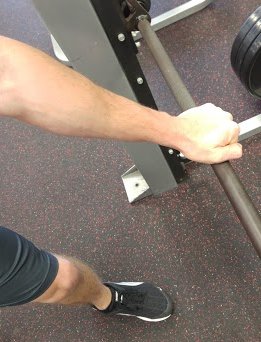 To begin working on Smith Machine incline push-ups, start with the bar set to about chest-height and set up your stance and grip as you would any other incline push-up, except you will be gripping the bar rather than placing an open-hand on the floor. This slight difference can cause the elbows to naturally want to flare out to the sides, so keep your grip close to shoulder width and be mindful of your form. I do recommend using a “thumbs over the bar” grip rather than wrapping them underneath, as this allows the wrists to turn out slightly and keep the elbows pointed inwards. After performing a good 10 reps to get a feel for the angle, assess your performance and fatigue.
 With these same methods of adjusting movement intensity via bar height and foot placement, one can also begin to safely explore the more advanced one-arm push-up progressions. Although most of the preceding article has been geared towards beginner calisthenics practitioners who are attempting to learn basic push-ups, all of the stance strategies and varied intensity tactics discussed above can be used by more intermediate and advanced bodyweight athletes attempting to learn or perfect their one-arm form. No matter your level, using an adjustable bar is a simple and effective way to track and ensure your progress.