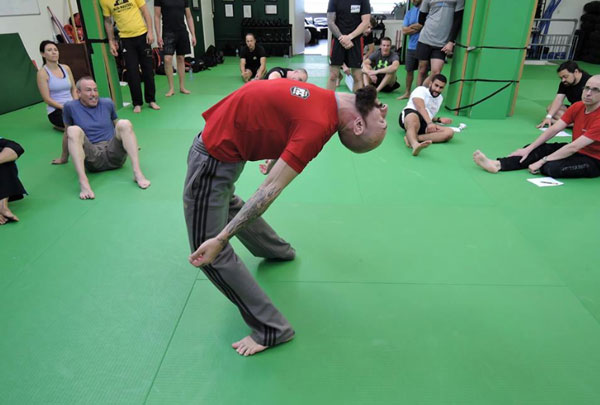
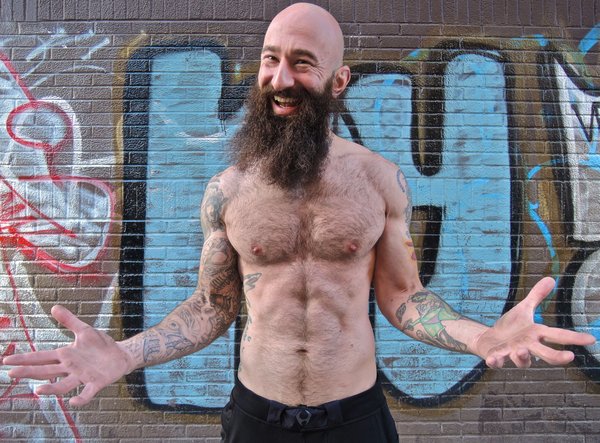
 If you look around most mainstream gyms, you’re likely to see people using fancy-looking machines to try hitting each part of their bodies individually. This “isolation principle” of weight training gained popularity with the rise of bodybuilding, where it is effective in sculpting individual muscles in isolation and hoping to counterbalance that effort with each muscle individually, putting them together in a “Frankenstein” fashion to build a muscular physique.
Putting all the cells and body parts of a cadaver together, however meticulously, will not create a person capable of performing the miraculous feats humans are capable of performing. The problem lies in that a muscular physique alone does not translate into athleticism nor overall health. It is largely for appearance, and in some cases, raw strength. This is not to say that all those with muscular physiques are not athletic. Athleticism is a talent that is either practiced or naturally present. Just as talent alone is not enough, however, a muscular physique is not enough in the pursuit of overall health and optimum performance.
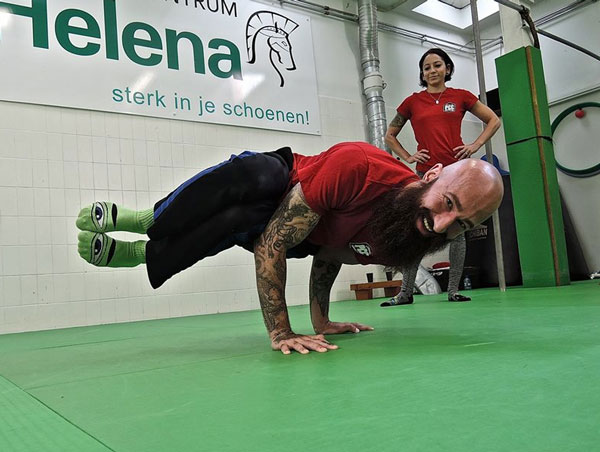
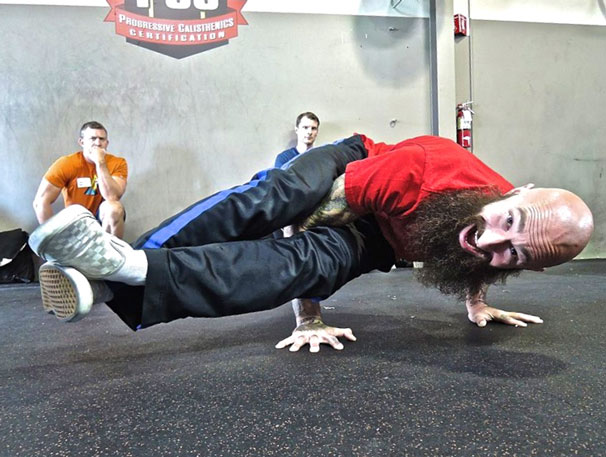
Critics of calisthenic conditioning often claim it lacks a progression element typical in weight training or machine resistance such as plate loaded or hydraulic cam or cable devices. Truth be discovered, there are near infinite progressions for every calisthenic exercise placing greater demand and stimulating progressively increasing power and strength.
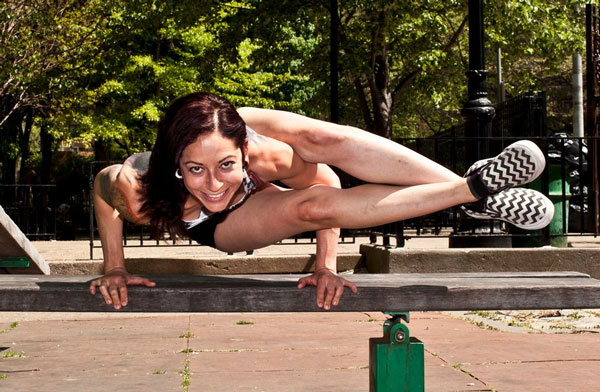
So what does this have to do with brain power? Simple: The more you force different groups of muscles to work together to overcome a challenge, the more recruitment of brain, nervous system and muscle activation you achieve. Practicing this pattern over time makes you more efficient in executing similar challenges. It makes your system smarter! This is how we are designed to function, not in individual parts, but as a whole. This explains ancient systems of exercise and conditioning like martial arts, Yoga, and other physical practices dating back to the dawn of man. It wasn’t until recently we became attracted to the notion of isolation training for aesthetic outcomes and thought we were smarter than the ancient wisdom that brought us here.
The “Chain of Command” Principle
Like an elite military or business system, your brain’s recon teams bring information in for central processing and a proper response. Practicing these responses regularly with varying degrees of challenge builds reactions that are more reflex in nature than thought-based. Receptors in muscles, joints, tendons, fascia and other body parts perform the recon work. They gather information about the environment in response to gravitational stresses. This is where the juice is. Vary those stresses in multiple planes of action with varying degrees of difficulty and bingo! Practice consciously so you can react well in stressful situations.
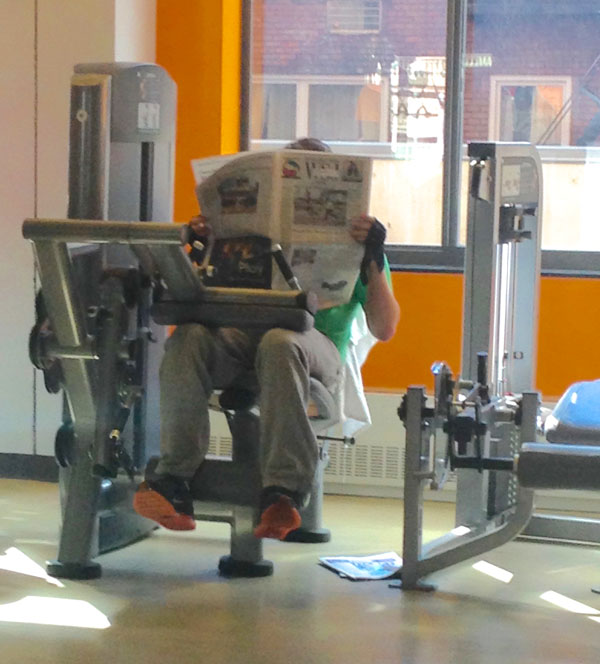
In my studies and 30-plus years of clinical experience, I see one common element in people suffering the wide array of health problems. This common element is that people do not move enough and when they do, it is not in a beneficial way. All their effort goes into a rather mindless propulsion of a machine typically while seated. No attention is given to practicing consciously challenging movements! Often these efforts to “exercise” are misguided and result in repetitive strain or outright injury, which causes many people with good intentions to quit entirely.
Defining Exercise
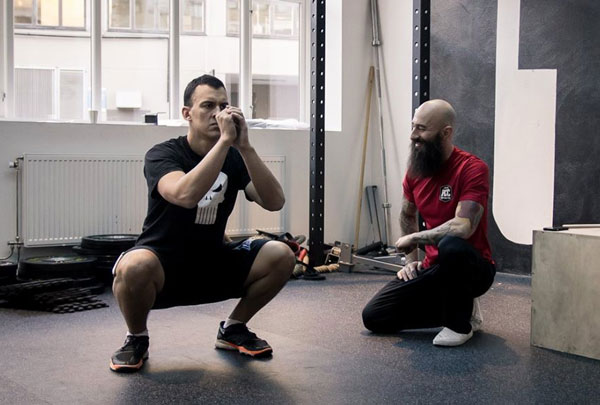
My definition of exercise is any activity you engage in regularly that counteracts the stress and strain of what you do most of your day (at work and during leisure time). We sit too much. We do not move our eyes enough. We do not challenge our balance and equilibrium enough. We do not challenge our muscles to work together in synchronized patterns to evoke the brain and muscle “memory” required to sustain optimal brain health and physical conditioning. Calisthenic conditioning directly addresses these deficits. Moving your body and recruiting muscle and joint receptors in novel ways builds protein in these nervous system pathways in unison rather than simply building proteins to make a muscle larger. Keep in mind the age old principle that you either “use it or lose it”. Nowhere is it more profoundly true than in the brain and nervous system. To make the best use of time invested in a conditioning program it makes sense to engage the brain, nervous system, musculoskeletal system, and mind all at once while exercising. Comparing calisthenic conditioning to isolation exercises performed on machines, treadmills or other cardio machines is a “no brainer” (sorry, couldn’t resist the pun).
Calisthenic exercises (ideally in a natural setting) provide huge potential benefits and rewards. By moving your body against gravity in various patterns and planes you establish and condition your “chain of command”. In the absence of a natural setting, the movement of your head and body while performing calisthenic exercises should be adequate to improve your health far better than sitting on a circuit training machine pumping out repetitions of isolation exercises. The “chain of command” I refer to in simplified terms is your brain, nervous system, muscles, joints, and connective tissues, along with the parallel connections between the nervous system and every cell and tissue of your vital organs. A healthy brain and nervous system, an athletic physique, and the ability to perform impressive physical feats into your later years are just but a few side effects of calisthenic conditioning. Healthy blood chemistry, balanced mental state and ideal body composition are but a few more benefits. It is well worth the effort to re-establish your physical and mental potential for optimal health and well-being.
****
 Joseph A. Schwartz, DC has 31 years experience as a practicing chiropractor with an emphasis on neurology, rehabilitation, nutrition, strength and conditioning. His mission is to empower others so they may exceed their expectations for vibrant health and well-being.


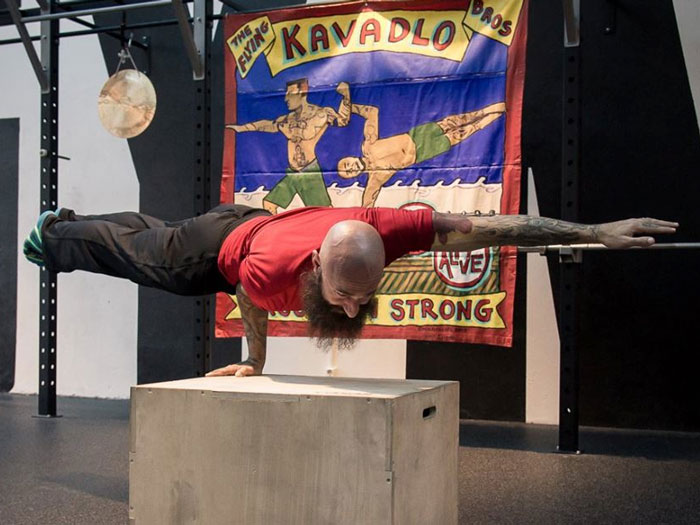
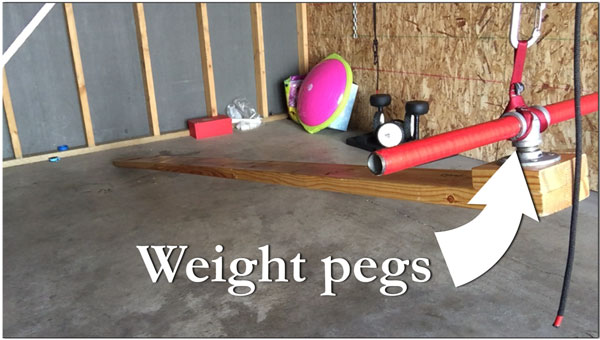
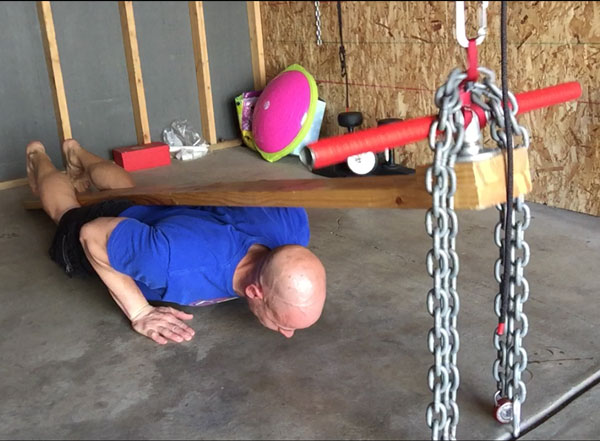
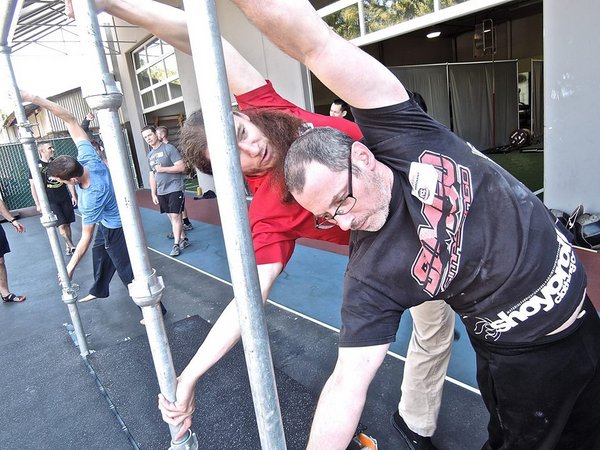
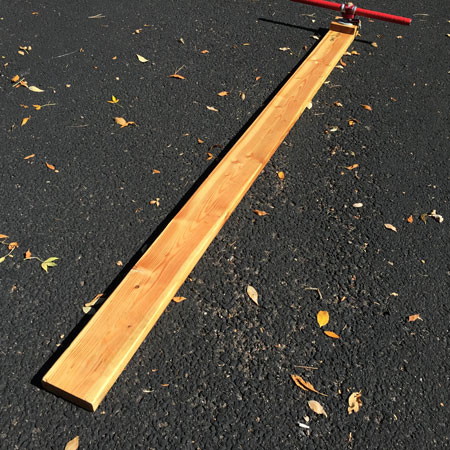 The struggle to load the push-up…
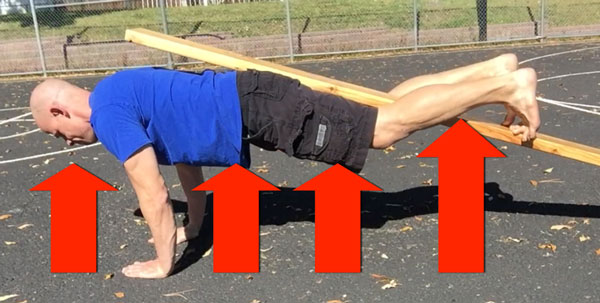
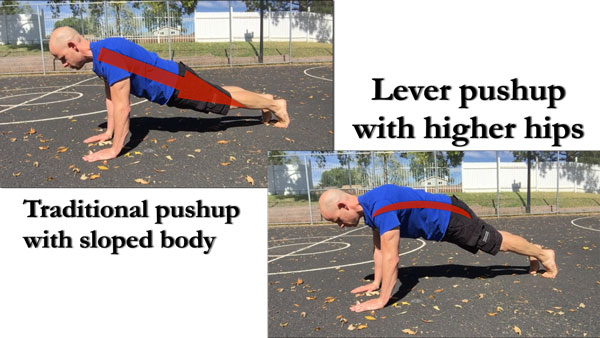
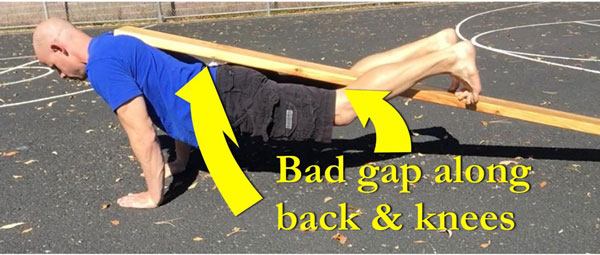
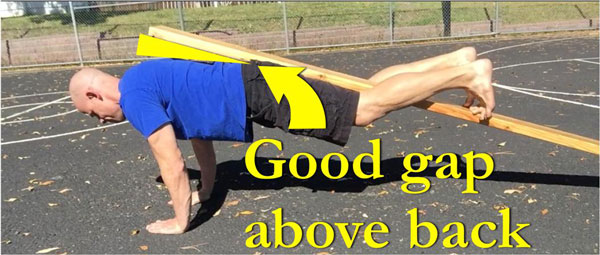


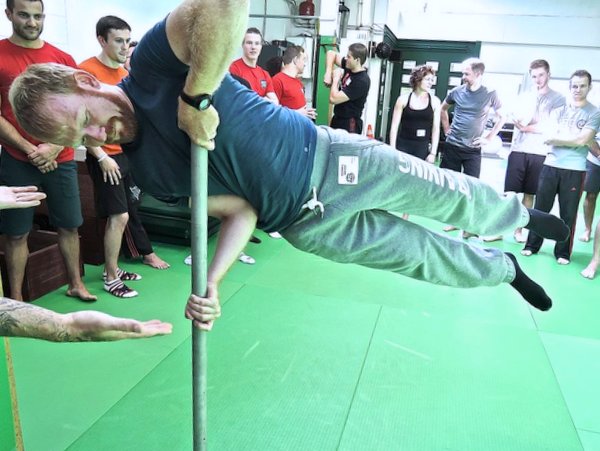
 Position check:
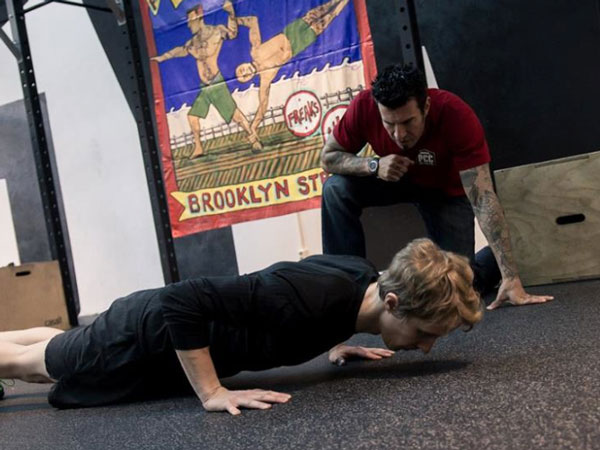 Position Check:
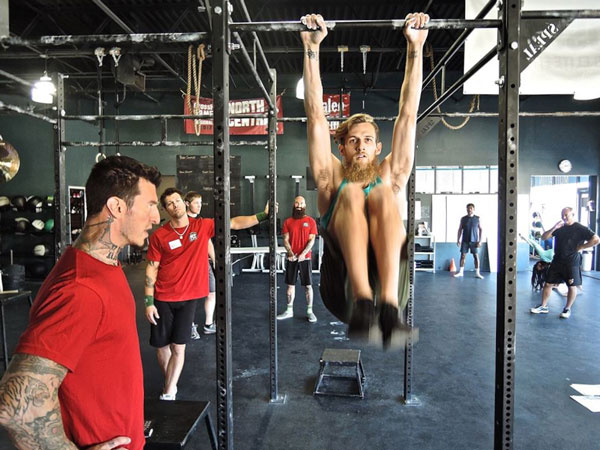 Position Check:
 Position Check:
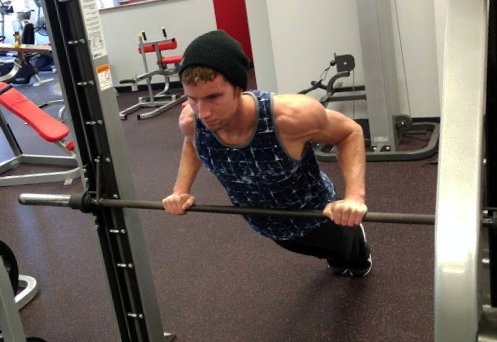
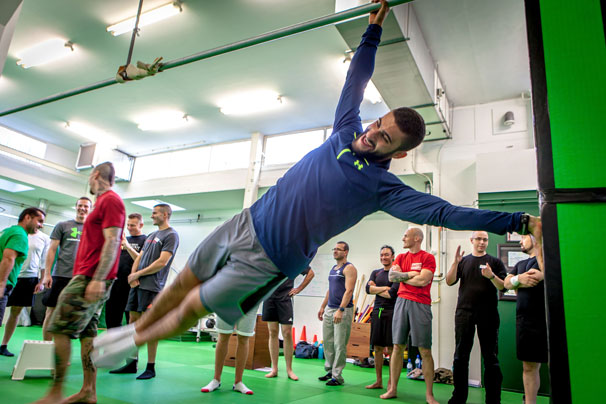
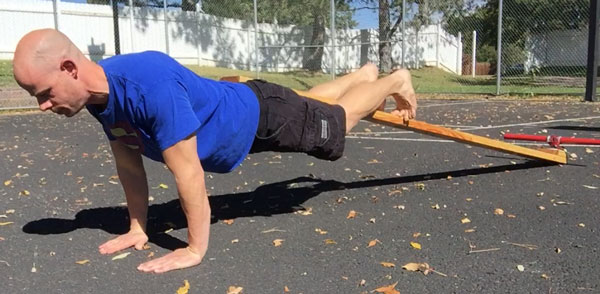
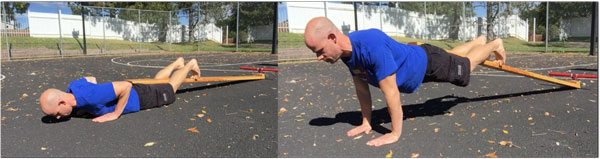
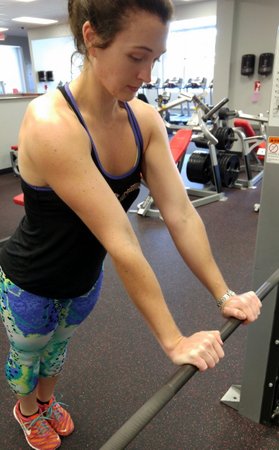 The Smith Machine is basically just an adjustable straight bar, so it really is a bodyweight athlete’s best friend in disguise when it comes to learning push-ups, both the basic and one-arm versions. Strict form push-ups are an absolute foundation of
 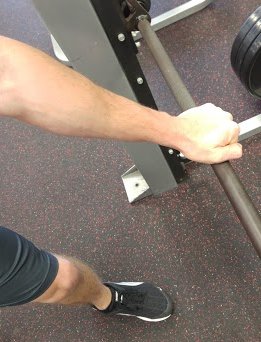 To begin working on Smith Machine incline push-ups, start with the bar set to about chest-height and set up your stance and grip as you would any other incline push-up, except you will be gripping the bar rather than placing an open-hand on the floor. This slight difference can cause the elbows to naturally want to flare out to the sides, so keep your grip close to shoulder width and be mindful of your form. I do recommend using a “thumbs over the bar” grip rather than wrapping them underneath, as this allows the wrists to turn out slightly and keep the elbows pointed inwards. After performing a good 10 reps to get a feel for the angle, assess your performance and fatigue.
 With these same methods of adjusting movement intensity via bar height and foot placement, one can also begin to safely explore the more advanced one-arm push-up progressions. Although most of the preceding article has been geared towards beginner calisthenics practitioners who are attempting to learn basic push-ups, all of the stance strategies and varied intensity tactics discussed above can be used by more intermediate and advanced bodyweight athletes attempting to learn or perfect their one-arm form. No matter your level, using an adjustable bar is a simple and effective way to track and ensure your progress.