The first time I ever tried to do a one-legged pistol squat, I failed miserably. Even though I thought I had strong legs from years of weight training, my initial attempt at this calisthenics staple resulted in me falling on my behind. After several weeks of dedicated practice, however, I was able to nail the pistol squat and eventually build up to performing it for reps.
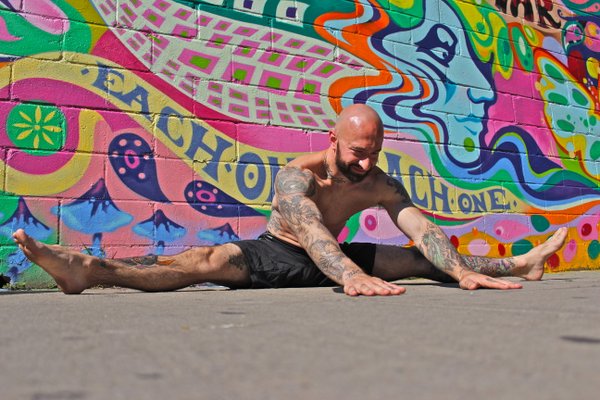
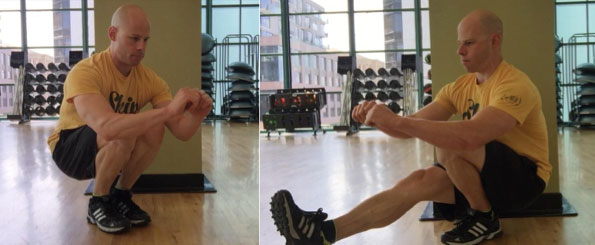
Later on, I discovered an exercise known as the shrimp squat, which finds the non-squatting leg held behind the body, rather than in front, as it is with the pistol. Once again, my first attempt at this new one-legged squat variation was unsuccessful. This time, however, I was able to get the hang of my newfound lower-body calisthenics challenge within a few training sessions. The strength and stability I’d built from pistols had a good amount of carryover to learning this new skill.
As I got more comfortable with the shrimp squat, I began finding new ways to make single leg squats more challenging. By holding both hands behind my back, I discovered I could change the leverage and add a significant amount of resistance without relying on external weights. I was also starting to practice a technique that would later go on to be dubbed the “jumbo shrimp”, which involves increasing the range of motion of a standard shrimp squat by standing on an elevated surface so that the back leg can drop down lower than when standing on the ground.
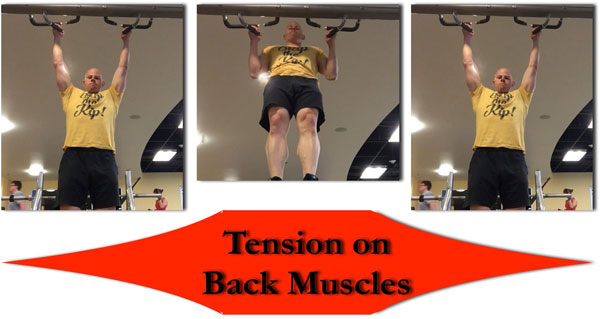
Legs Get To Work
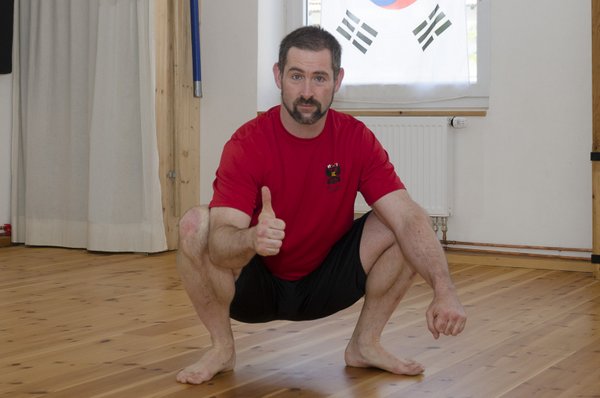
One of the most common misconceptions about bodyweight strength training is that it can only be progressed so far. After a certain point, many people would argue that the only way to increase the difficulty of an exercise is to add weight. This is especially true when it comes to leg training. Even folks who have come around to the idea that a muscular and highly functional upper-body can be built with calisthenics alone often have a hard time conceiving that the same is true for their lower half.
Though different people define strength differently, there are plenty of bodyweight squat variations to keep your workouts fun and challenging for a lifetime. If standard pistol squats and shrimp squats are no longer difficult for you, don’t start thinking you need to join a gym. Instead, consider giving the dragon pistol squat a shot.
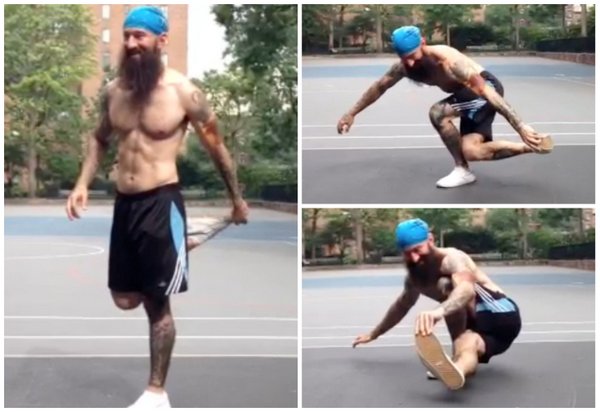
Enter The Dragon Pistol
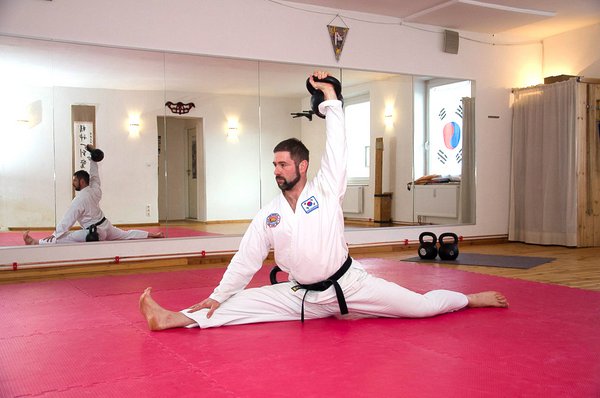
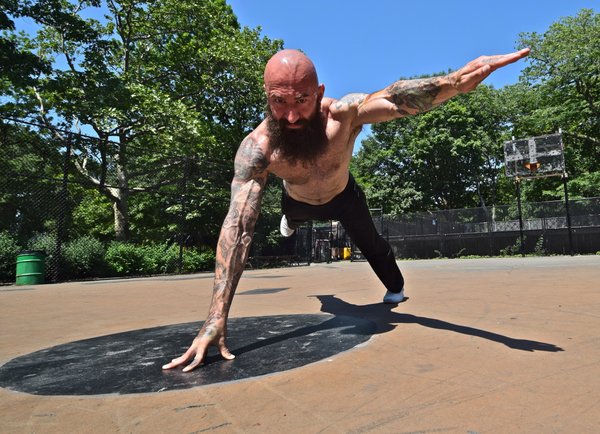
Like the traditional pistol squat, the dragon pistol requires serious strength, balance and mobility – and in a very unique way. The dragon pistol can be surprisingly taxing on your inner thighs as well as your deep glute and hip muscles. And of course, all the other muscles that you work in a standard pistol will get hit as well.
As we each have our unique strengths and weakness, some people may find this move a lot harder than a normal pistol, while others may not experience a huge disparity. Regardless, I suggest building a solid foundation in standard pistol squats before beginning to work on this variation.
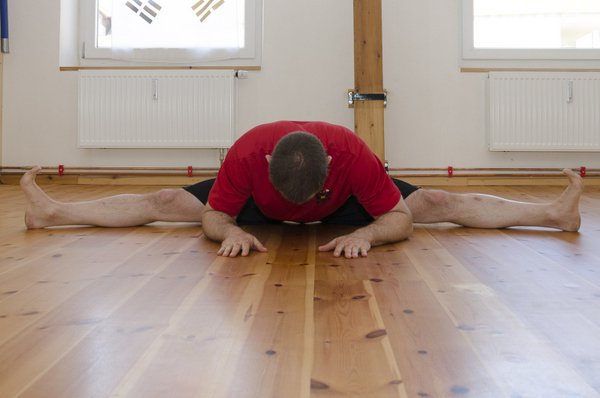
Other than that, I recommend you spend some time working on your hip mobility by practicing twist holds, which you may recall seeing in Coach Wade’s Convict Conditioning Vol 2. Once you’re able to do a standard pistol and a full twist hold, you shouldn’t be too far from the dragon pistol.
Elevation Training
Though standing on a bench or other elevated surface when performing a shrimp squat can increase the difficulty of the exercise by increasing the range of motion, practicing the dragon pistol while elevated can actually be a very helpful regression. By allowing your non-squatting leg to drop below the bench, you can decrease the amount of mobility required to perform the exercise. (This same technique of standing on an elevated surface can be very useful when someone is learning to do a standard pistol squat as well.)
Toe the Line
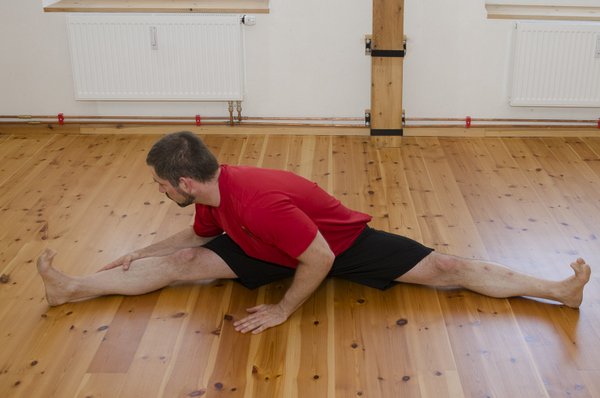
If you’ve spent some time working on pistol squats, you’ve probably at some point experienced a cramp in your non-squatting leg as you fought to keep it in the air. This is common when learning the dragon pistol, too, only the cramping may take place in your hip and/or inner thigh instead of your quads. To minimize this issue, many people find holding the toe of their squatting leg to be helpful, particularly in the bottom position.
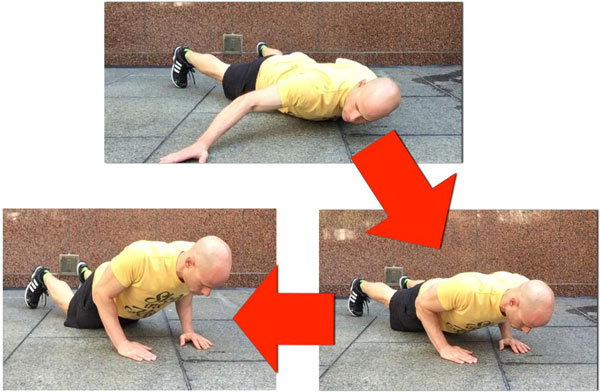
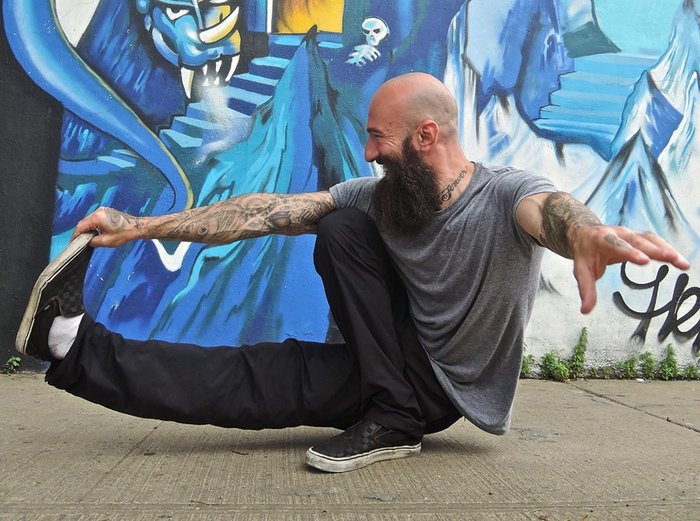
The dragon pistol also has quite a bit in common with the shrimp squat, as both moves begin with the non-squatting leg behind the body, rather than in front. As such, you may find that holding your toe behind your back at the top of a dragon pistol (similar to how you would in a shrimp squat) will allow you to control your leg as you gradually extend it into the bottom position (which more closely resembles a pistol squat, only with the extended leg threaded behind the squatting leg). Note that your hand will reach across to the opposite toe for this variation, whereas in a shrimp squat it is more common to hold the toe on the same side. So if you’re going for a dragon pistol on your left leg, you would hold your right toe with your left hand.
When practicing these progressions, I recommend keeping your training volume low. Warm up with a few easier moves (basic squats, split squats, maybe a few pistols and shrimps) then get into practicing your dragon pistol progressions (elevated, holding your toe, etc). When starting out, stick to just one or two reps at a time – a total of 10 reps per side in one training session is probably plenty. If you go slowly and focus on staying in complete control of your movement, you won’t need to do a whole lot of volume.
I’ve only recently begun experimenting with this move, so don’t take my guidance as the final word. I’m sure I will learn a lot more as I go. Feel free to share your experience with the dragon pistol squat in the comments below.
***
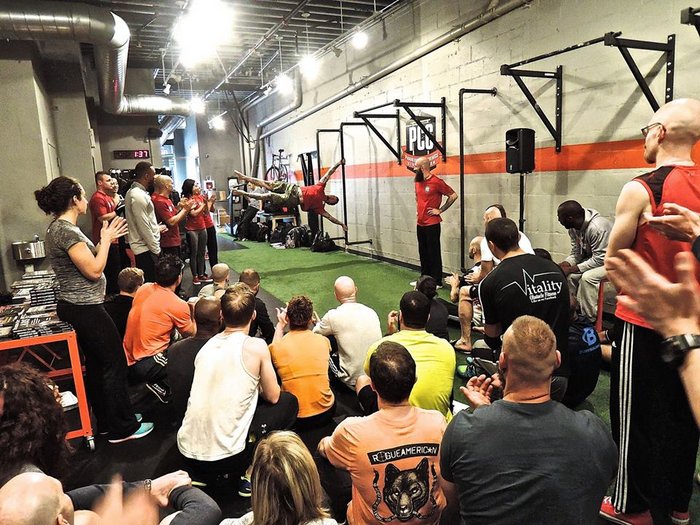
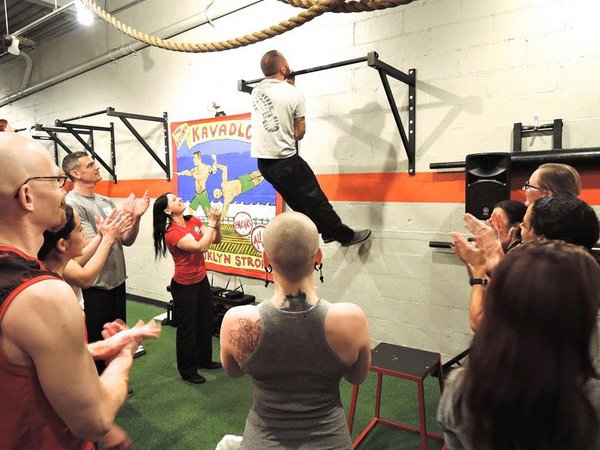
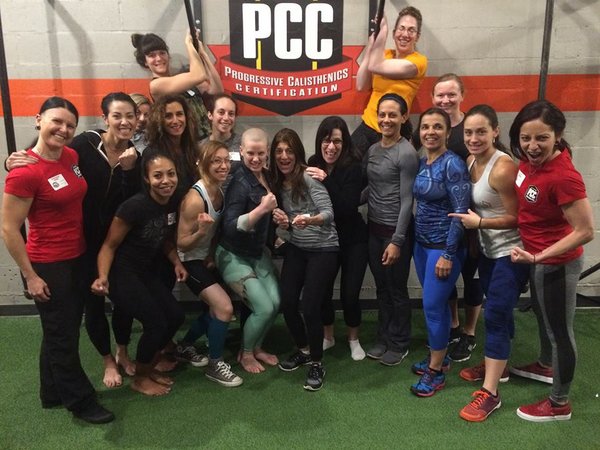
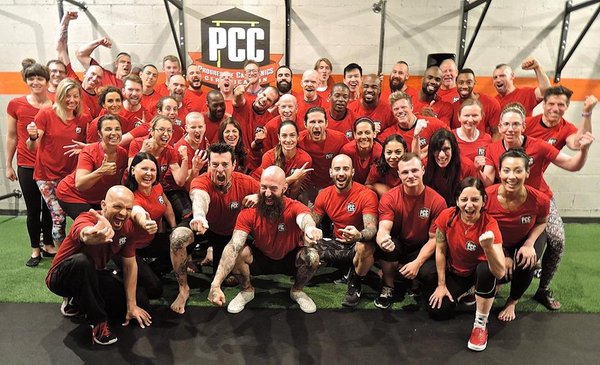
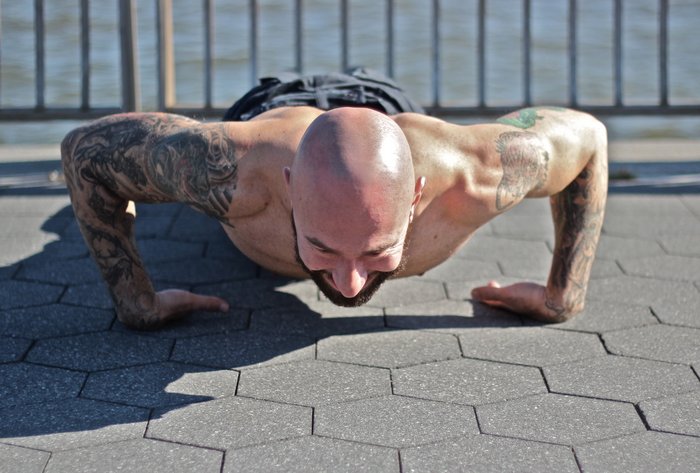
Al Kavadlo is the lead instructor for Dragon Door’s Progressive Calisthenics Certification. Recognized worldwide for his amazing bodyweight feats of strength as well as his unique coaching style, Al is the author of five books, including Raising The Bar: The Definitive Guide to Pull-up Bar Calisthenics and Pushing The Limits! Total Body Strength With No Equipment. Read more about Al on his website:www.AlKavadlo.com.