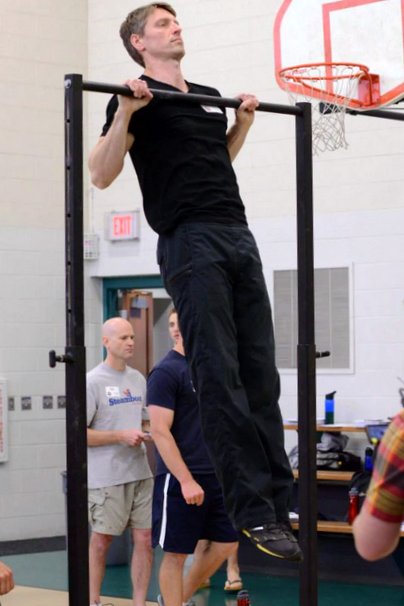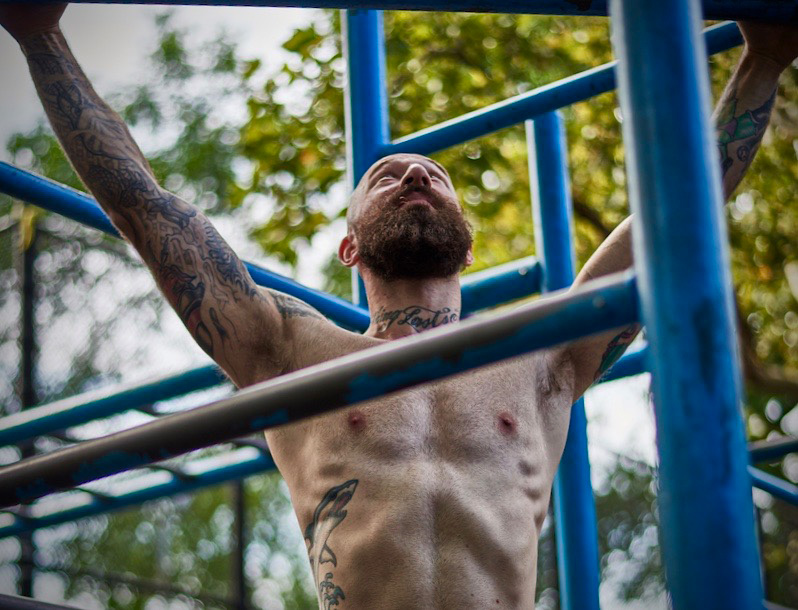
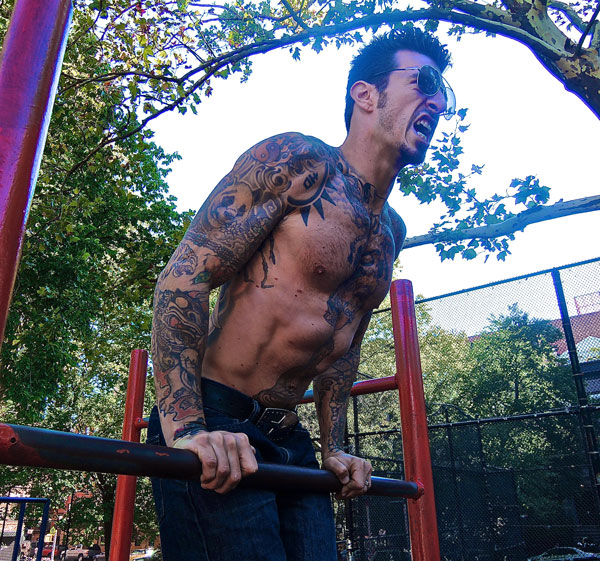
I used to suck at pull-ups. It’s true.
When I first got into calisthenics as a teenager, I was able to manage a couple underhand chin-ups, but I could not do a single overhand pull-up with a full range of motion.
So what did I do?
Well, I started by doing what I could, which meant lots of chin-ups. Even though I could only do a few at a time, I would just do as many as I could, then rest and repeat. I did this every other day for months. Then one day I tried an overhand pull-up again and I could do it!
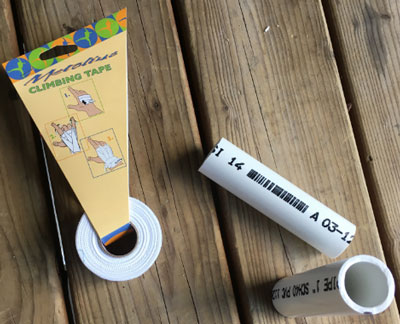
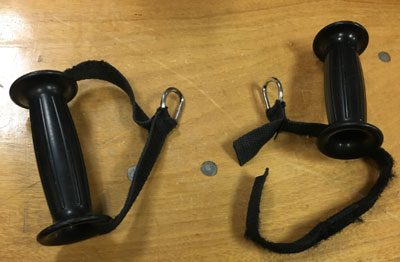
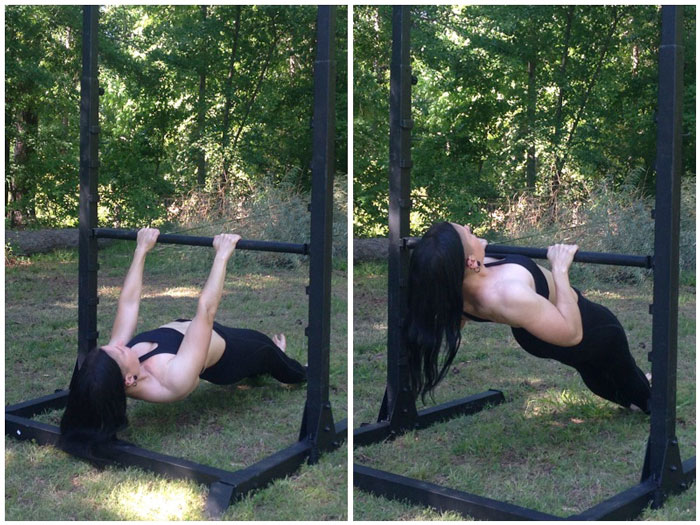
Soon after this, I encountered a pair of wide grip pull-up handles at a local gym and I was back to not being able to do a single rep. So I kept doing them on my doorway pull-up bar with the narrower grip.
Again, I just did as many as I could, then I’d rest and repeat the process several times. Since I was a teenager, I had a lot of testosterone and was able to recover pretty quickly. I did this every other day for a while and eventually I was able to do 10 in a row. Then I went back to that wide grip set-up and was suddenly able to do a few reps!
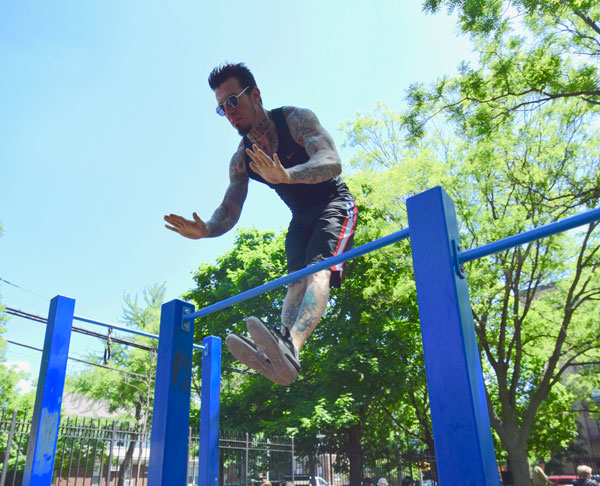
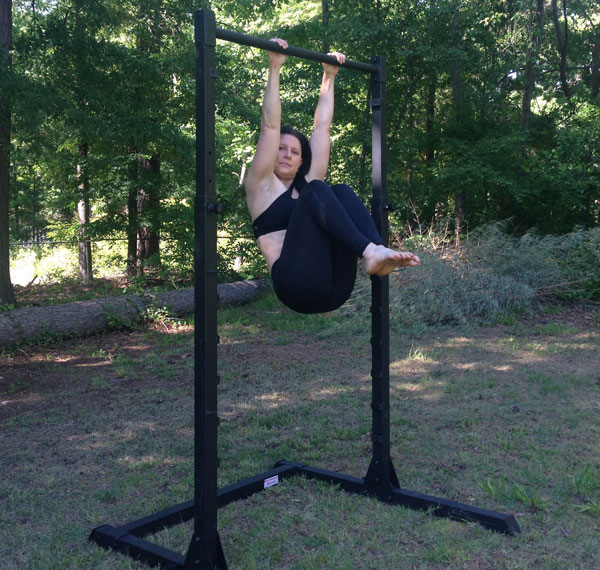
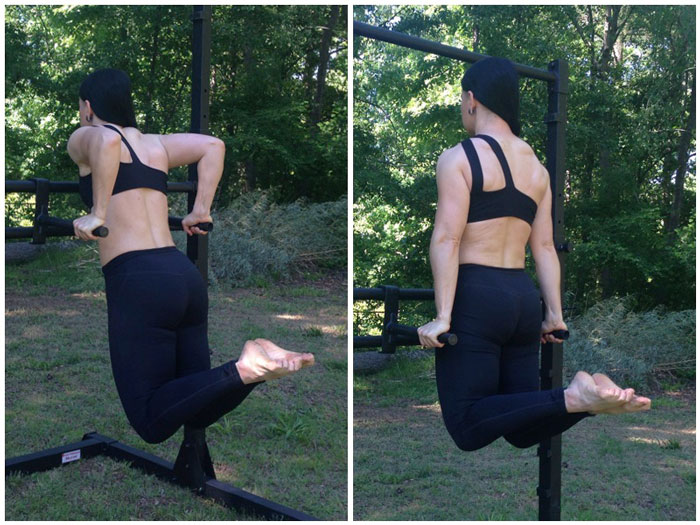
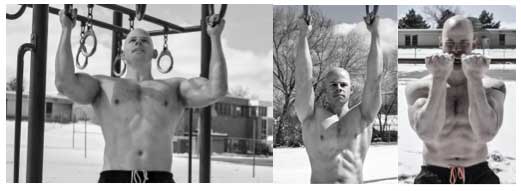
Over the course of the next several years, I continued to discover challenging new pull-up variations: Commando pull-ups, L-sit pull-ups, archer pull-ups and of course, the muscle-up. They all gave me a major humbling when I first encountered them, yet they were all ultimately achievable with consistent effort.
I’m far from being a teenager these days, and I don’t recover quite as quickly as I used to, but I still apply the same principles to all of my workouts.
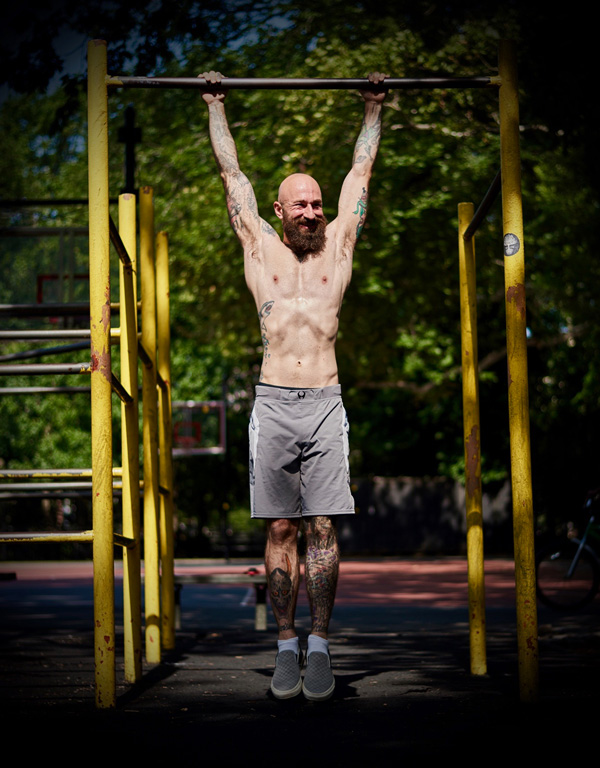
The key to conquering any physical goal, whether it’s to do 10 wide-grip pull-ups, perform a human flag, or run a marathon, is the same regardless of the task. All you have to do is find a regressed version of your goal (a less difficult progression, fewer reps, shorter distance, etc.) and practice that consistently for several weeks or months. Once it gets easier, you slowly start inching your way toward the goal.
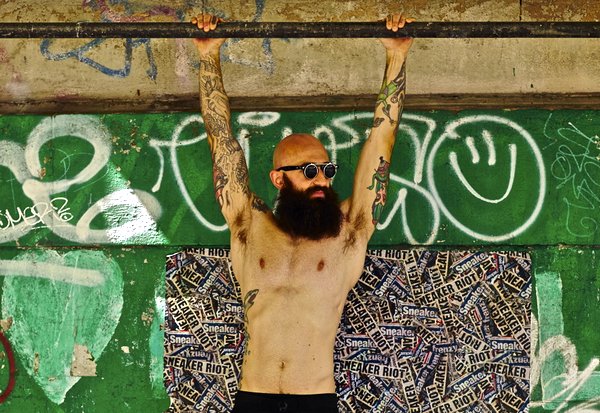
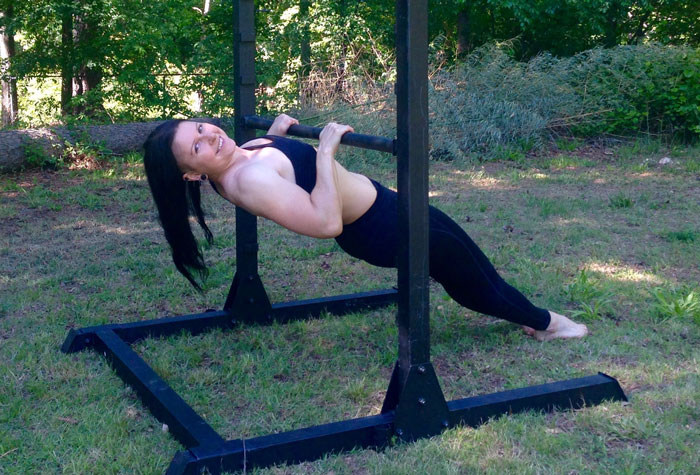
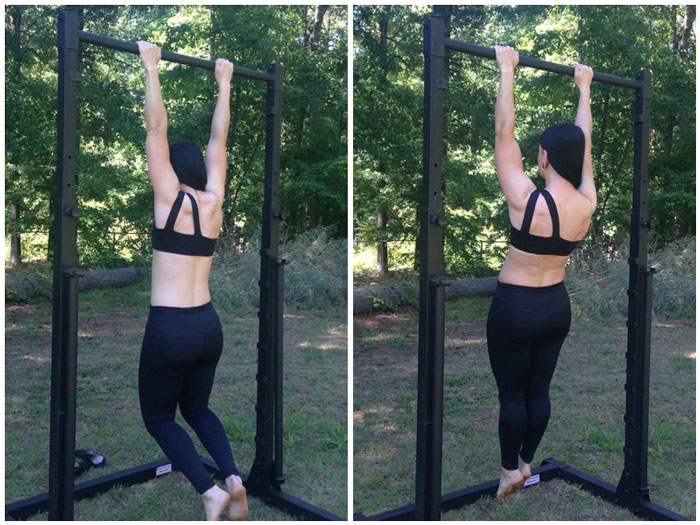
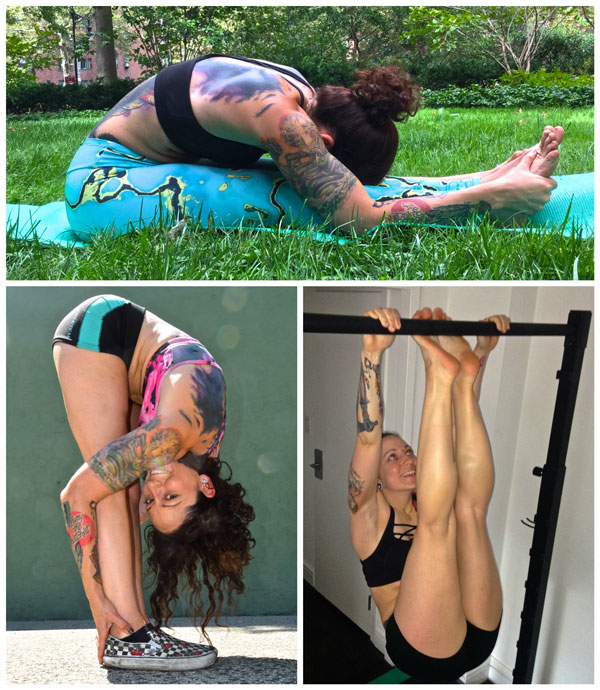
So, what if you can’t even do a chin-up yet? Then start by just hanging from the bar!
From there, you can eventually build toward flexed arm hangs and negative chin-ups. (A flexed arm hang is when you hold the top position of the chin-up; a negative chin-up involves slowly lowering yourself down from that position.) If you’re patient, consistent and dedicated, the results will come. Guaranteed.
I did not get good at pull-ups overnight. It took many years and countless reps, and I experienced numerous setbacks along the way.
There wasn’t any magic pill or secret formula, so I just focused on my training and did the work. I still do.
There will never be any other way.
***
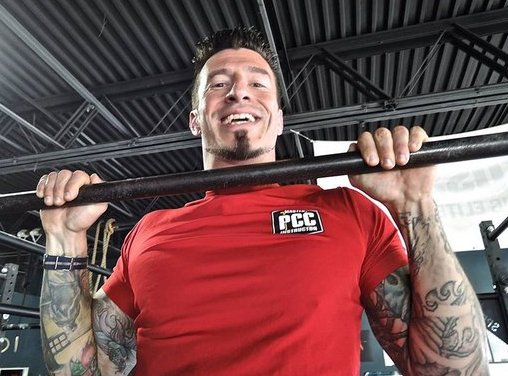
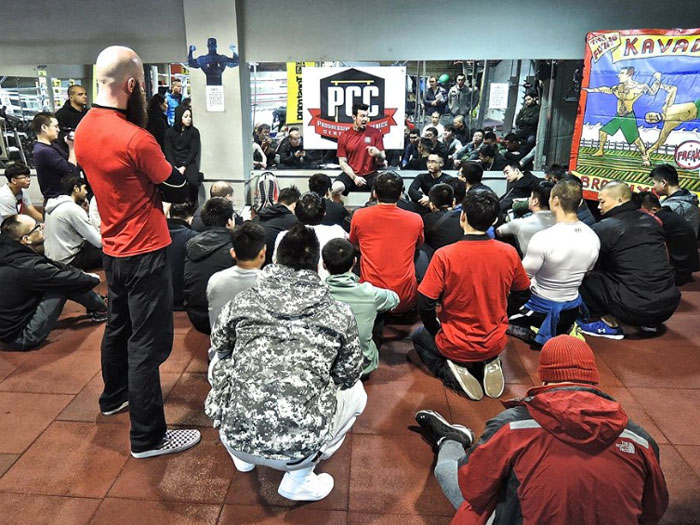
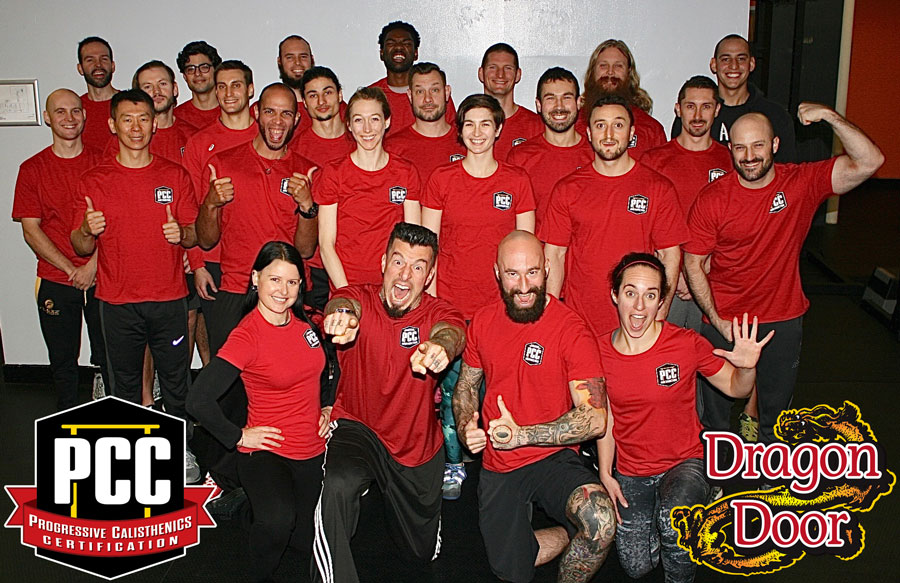
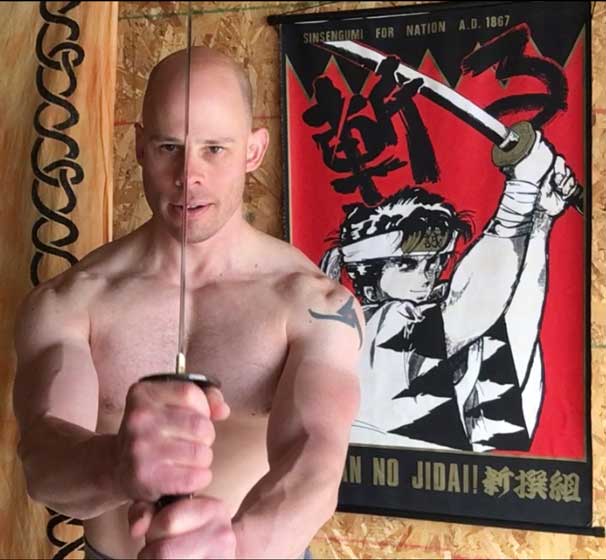
Al Kavadlo is the Lead Instructor for Dragon Door’s Progressive Calisthenics Certification and the author of several best-selling books, including Get Strong, Street Workout and Pushing The Limits! Al has been featured in The New York Times, Men’s Health, Bodybuilding.com, T-Nation, TRAIN magazine and many other publications around the world. To find out more, visit www.AlKavadlo.com.


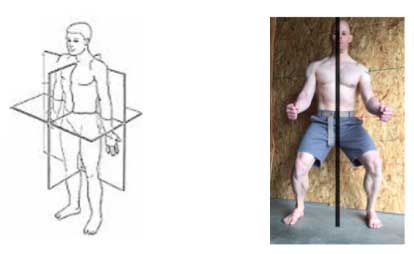
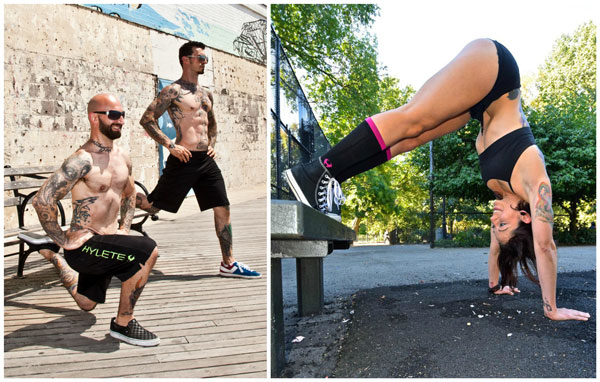
 The image to the right shows how the muscles are arranged to direct muscle tension inwards towards the centerline. Almost every muscle has at least a few muscle fibers that direct force inwards towards the spine. This is yet another reason to practice
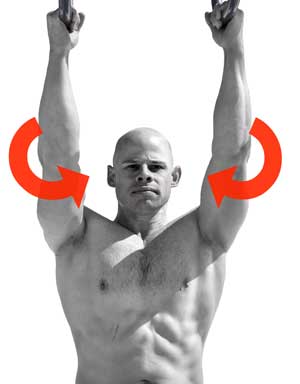 Lesson #3: “Screw” your limbs inwards
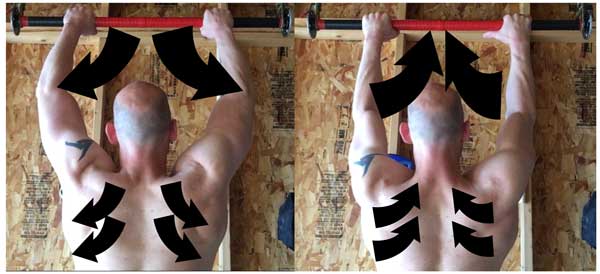
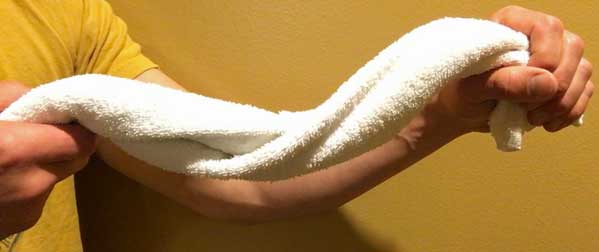
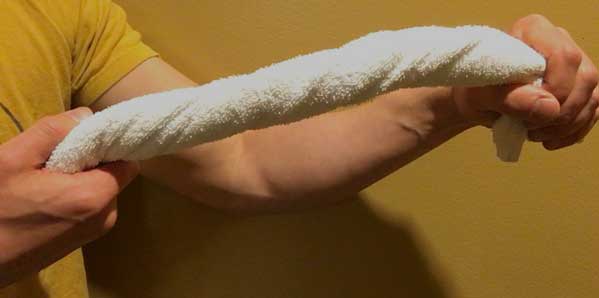 Lock it up! Applying torque on your legs or arms will make them more stable.